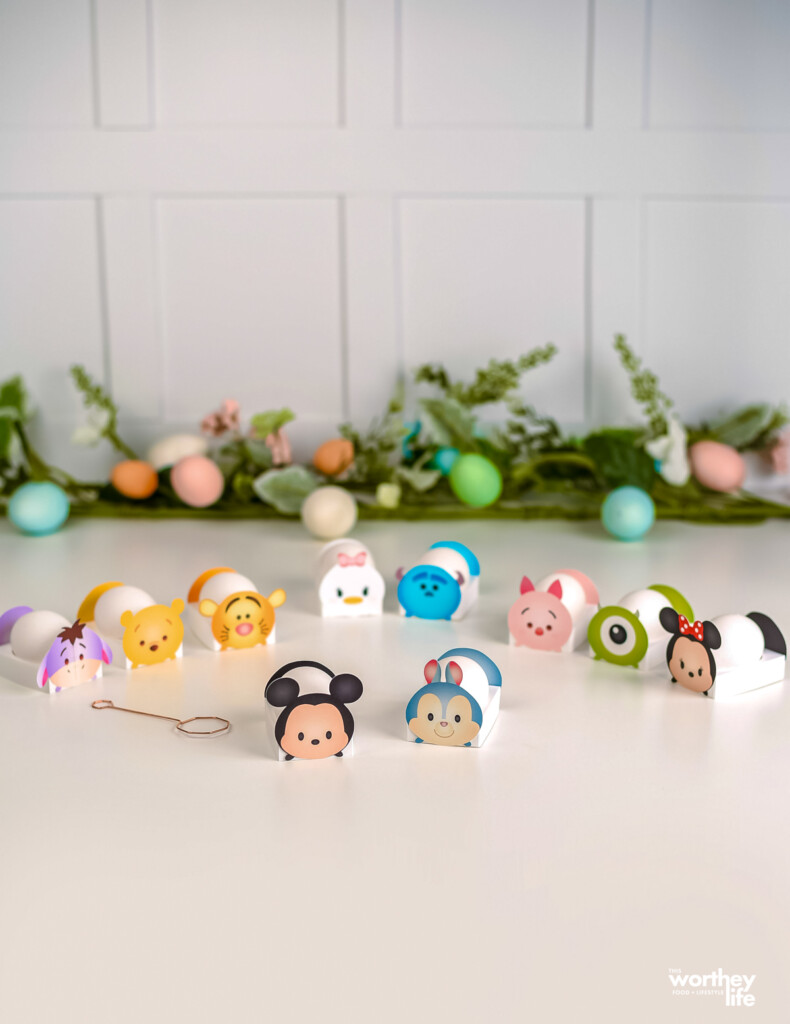
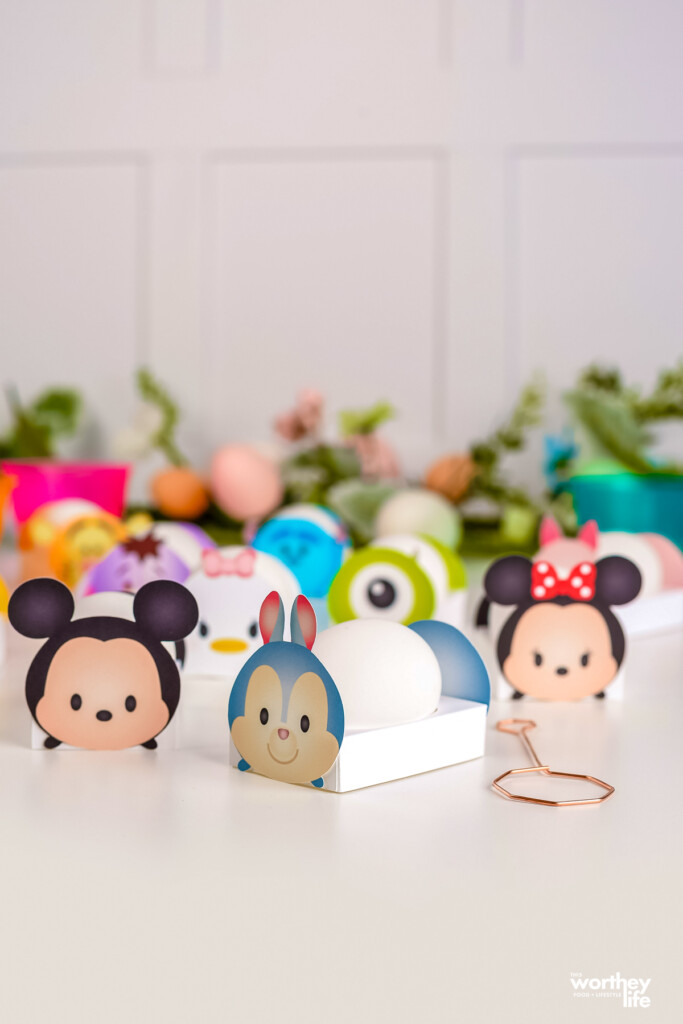
Look at these adorable Disney Tsum Tsum Egg Holders. If you’re a Disney fan, you’ll love creating Disney-themed Easter projects.
They’re a fun and easy DIY that you can use to create EPIC holders for Easter eggs.
Get ready – everyone is going to love these!
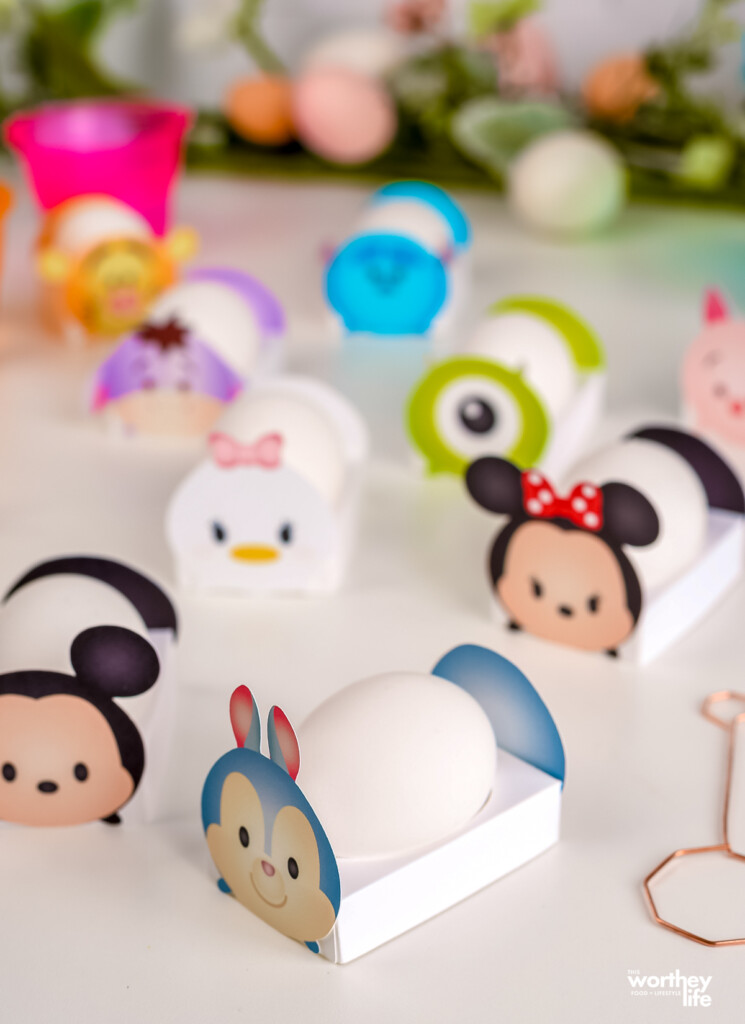
Disney Tsum Tsum Egg Holders
Can you believe it’s time for Easter eggs and all things Easter? And if you’re a Disney fan, you’ll love trying your hand at these adorable holders for Easter eggs.
Even though you need a Cricut machine to make these egg holders, it’s an easy project that everyone can enjoy.
Why not create a fun family project to show off the eggs this year?
Gather the few supplies below, and prepare for the most magical Disney-themed Easter this year.
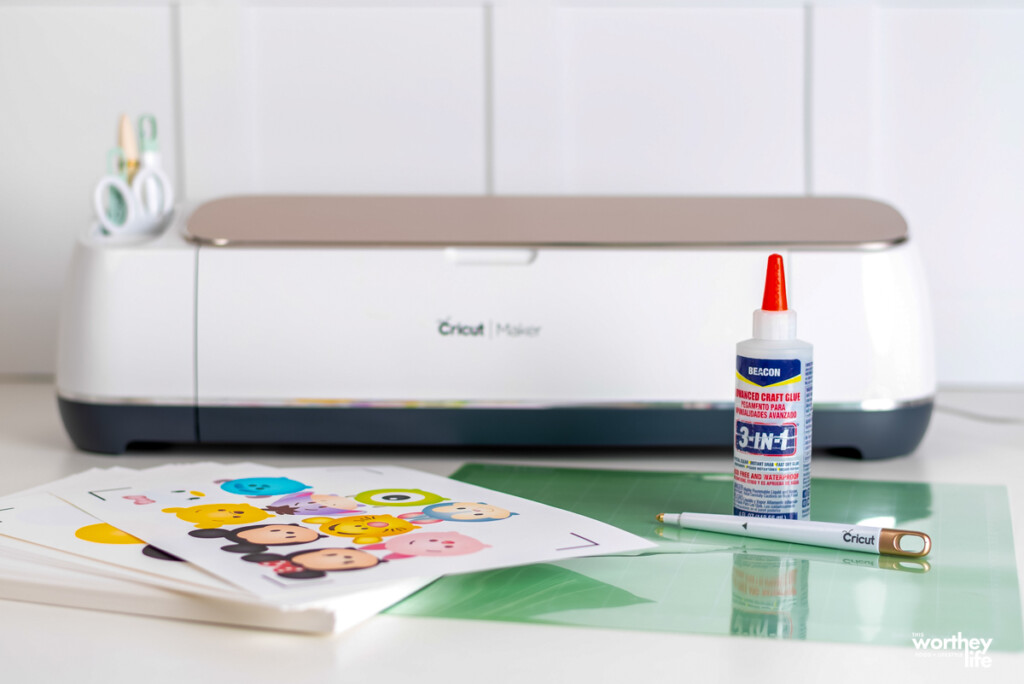
Supplies needed for DIY Egg Holders:
- Cricut machine (explorer or maker)
- Green standard grip Cricut mat
- 8.5 x 11″ – 65 lb white card stock (4-5 sheets)
- Printer (printer not pictured- we have an HP Tango)
- BEACON 3-in-1 Advanced Craft Glue (I like this one the best for paper projects as it dries fast and doesn’t leave a residue).
You will also need the Egg Holder SVG file.
You can download the file here.
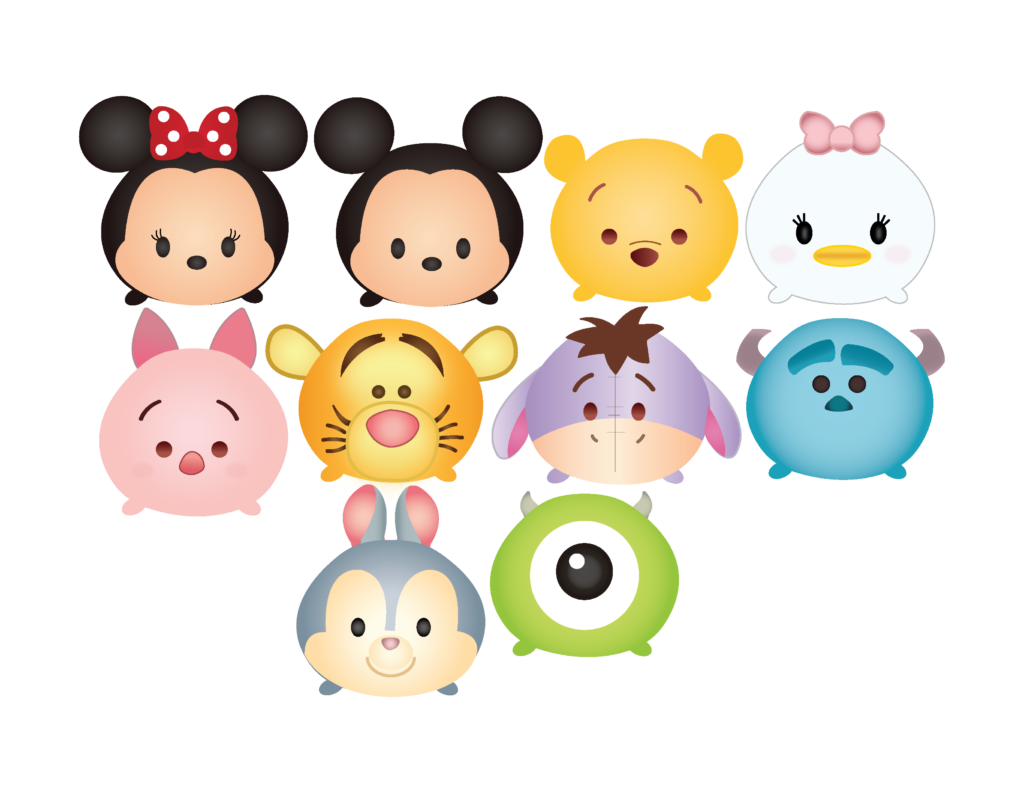
You will also need the Disney Characters: heads and bottoms
How To Make Disney Tsum Tsum Egg Holders
Step 1: Download and upload to Design Space
Download each section of the holder (the heads, bottoms, and holder SVG) and upload them to Design Space.
For each PNG, create separate Print and cut files. Then, upload the corresponding score lines to the egg holder base SVG.
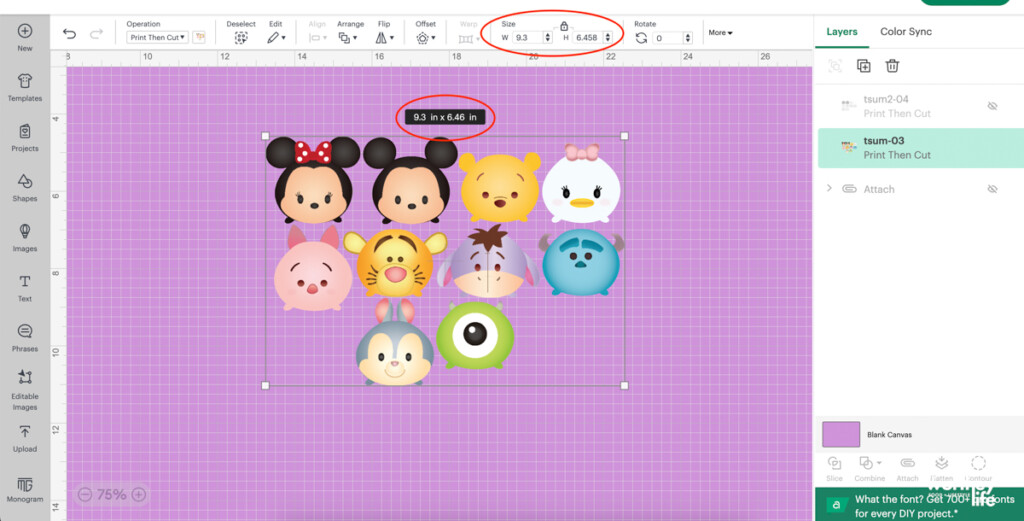
Step 2: Resize PNG print, then cut files
Choose each PNG piece and adjust the size using the sizing feature on the top toolbar.
Design Space lacks an integrated feature for maintaining PNG sizing upon upload, so manual resizing is necessary.
Resize each piece as follows:
Heads : 9.3” W x 6.458” H
Bottoms: 8.4” W x 5.377” H
The SVG should hold its proportions, but if it hasn’t, the egg holder base will be 3.2″ W x 4.018″ H.
Step 3: Change the score lines
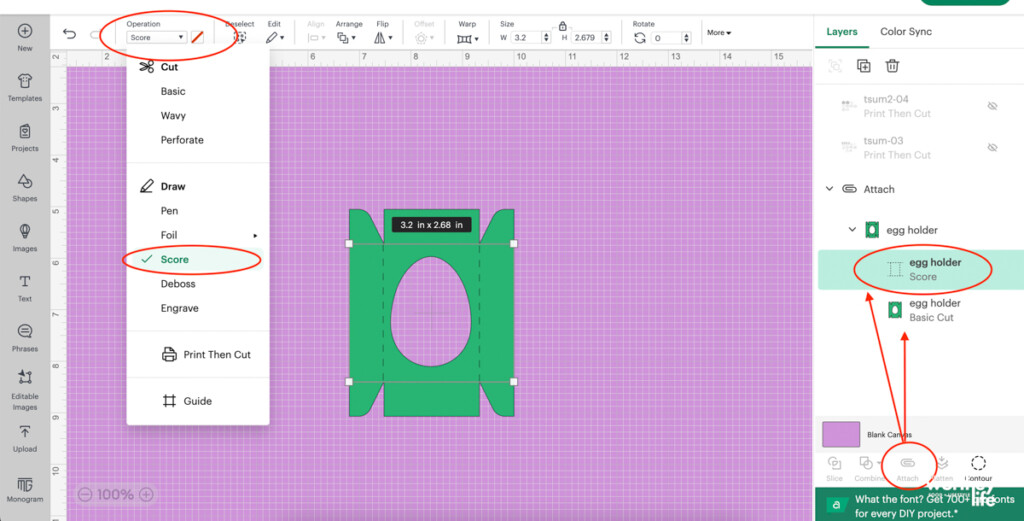
Select the score layer on the egg holder base.
Navigate to the top left toolbar’s line titled “operation,” click the dropdown, and choose “score.”
Step 4: Attach score lines
Select both the egg holder cut layer and the corresponding score layer.
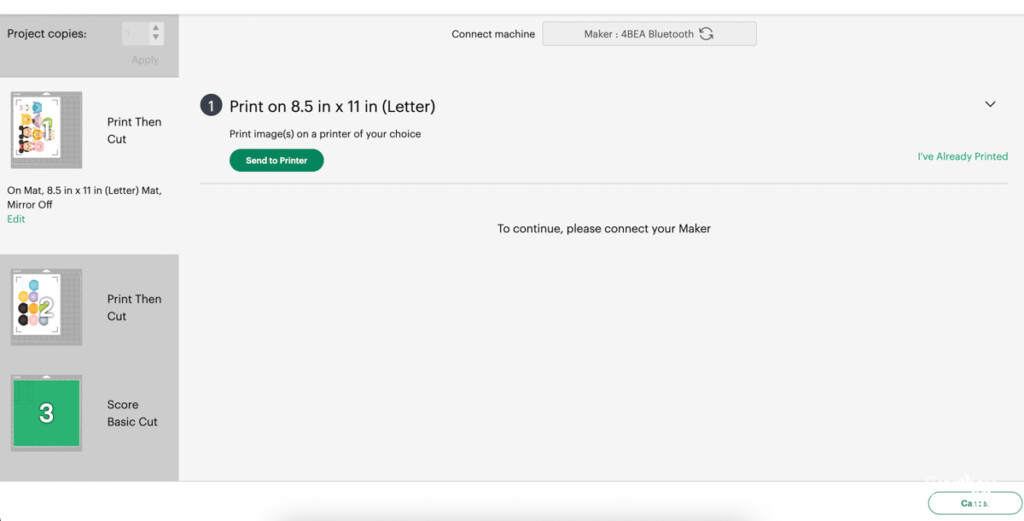
Then, use the “attach” feature at the bottom of the layers panel before proceeding to “make it.” This attachment ensures scoring lines and cut layers stay together.
Step 5: Print and adjust machine settings
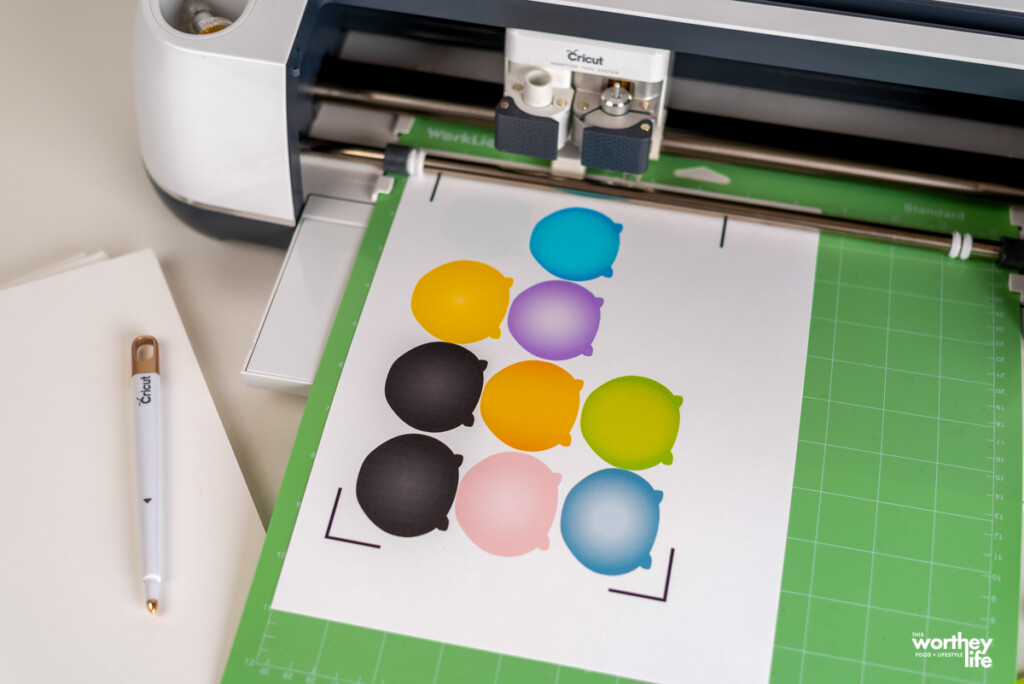
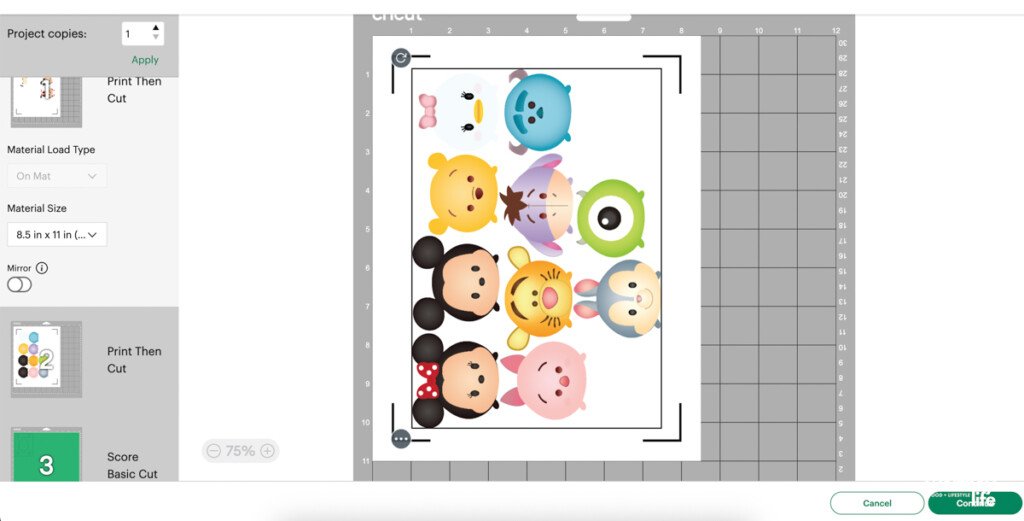
Print each Print, then cut the file. Adjust the material dial or setting to medium cardstock for all pieces.
The Cricut preview screen should display “Print, score, cut for the TsumTsum heads and bottoms.
If you use a scoring stylus instead of a scoring wheel, inform your machine under “edit tools.”
Load the scoring stylus into clamp A before pressing the flashing “go” button.
Step 6: Load the card stock
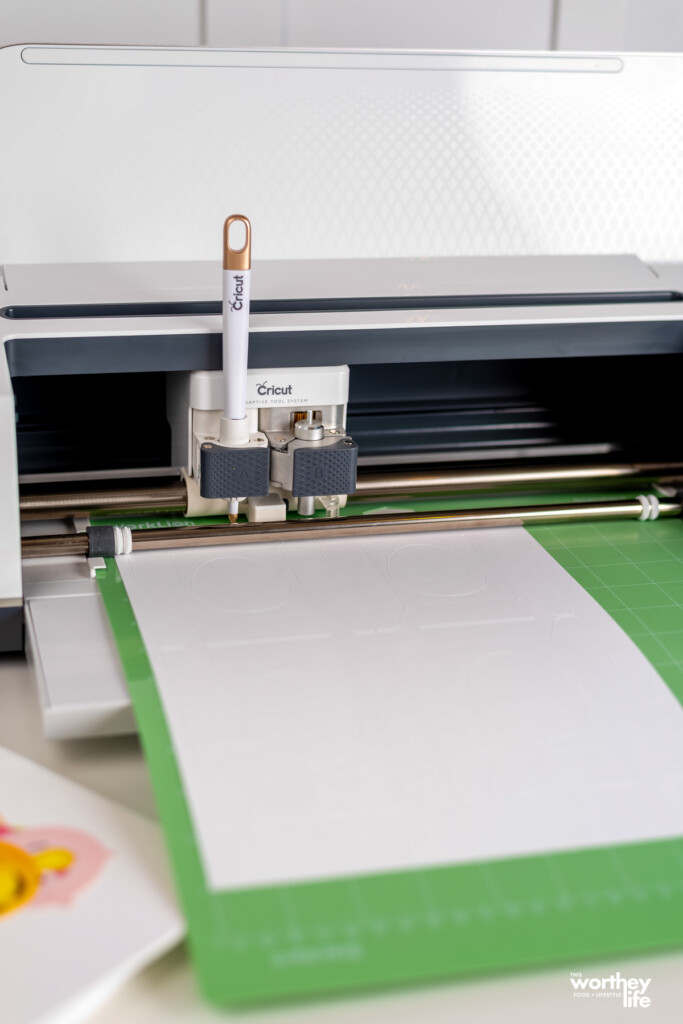
Load the printed cardstock onto the green standard grip mat and press go.
Repeat for all pieces. The machine scans registration lines and scores and then cuts.
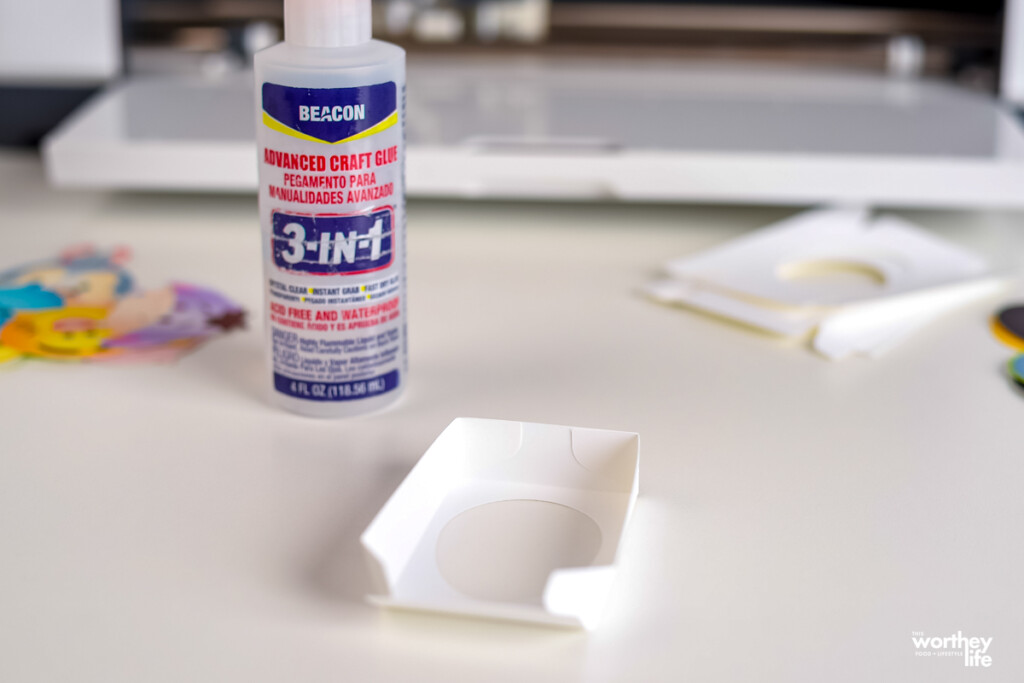
Step 7: Begin to fold
Once all the pieces are cut, start folding the egg holder base.
For assistance with fold directions, refer to the folding guide or videos.
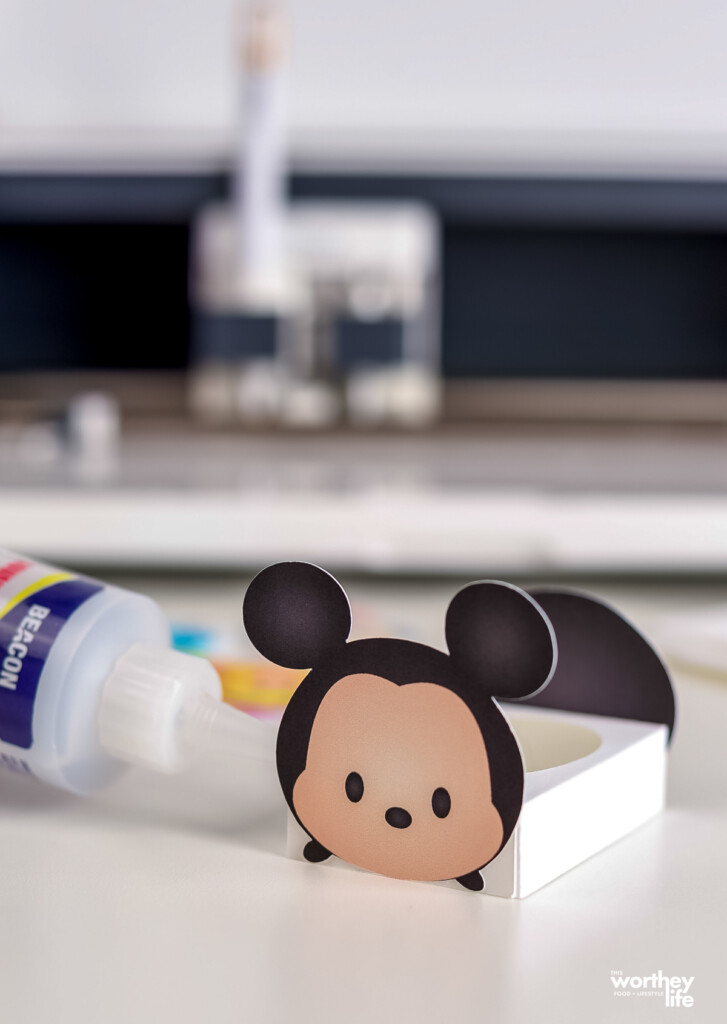
Step 8: Gluing
Begin gluing the little triangular tabs to the rectangular sides of the holder to enclose it and create a reinforced base.
After gluing the TsumTsum’s head to the front of the base (the point of the egg), attach the bottoms to the back of the base (at the rounded part of the egg) with the color side facing inward.
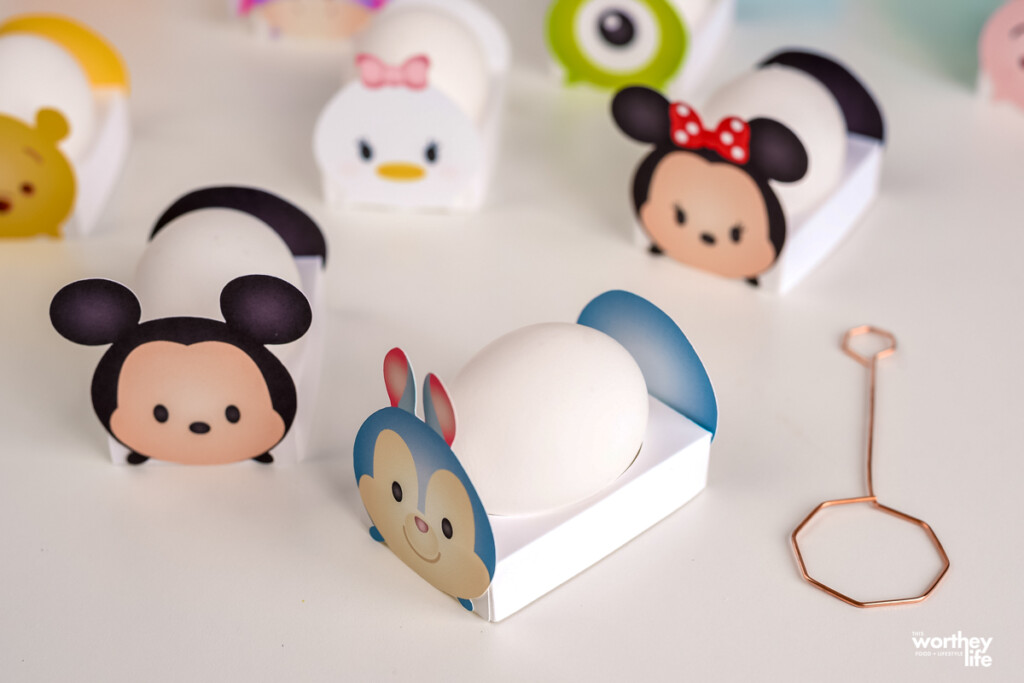
Step 9: Add your eggs
Add color to your eggs and use the TsumTsum egg holders as a delightful method to dry the eggs and showcase them as the bodies of the TsumTsum characters.
They add a playful touch, infusing Disney magic into your Easter celebrations.
How Can I Make This Without A Cricut?
If you don’t have a Cricut or a similar machine, you can print the PDF versions of this project and still create these DIY egg holders.
Can I eat colored, hardboiled Easter eggs?
You can as long as you use food-safe dye for the Easter eggs.
And make sure that they are hardboiled eggs, not just raw eggs that are colored.
What do I do with Easter eggs after coloring them?
There are many ways to use dyed Easter eggs. Once they’re created, they can be hidden in the yard.
If they’re hardboiled, you can eat them, dice them up for egg salad or potato salad, or do an egg toss in the yard.
If you are going to eat them, be sure that you keep them chilled and cooled so that they don’t spoil.
More Fun Easter Posts and Ideas


Leave a Reply