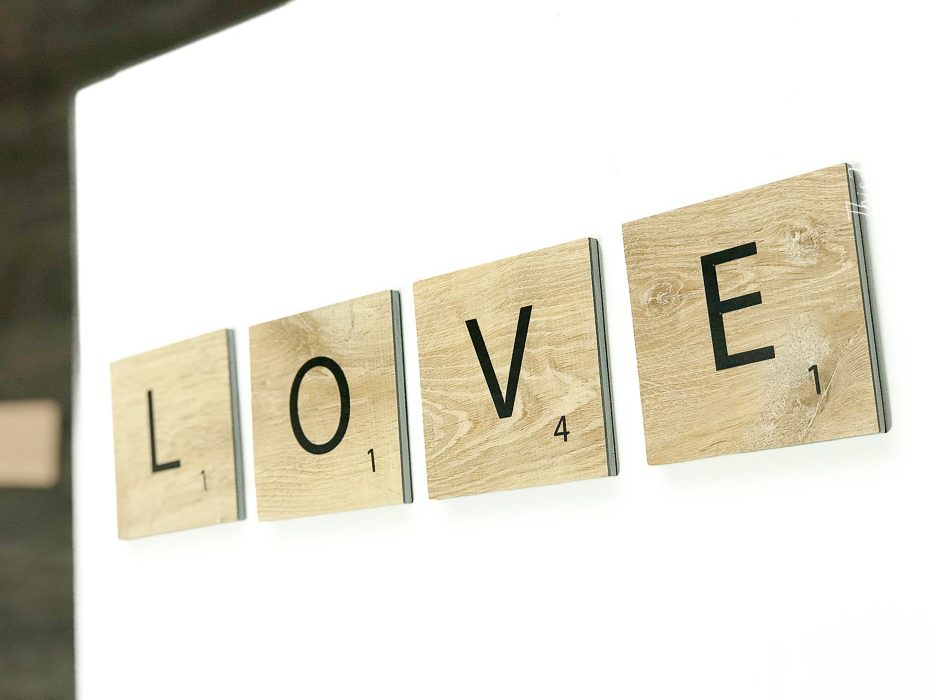
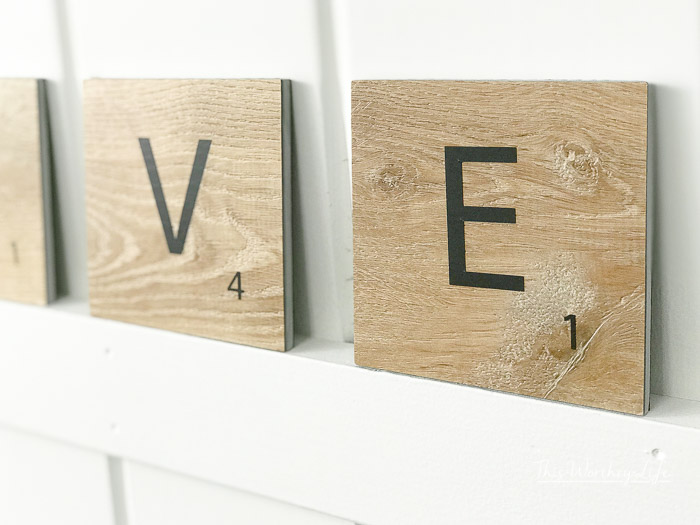
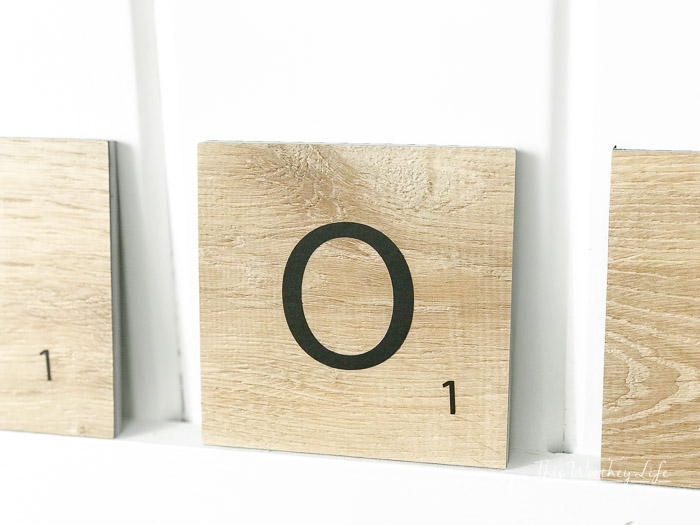
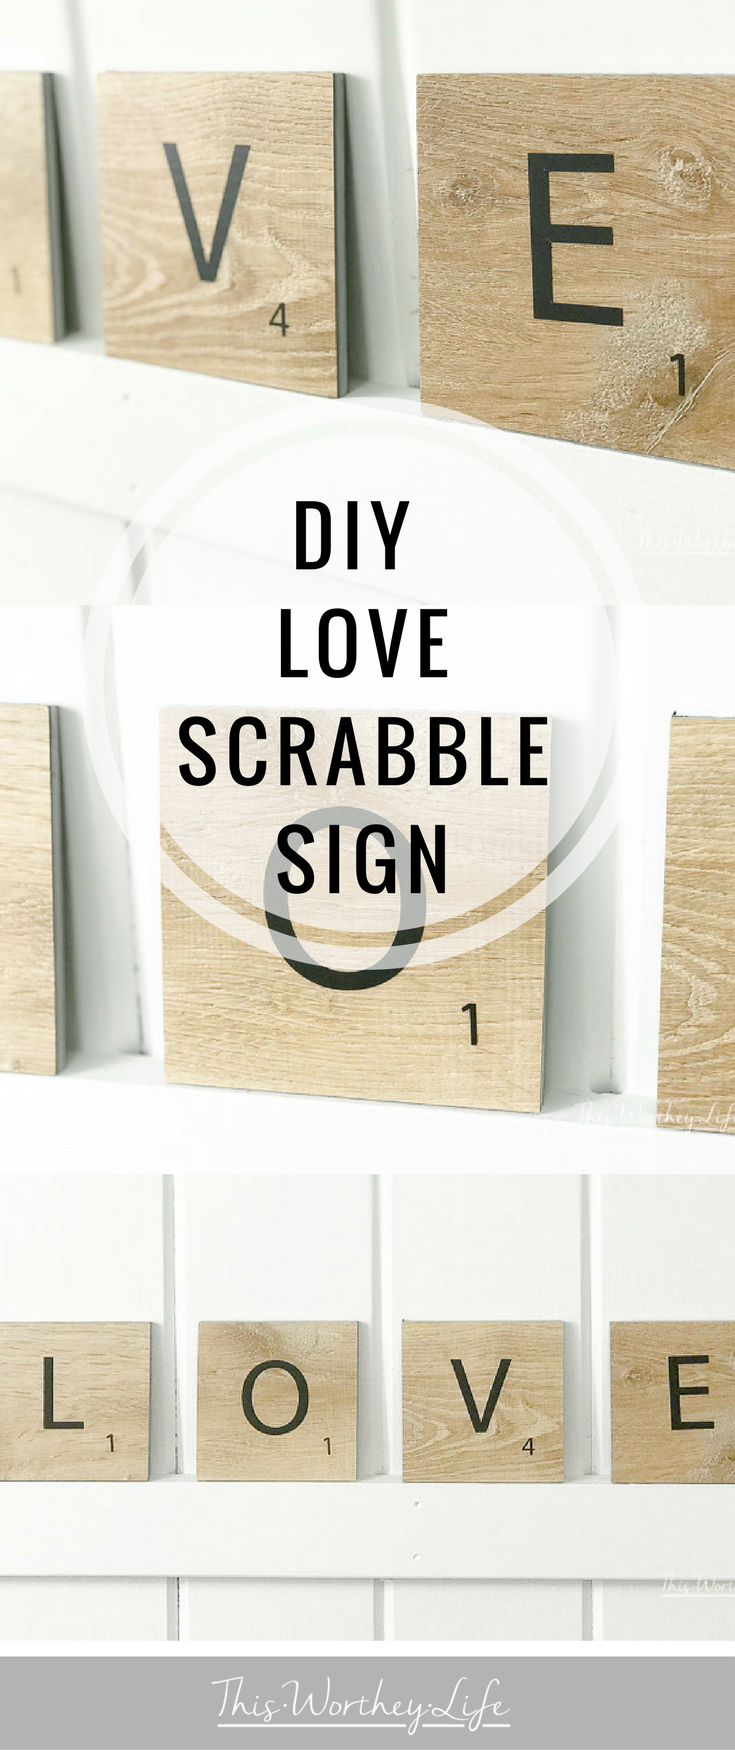
This easy DIY project is one you can do in about 30 minutes. Using wood letter tiles, you can easily make a Scrabble-type sign to use as a beautiful home decor piece. Learn how to make a Love sign out of Scrabble wood tiles using your Cricut below!
Scrabble Letter Tiles – A DIY Cricut Project
I love easy DIY projects. A few years ago I received a Cricut Explorer Air. Initially, it sat collecting dust for a while. Eventually, I started to use it more, getting comfortable with trying ideas I would find online and on Cricut’s website. I’m still somewhat of a novice at all of this, but I do love sayings. I love coffee mugs with sayings on them, so having a Cricut to make my own was ideal for me. As I have explored, I even got handy enough to make this DIY apron for Father’s Day!
With this DIY wood tile project, you can do it in about 30 minutes. You don’t even have to cut a piece of wood to pull this off. I’m not a BIG DIY’er, so simple projects like this suit me. I’m sharing how to create a scrabble-type sign using your Cricut and some wood tiles.
Supplies needed:
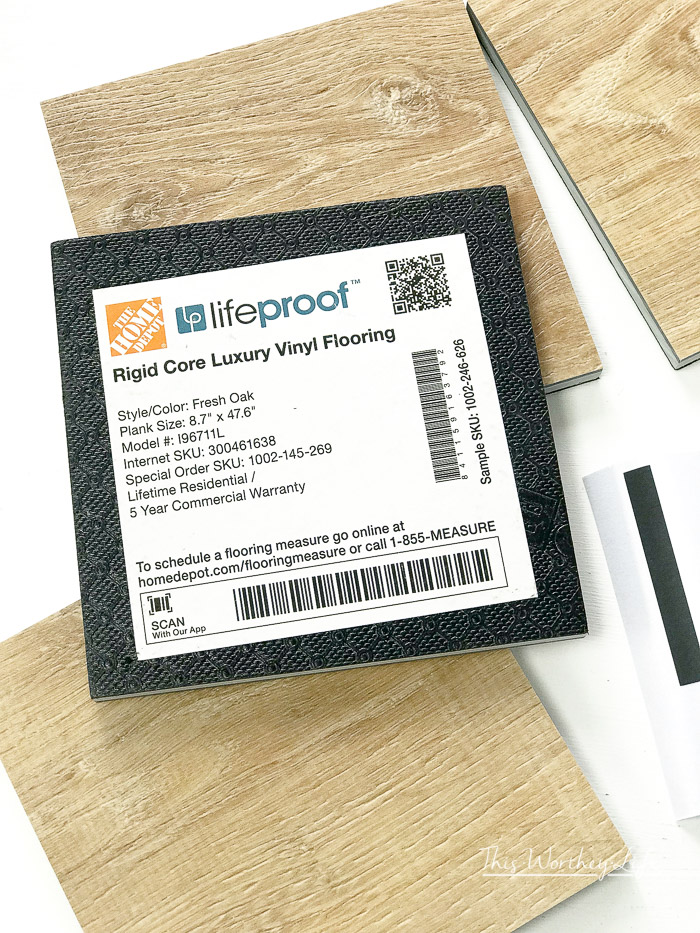
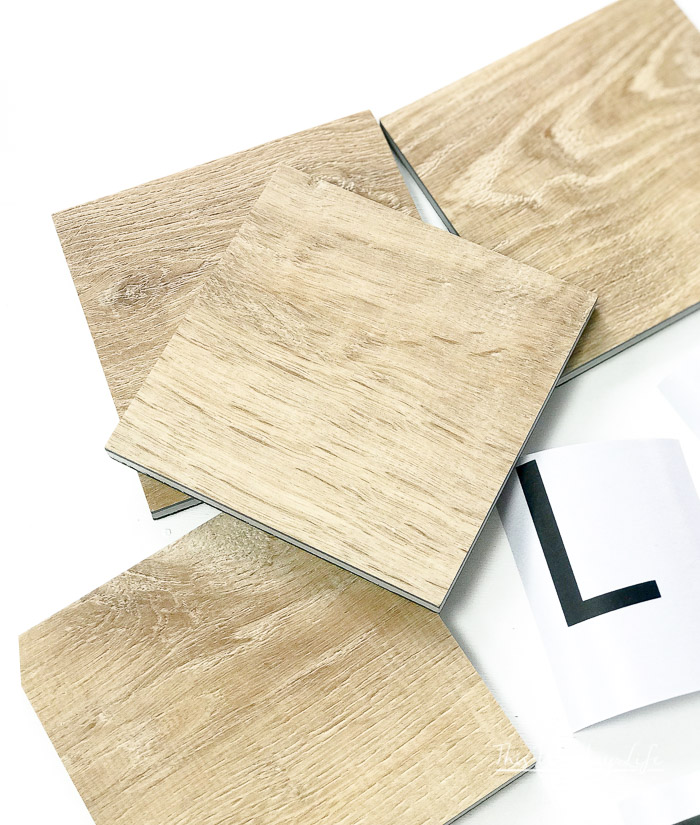
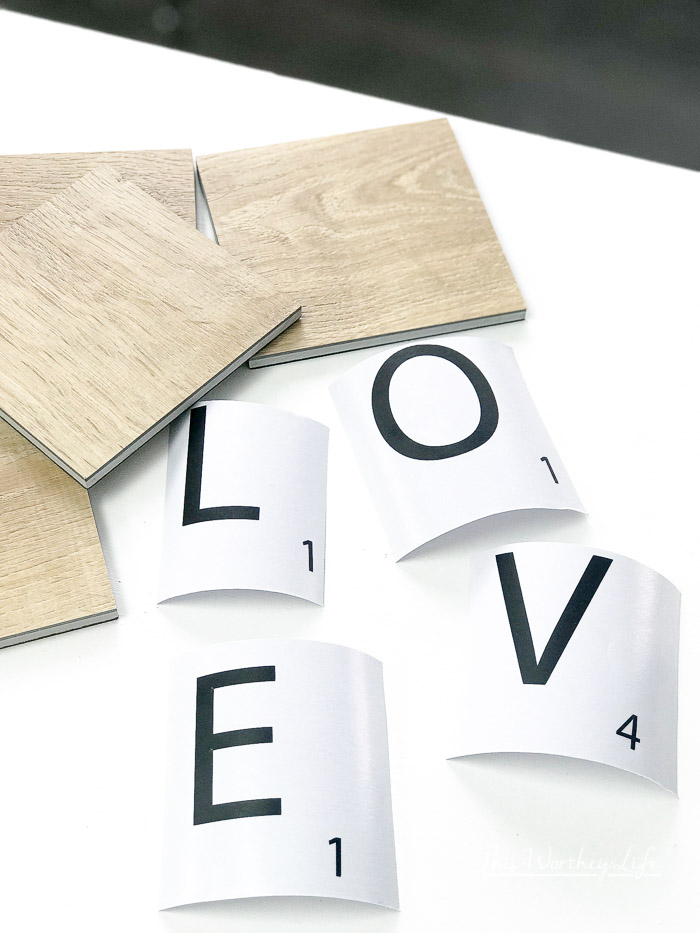
- Floor samples (got them for free at Lowes, Home Depot or Menards)
- Cricut Explorer { don’t have one? You can find a special on one by going here}
- Black vinyl
- transfer paper
How to make a DIY scrabble sign with a Cricut
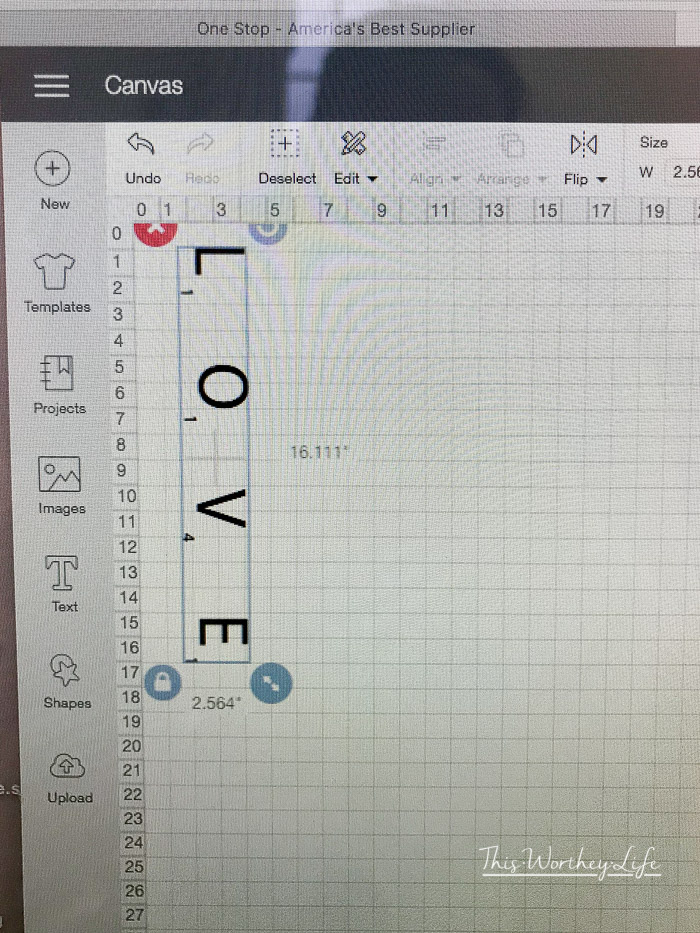
Create your design using the Cricut design space.
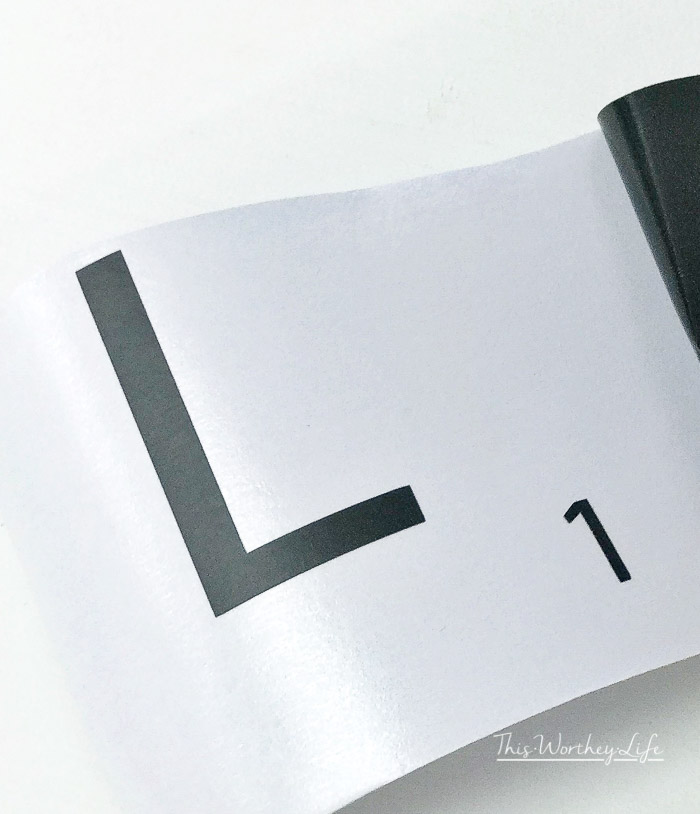
Then you go ahead and press feed(the one with arrows) on your Cricut. Once you feed it then press the ‘C” so it can start cutting your design. After the design is finished with cutting, carefully weed the vinyl.
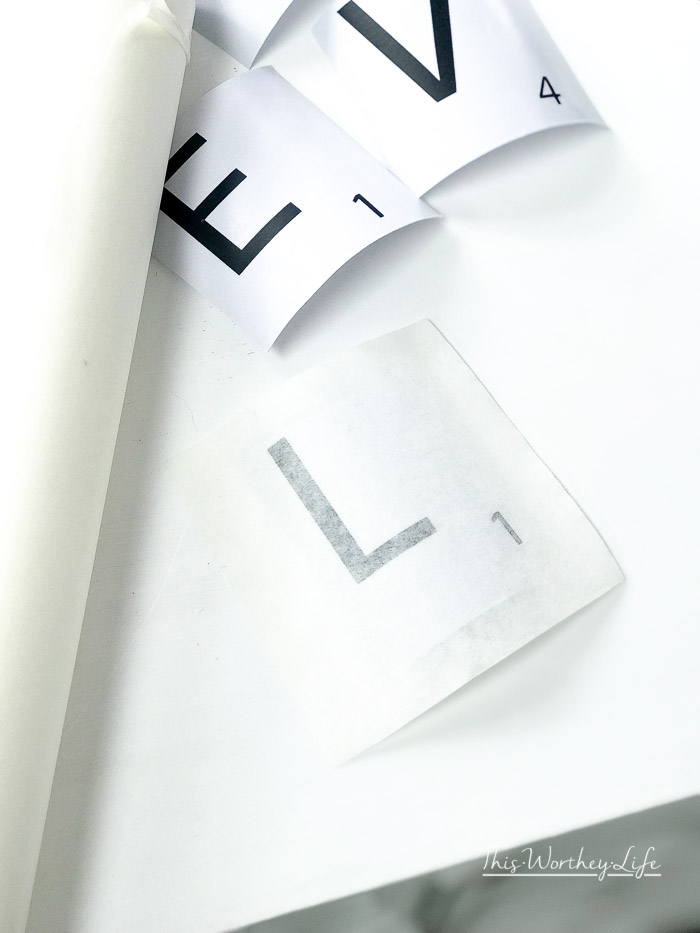
Now take your transfer paper and place over vinyl so that you can carefully and successfully transfer your design one at a time for a more accurate placement. Take a credit card and apply pressure while dragging your card over your design to make sure it sticks to transfer paper.
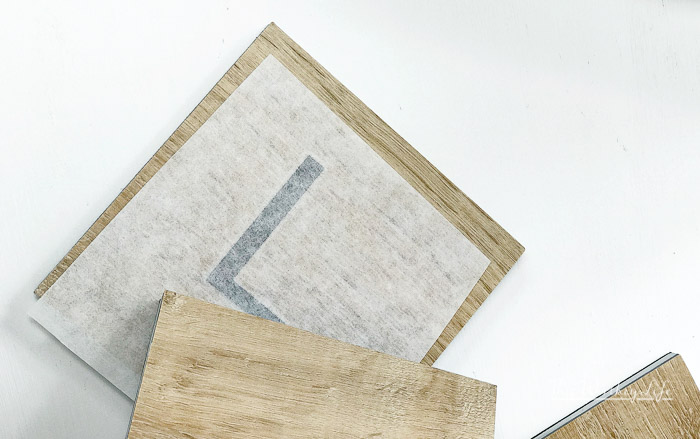
You can now cut the transfer paper that is attached to the vinyl (I cut the size of the floor sample)so that when vinyl is placed in the location you like, you have a better visual where you want it placed.
Ok, here comes the hard part (joking) use the credit card again and drag card over vinyl to make sure it sticks to floor sample.
You can now take off transfer paper slowly and make sure it sticks. Repeat until you are finished with other letters!
And you’re done! See? A super, EASY DIY project you can do in about 30 minutes with your Cricut machine.


Leave a Reply