Learn how to make a personalized Father’s Day card using a Cricut Joy. You’ll also get a step-by-step process on how to make a DIY Plant Daddy mug (or Plant Dad) using your Cricut Joy. Get the details below. This is a sponsored post.
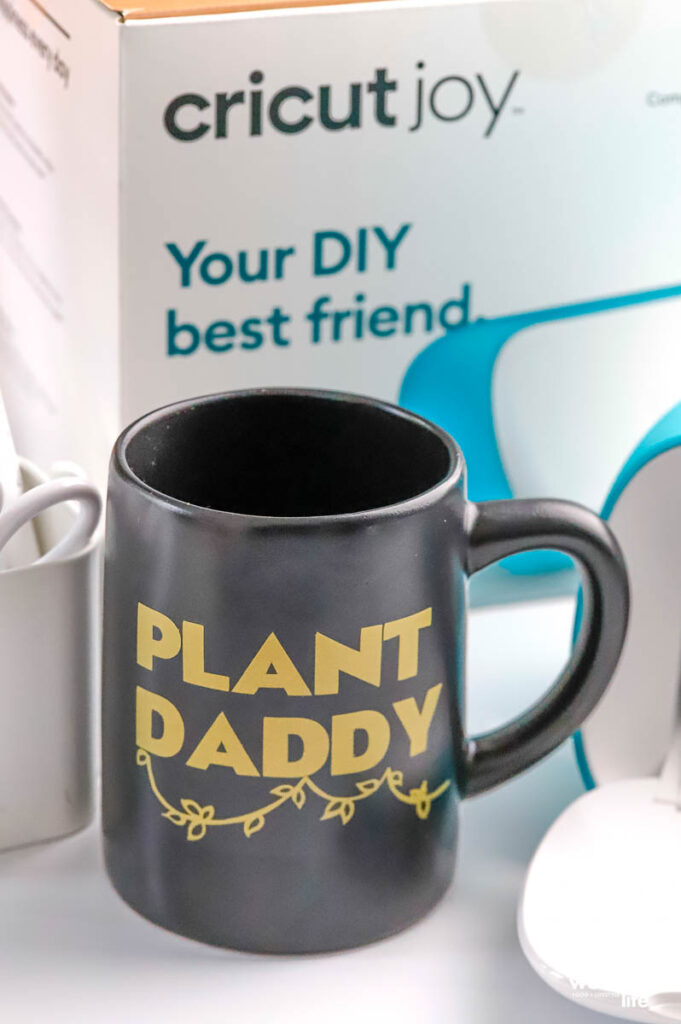
Plant Daddy Mug | Cricut Joy Project
Father’s Day is this Sunday, and I have the perfect gift for Derrick. A few years ago, I found a super cute mug with the text Plant Lady.

Plant Dads need love too!
Derrick mentioned there should be one for Plant Dads. And since he’s the caretaker of our plants, I wholeheartedly agree! However, I haven’t seen this specific branded mug in the store. I’ve made mugs before when I wanted particular sayings or to have seasonal mugs. I’ve found it pretty easy to make mugs on my Cricut Explore Air 2, but I was curious to see how the Cricut Joy would work.
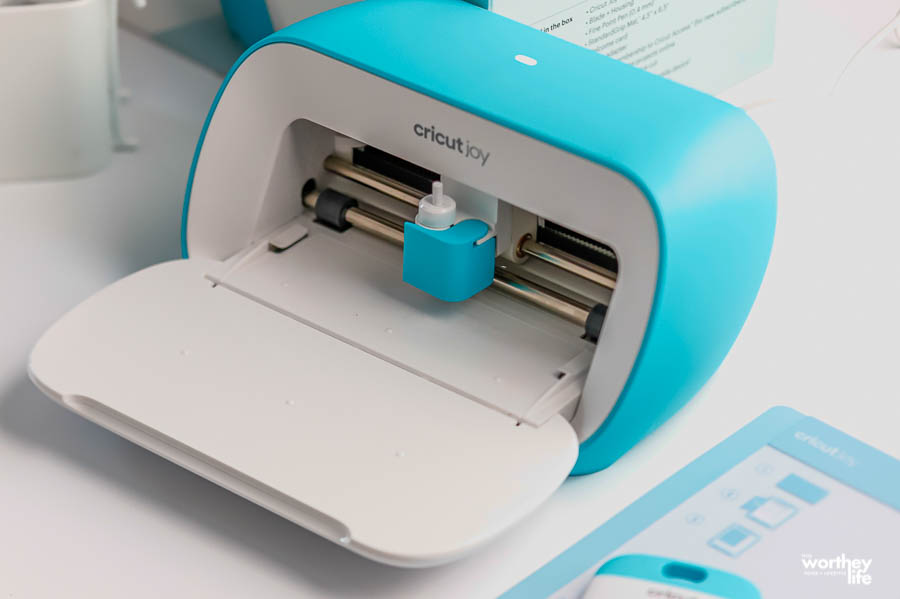
Using a Cricut Joy for the first time
When Cricut reached out to collaborate on this post, I jumped at the chance to use the Cricut Joy. I’ve heard people rave about how easy it is to use the Cricut Joy, as well as the creative projects you can make with a small cutting machine.
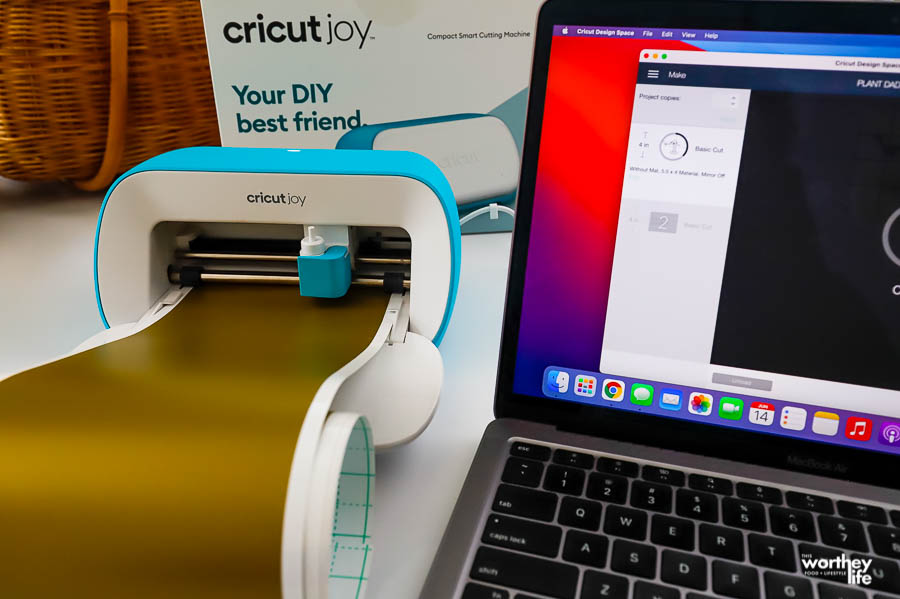
And then there’s the size. It’s perfect if you don’t have a lot of space for all of your crafts supplies (like me). I set up the Cricut Joy on my dining room table. It’s a small but mighty cutting machine.
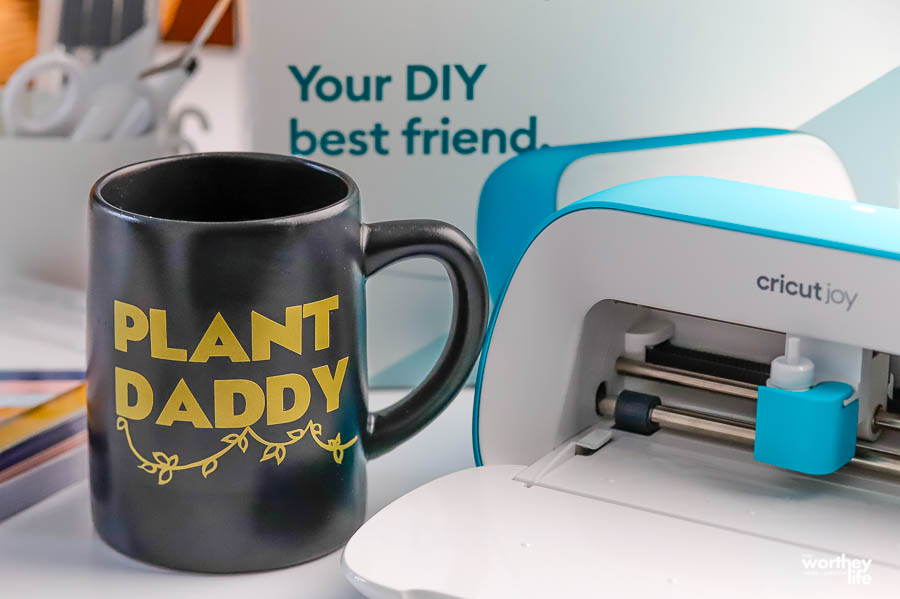
Father’s Day personalized gift idea
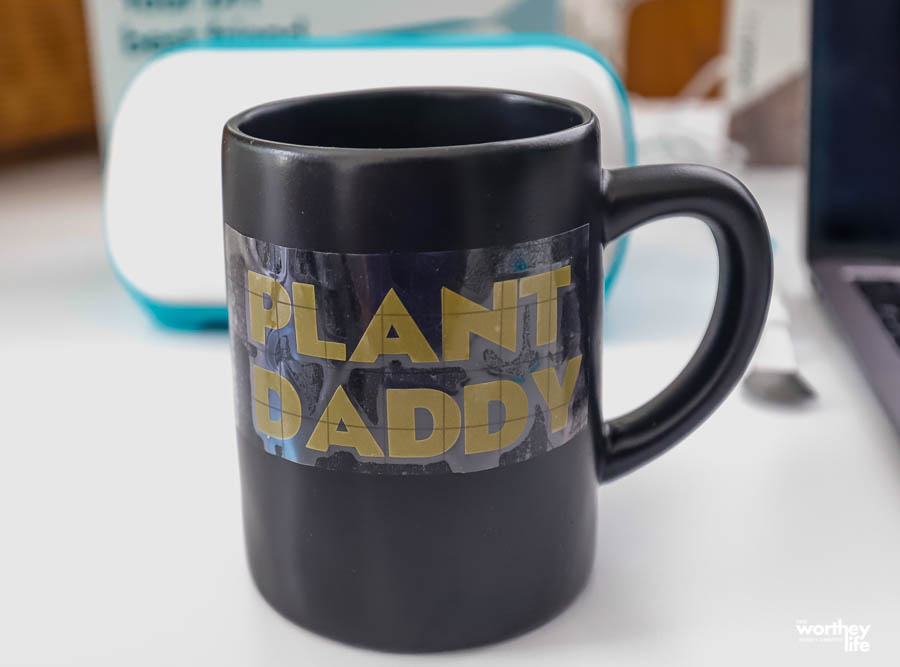
For Father’s Day, I decided to make Derrick a plant mug. We love enjoying our coffee together, and I thought this would be a cute + personalized gift idea for Father’s Day. I’m sharing how I created his Plant Daddy mug below.
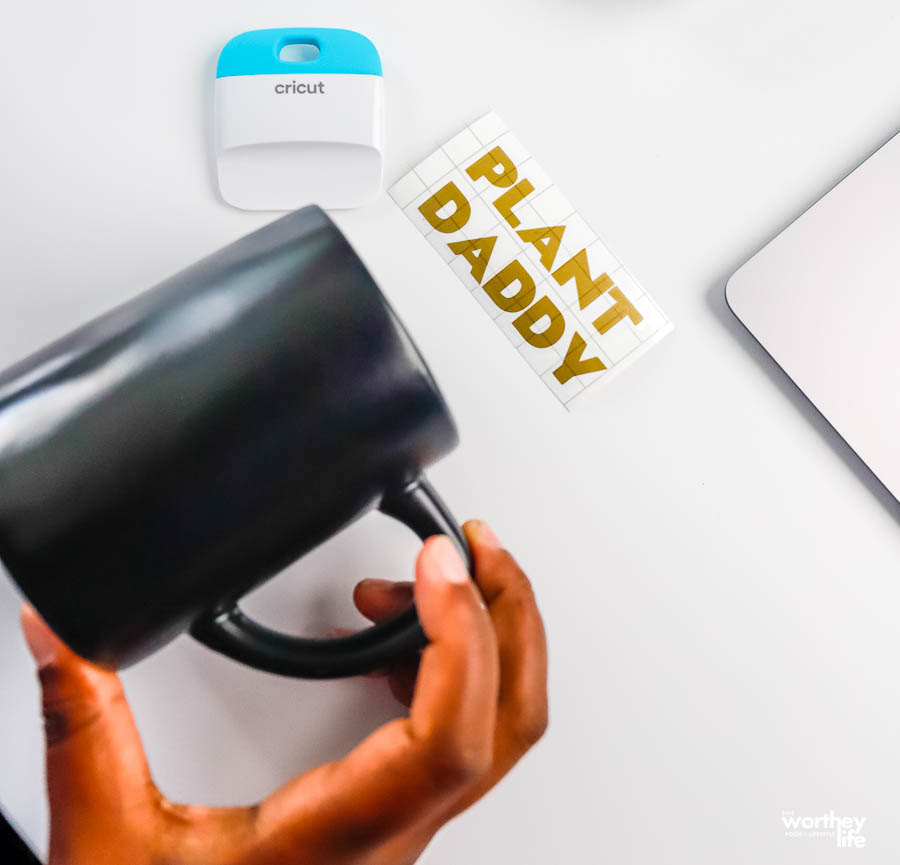
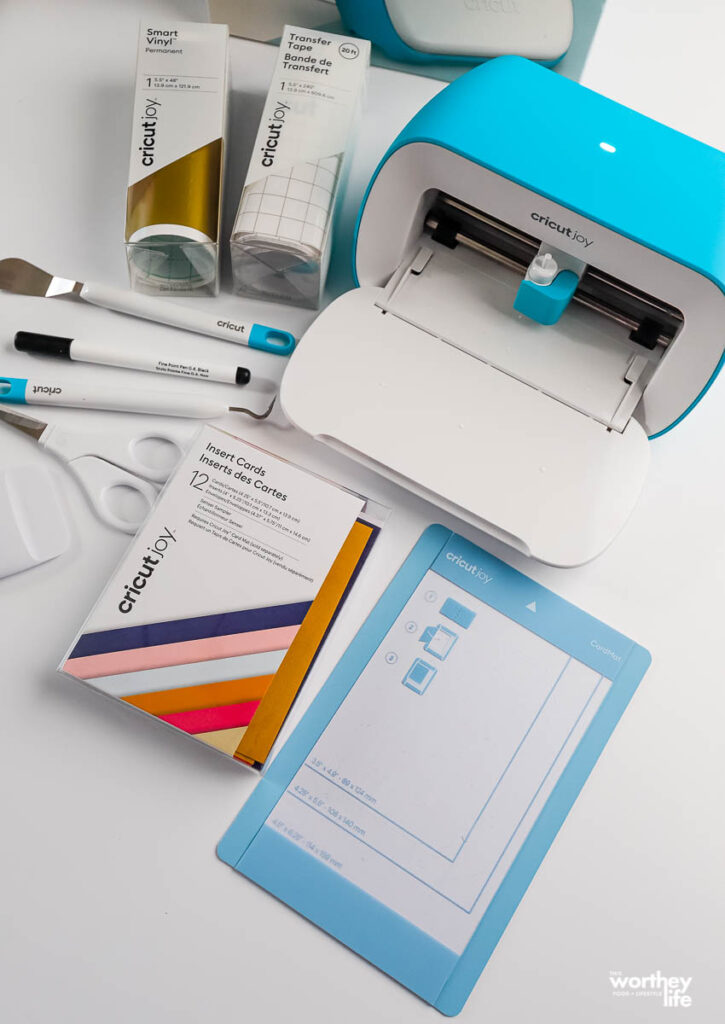
Supplies needed to make a Plant Daddy Mug
- Black Mug ( I love the Magnolia Hearth & Hand line of blank mugs)
- Cricut Joy Smart Vinyl Permanent (Gold)
- Cricut Joy Transfer Tape
- Cricut Weeder
- Cricut Scraper
- Cricut Joy Cutting Machine

Directions on making a personalized coffee mug with a Cricut Joy
Note: Before starting, you will need to create an account in Cricut Design Space.
- Open up Cricut Design Space.
- Click on the text box and type in the word Plant Daddy or Plant Dad.
- I’m using the Eagle Bold, Regular Font. Font size 46.48. Letter Space 0. Line Space 0.8. Letter size 3.363″ x 1.508″. This size was the perfect fit for the black mug.
- Click on the image box and type in to search for a plant or a vine, like the one I’m using.
- Add the vine under the word Plant Daddy. Size is 3.571″ x 0.836″.
- Once you’ve tweaked and adjusted the vine or plant, it’s time to make it!
- Click on the button to make it in the right-hand corner. Note: If you have more than one machine, be sure to select the Joy Cutting Machine. If this is your first time using your Cricut Joy, be sure to set up the machine before starting your project. You can get started by following the directions in the box with your Cricut.
- Once you click on the Make It Button, it will give you a few options. You can print your design on a mat, without a mat, a card mat, or multiple ways. I opted to go without the mat. That is one of the perks of using the Cricut Joy! Note: You can only go without the mat if you’re using Cricut Smart materials.
- Next, you’ll be asked to double-check your design.
- Follow the directions on the screen in Cricut Design Space on printing.

- Once you’ve cut out the vine and words on the Smart Vinyl, it’s time to get the transfer tape.

- Cut a piece of Cricut Joy Transfer Tape. Try to match it with the same size as the vinyl, so you don’t waste any tape.
- Peel off the front of the Smart Vinyl. Use the Weeder tool and carefully weed the word.
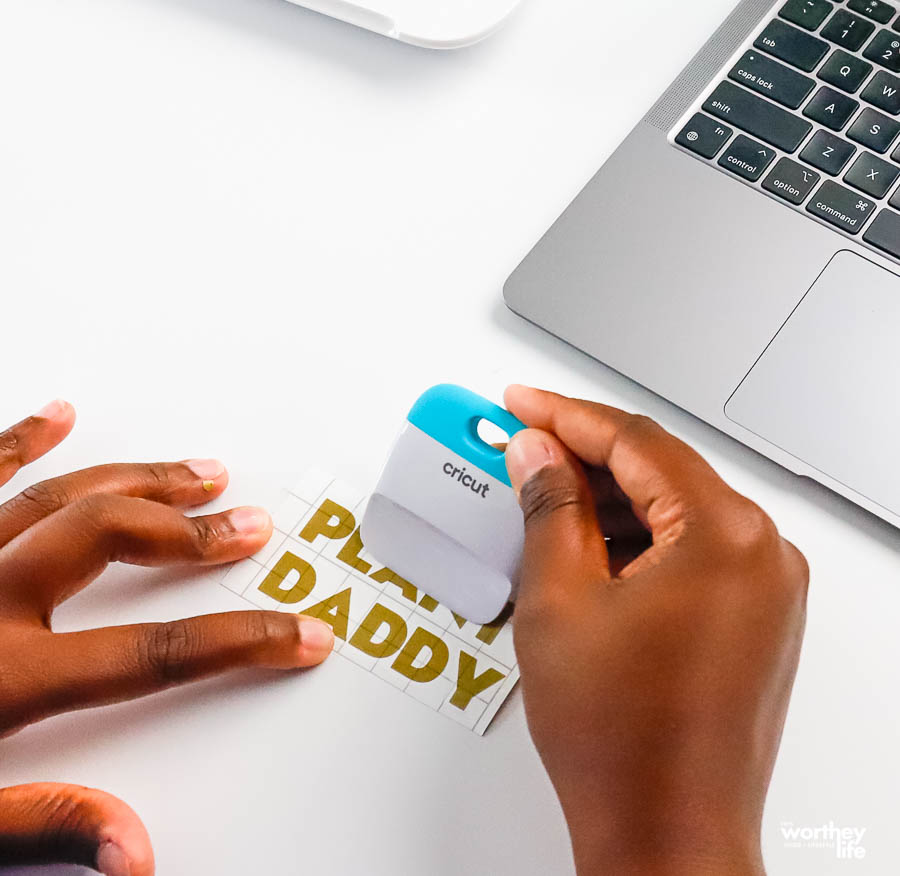
- After this step, take a piece of transfer tape and peel off the back of the tape. Take the front of the tape (the sticky part) and place it across the word. *tip- I cut the pieces of vinyl and tape down and took off the excess paper. This helped make it easier to work the transfer tape and vinyl.

- Press the vinyl onto the coffee mug, starting in the center, and move outward.
- Peel the transfer tape away from the vinyl at a 45-degree angle.
- Line up the word on the mug and use a scraper (or credit card) to make sure the vinyl is stuck on.
- Remove the transfer tape.
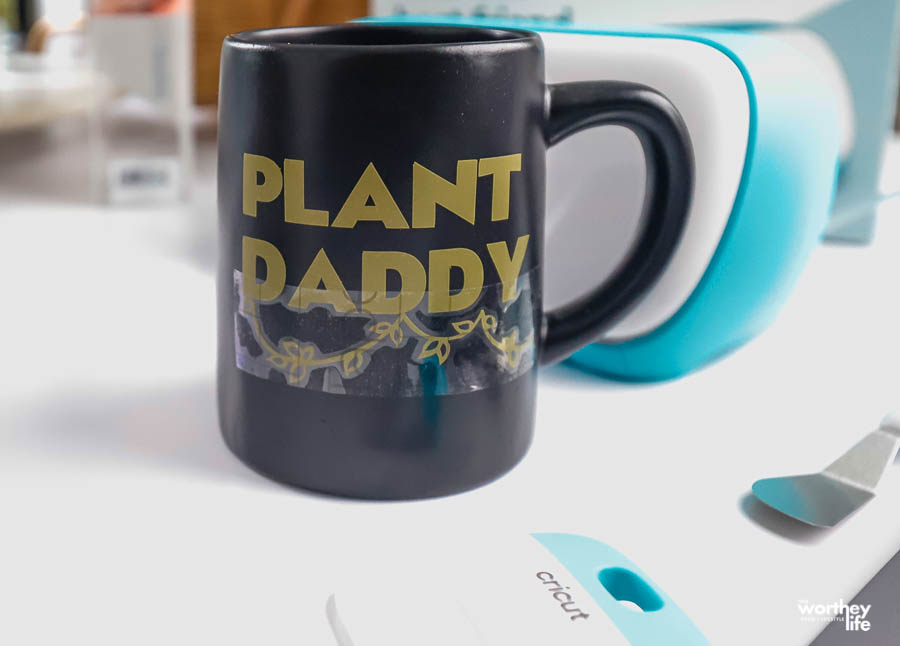
Repeat the same steps for the vine.
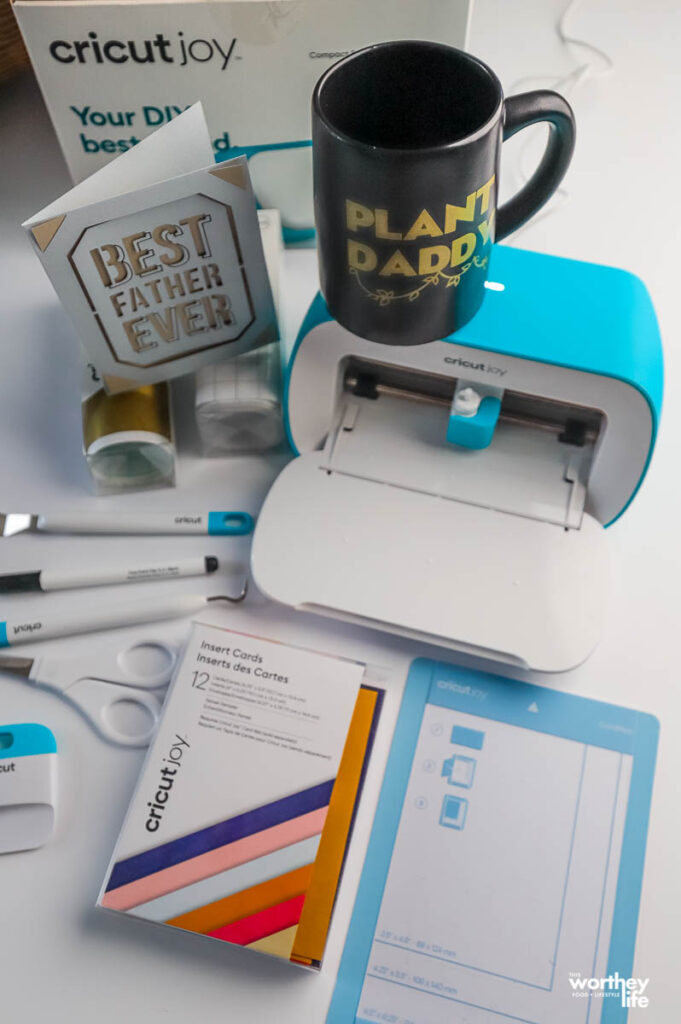
This process from start to finish took about 30 minutes. The Cricut Joy was easy to set up and start to use right away. What made my job even easier is the step-by-step process you’ll find in the Cricut Design Space. You can find all types of projects and ideas, from beginner to expert.
Make personalized cards with a Cricut Joy Cutting Machine
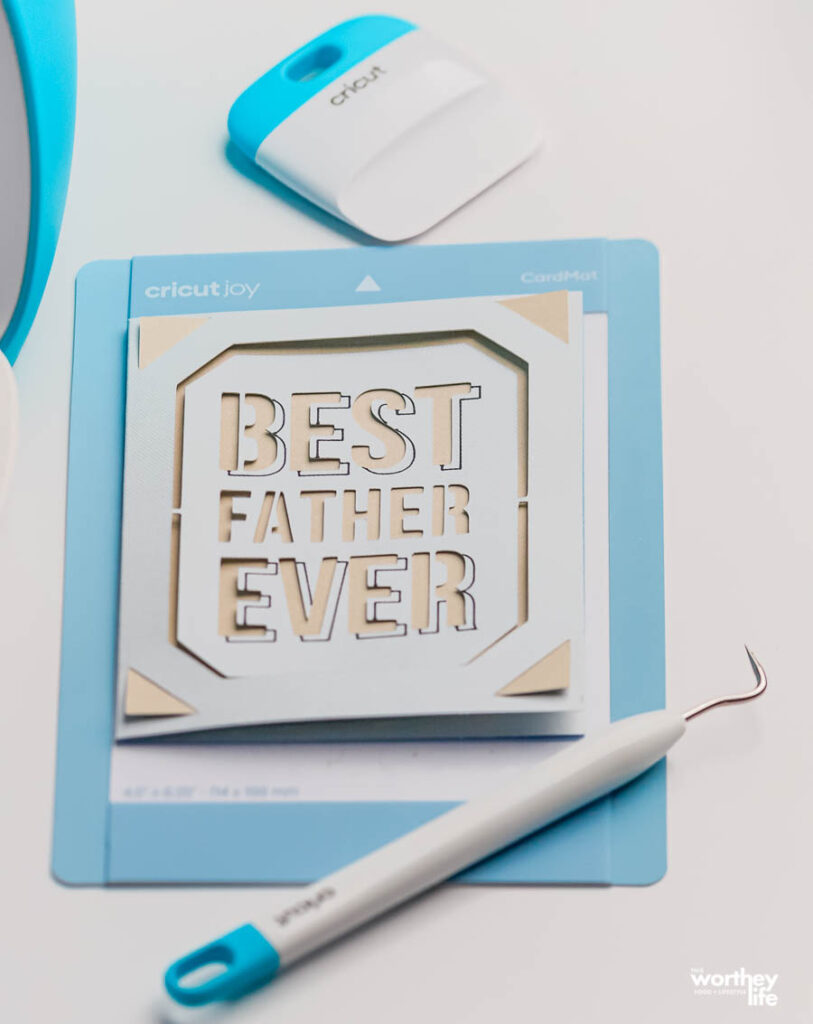
One of the other projects I wanted to try for the first time on any Cricut machine was personalized cards. I don’t know about you, but there are times when I’ve searched through all the cards at the store and still didn’t find one I needed. Since this was my first time using the Cricut Joy to make a card, I picked a straightforward design.
When I graduated from high school year over 20 years, someone gifted me a scrapbooking set. That’s when I fell in love with scrapping, which eventually led me to buy my first Cricut machine. However, I eventually stopped using it because buying cartridges added up.
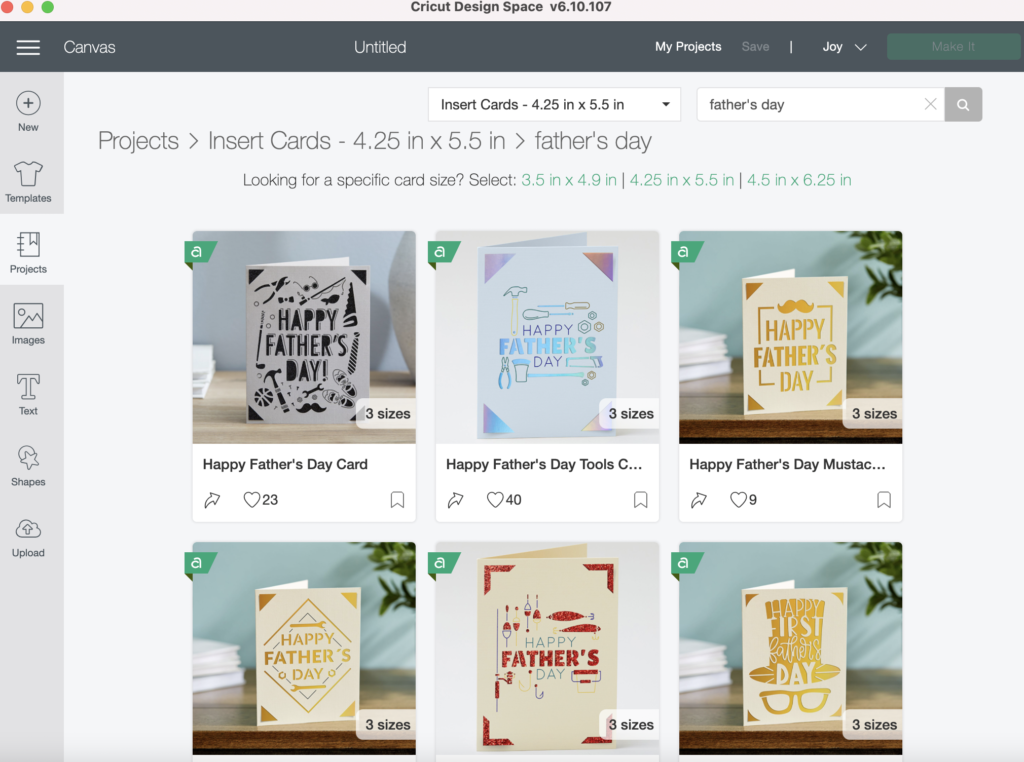
Nevertheless, I love the idea of having so many images and templates available to me, many of them free. (But it pays to have their premium membership for access to the best of what Cricut has to offer).
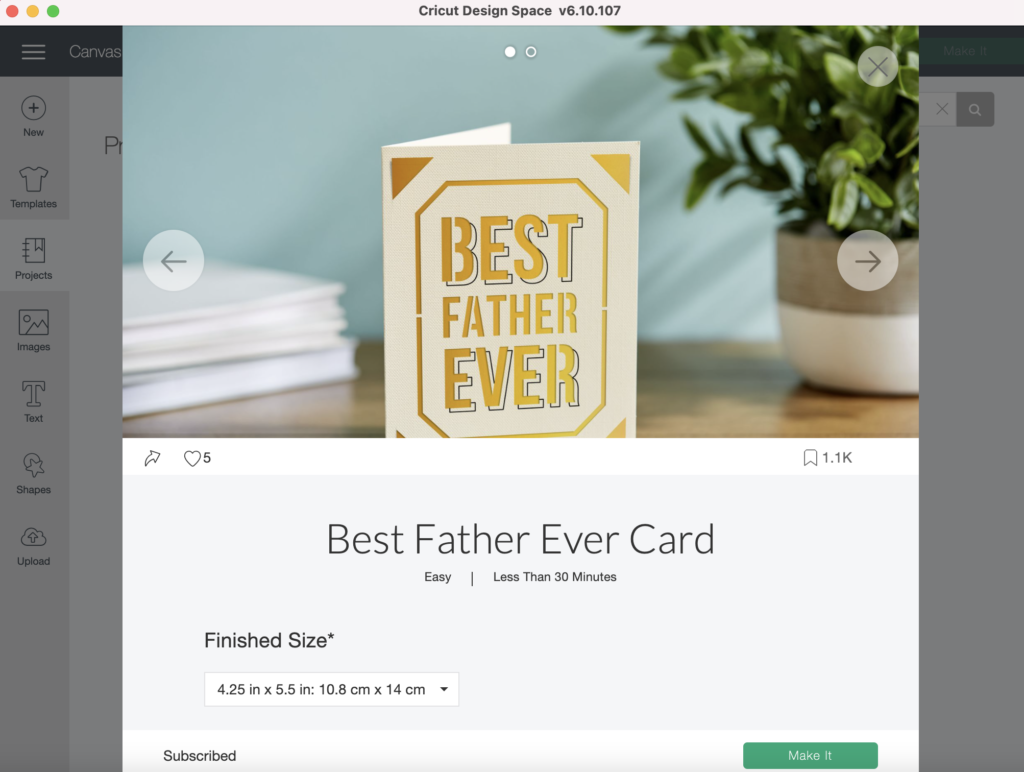
How to make a Father’s Day Card using Cricut Joy
Supplies:
- Cricut Joy
- Cricut Joy Pen
- Cricut Joy Blade (already in the Cricut Joy)
- Cricut Joy Insert Cards
- Cricut Spatula
Directions:
- Opening up the Cricut Design Space, I selected a new project, then clicked on projects on the left-hand side.
- From there, I selected the card category and typed in Father’s Day cards. There are so many options. But if none of those work, you can start with a blank card and personalize it.
- I picked my card option and put in the correct size for the card. (4.25 in x 5.5 in) Click the Make It Button.
- You’ll want to select On Card Mat. Double-check to make sure you have the right material and size.
- Continue to follow the directions in Cricut Design Space to make your card.
- You will want to make sure you read the help section before starting to know how to change out the Cricut Joy Pen and Blade when prompted.
- Once you’ve made your card, insert the coordinating card insert into the corner cuts one at a time. Make sure the insert lays flat inside the card.
- Use the Spatula to clean off the card mat.
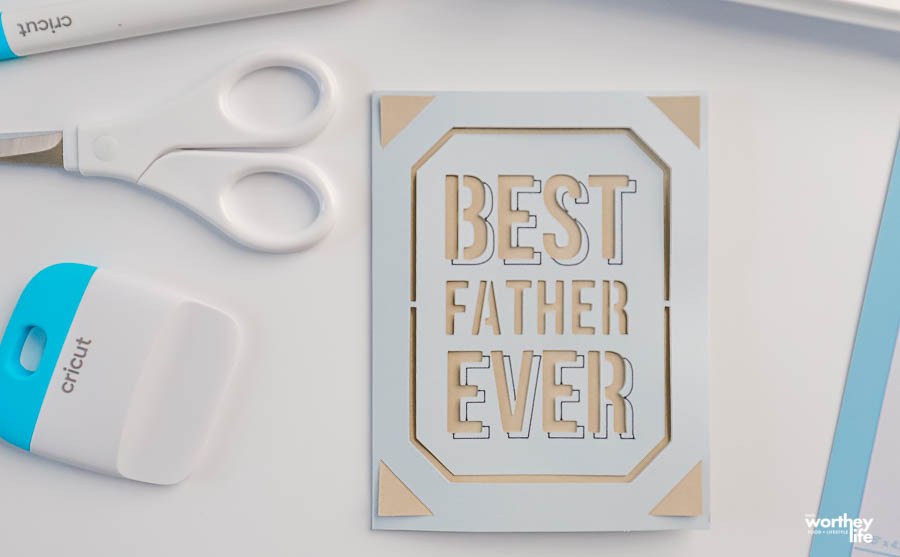
This project was easier than I expected, and I completed it in under 30 minutes.

Derrick loves his Plant Daddy mug. He was quite impressed with how I was able to personalize a mug to match his style.

If you’re looking for a personalized gift for Father’s Day, Cricut Joy is what you need. The machine is affordable and doesn’t take up much space. Plus, it’s user-friendly. With the twins graduating last week from high school, I plan to make them personalized cards for their grad party.
If you want to go the extra mile for that Father’s Day gift, check out this tutorial for a DIY grill apron using the Cricut Easy Press machine.

I’m looking forward to making personalized menus for tablescapes and more. The creative possibilities are endless.
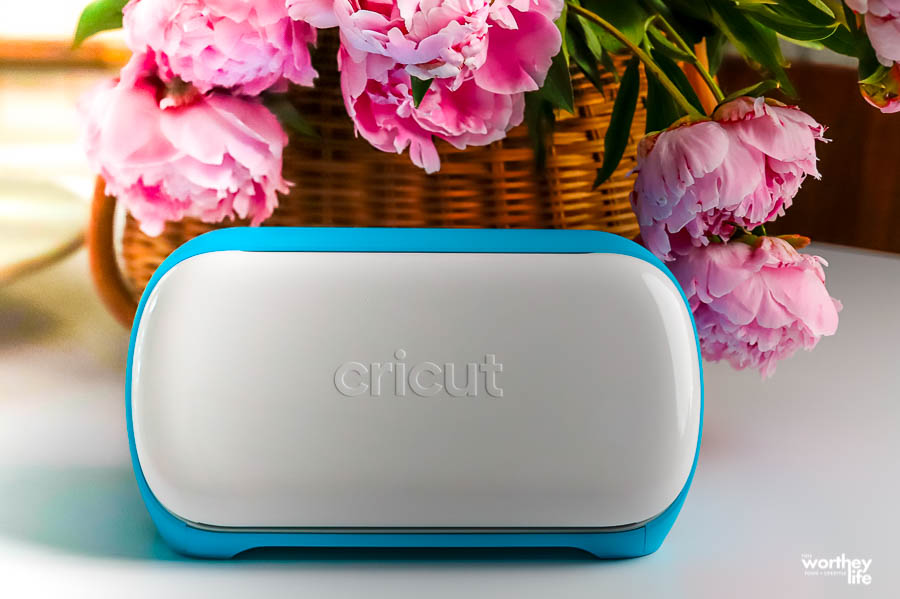
Interested in getting a Cricut Joy? Learn more about this amazing little machine by visiting their website. Already own a machine and need to stockup on supplies? Check out the latest promotions on supplies here.




Leave a Reply