Are you a cactus fan? If so, try making these DIY Mini Potted Paper Cactus using your Cricut.
This is a fun way to add some budget-friendly decor to your home, office desk, or even DIY party decor!
Get the details down below on how this DIY Cricut idea came together!
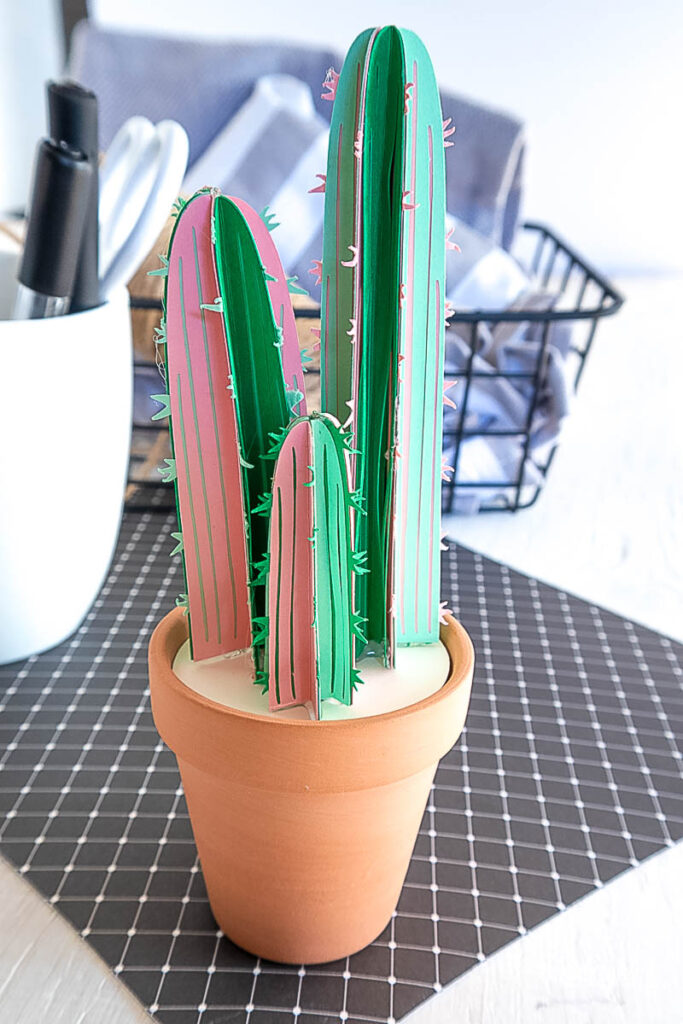
DIY Mini Potted Paper Cactus Using Your Cricut
Summer’s here, and if you’re looking for an easy DIY idea using your Cricut, try your hand at making these super cute Mini Potted Paper Cactus.
I’m a big plan of fresh and live plants, but it’s always fun to create something as well. You can use your cutting machine, like a Cricut to make a paper cactus to use in your office or somewhere around the home.
These paper cactus are a fun way to spruce up your living room, kitchen window sink, bathroom, bedroom, or office space.
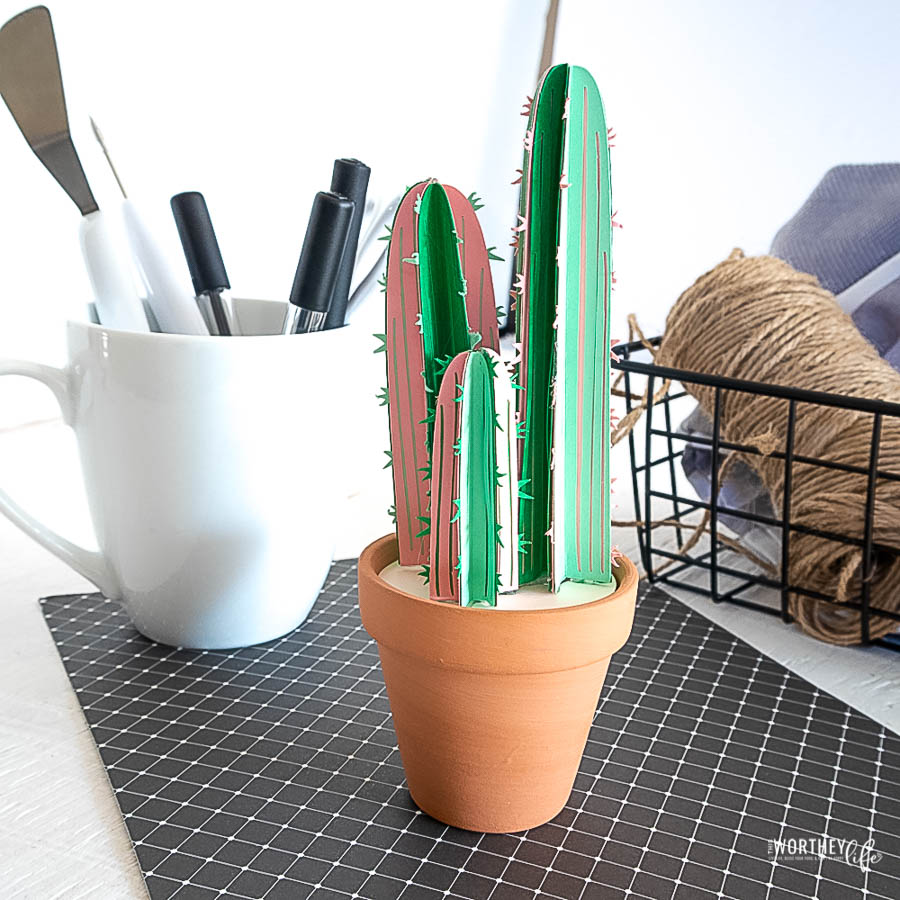
A fun idea for older kids (Teen DIY idea)
Since we’ve been home for many, many months, and now heading into summer, we’re all looking for things to do. This DIY Cricut idea is one to have teens do if they’re into crafts and using a Cricut.
You can also check out our summer bucket list for teens to find more things to keep them busy!
What I love about using a Cricut is that you can make just about anything! Some of my favorite ways to use my Cricut is making DIY Rae Dunn mugs.
I remember when I first got my Cricut, I let it sit in the box for months because I didn’t think I could figure out how to use it and create projects. BOY, was I wrong!
Here are some other ideas to try with your Cricut:
Scrabble Letter Tiles & A DIY Cricut Project
DIY Coffee Mug With Vinyl Statement Using A Cricut
DIY Cricut Wooden Serving Tray for Hot Cocoa
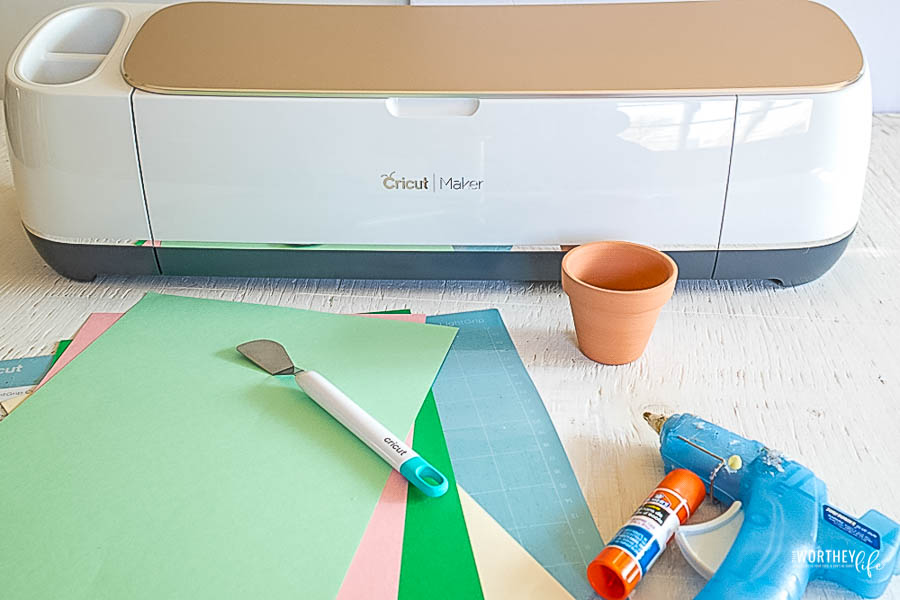
Materials Needed to create Mini Potted Paper Cactus Using Your Cricut
- Torch Cactus template in Design Space, #M103661F
- Cricut Maker (or other Cricut cutting machine) with Fine Point Blade and Scoring tool
- Cricut Light Grip Mat
- Cardstock paper in light green, dark green, coral pink, and cream colors
- Small terracotta pot (size 2″)
- Spatula
- Styrofoam ball or other filler to fit inside a terracotta pot
- Hot glue gun with clear hot glue sticks
- Glue stick
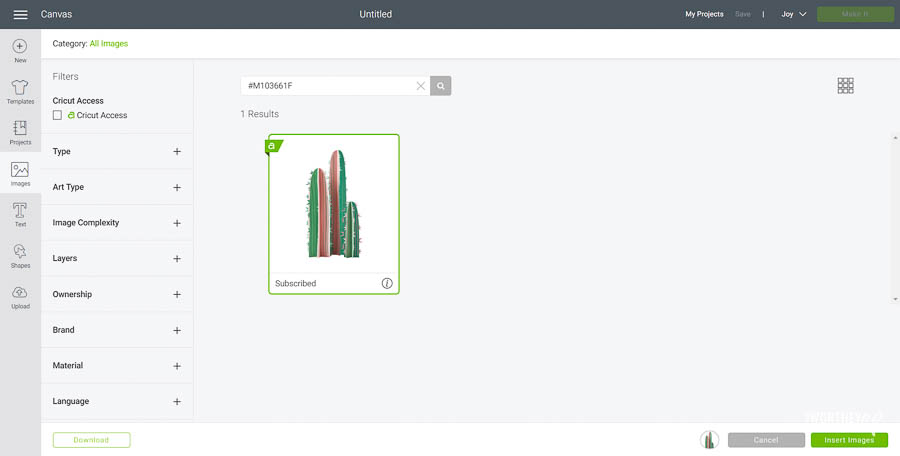
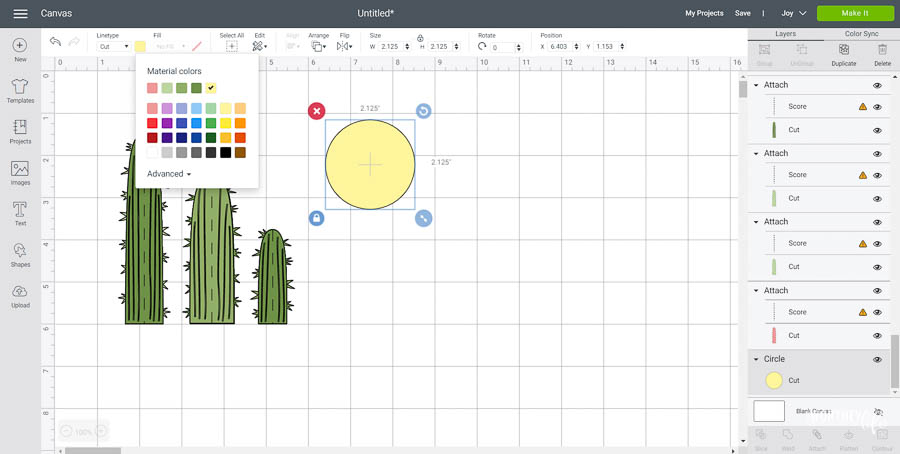
Step-by-step instructions to Cut Three Paper Cacti (in varying sizes)
- Before you start this project, make sure you have everything you need (see the material list above) to create your paper cactus.
Uploading the Cactus Pattern
- Open Cricut Design Space.
- Click on the “+” sign to start a new project, opening up a blank canvas.
- Click on the Images button from the toolbar.
- Search the “torch cactus” image (#M103661F) and then click on the image to insert the pattern on the canvas.
- Resize grouping to double its original height (4.5″ high).
- Click on the shape button on the toolbar to insert a circle shape.
- Resize the circle shape to match slightly smaller than the diameter of the top of the terracotta pot. In this case, the circle shape is sized to 2.125″.
- Change the color of the lightest green pieces to pink and change the color of the circle shape to cream color. Move to the color sync tab to see all the pieces sorted by color.
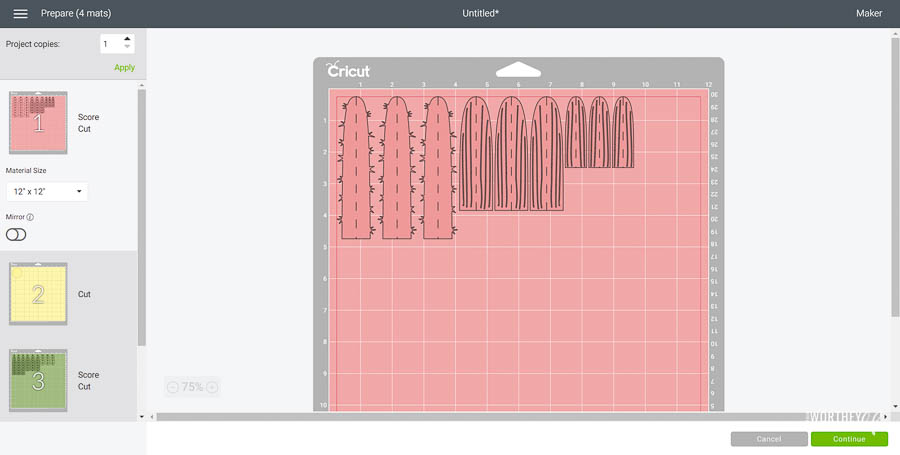
Cutting
- With the machine set to Cricut Maker, select “Make It” in Design Space.
- Set material type to Cardstock, choosing the appropriate weight based on your paper.
- Place the first paper color onto the light grip mat.
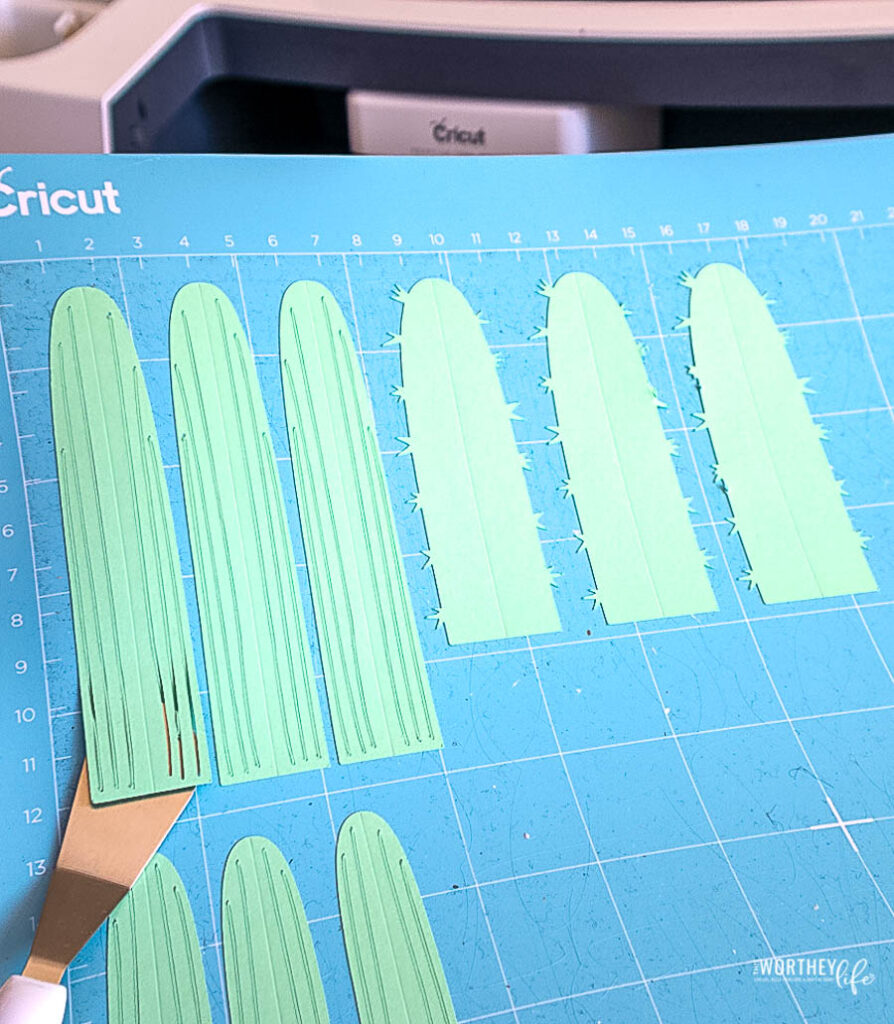
- Follow prompts for loading cardstock paper into Cricut Maker and cutting. When the cut is complete, unload the mat from the machine.
- Remove the cut pieces from the cutting mat using a spatula tool.
- Repeat for the remaining cacti pieces and papers.
Assembling the Paper Cactus
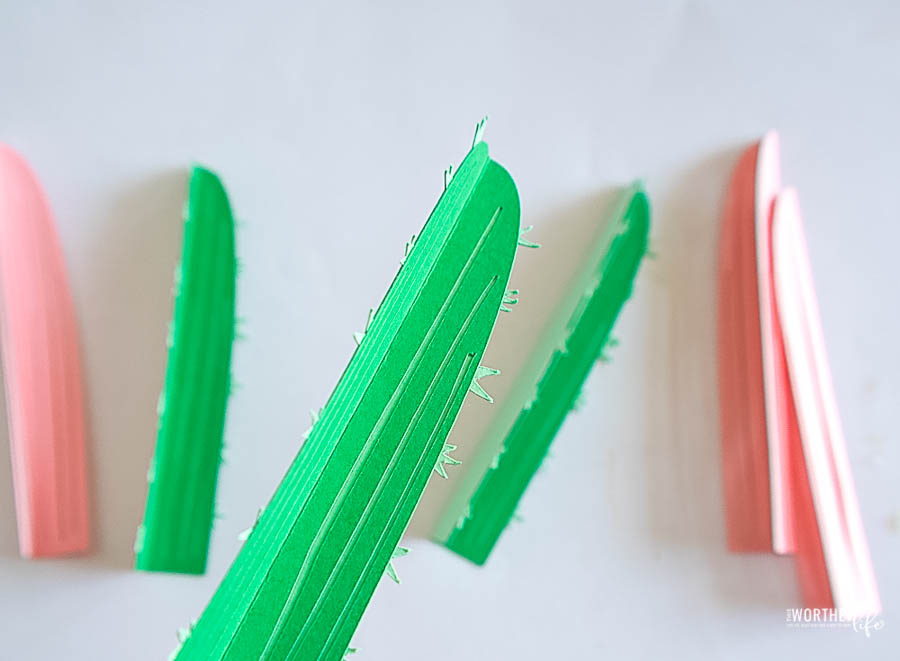
- Fold the cactus pieces along the score lines.
- Group the similar-sized pieces. They will create three separate cacti.
- Start with the smallest sized cactus. Using a glue stick, glue the pieces together, sandwiching the prickly pieces between the other colors, alternating them as you go along.
- Repeat with the other two sizes of cactus.
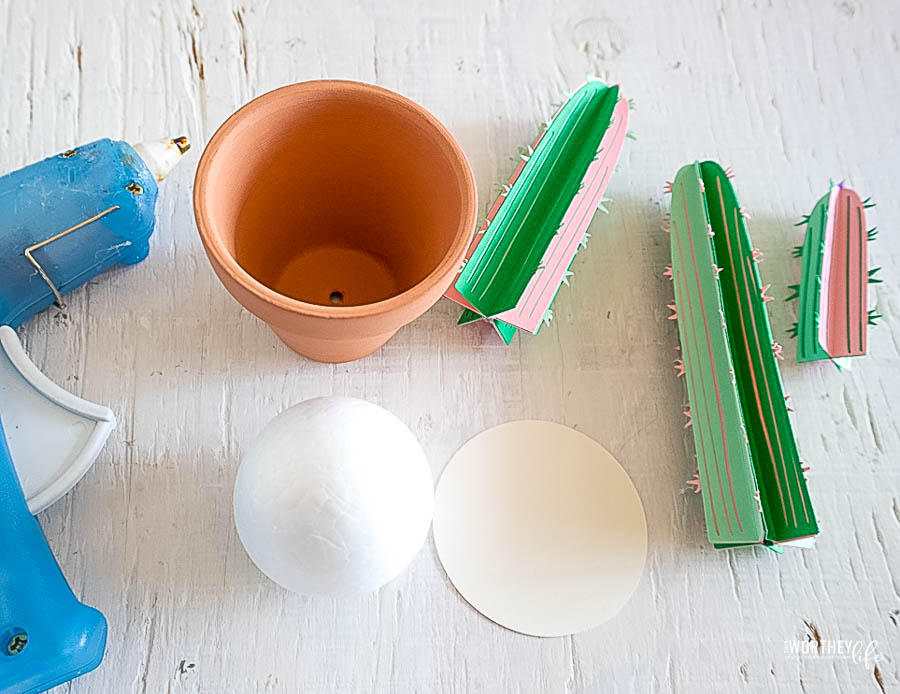
Assembling the Potter Paper Cactus
- Place the styrofoam ball (or other filler material) inside the terracotta pot.
- Cover the ball with the cream-colored circle shape and glue it in place.
- Attach the prepared cactus pieces on top of the circle with hot glue and hold them in place until the glue sets.
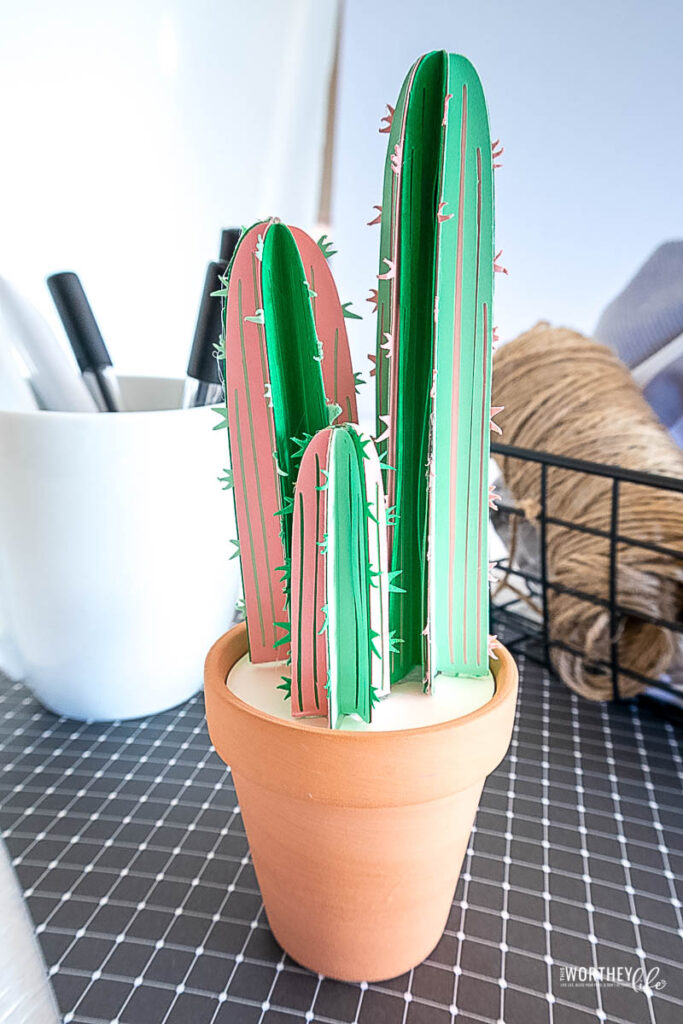
And that’s it! A fun, colorful DIY project to do this summer! And if you’re planning a party with a Boho or Cactus-type theme, these would be great to make for party decor!


Leave a Reply