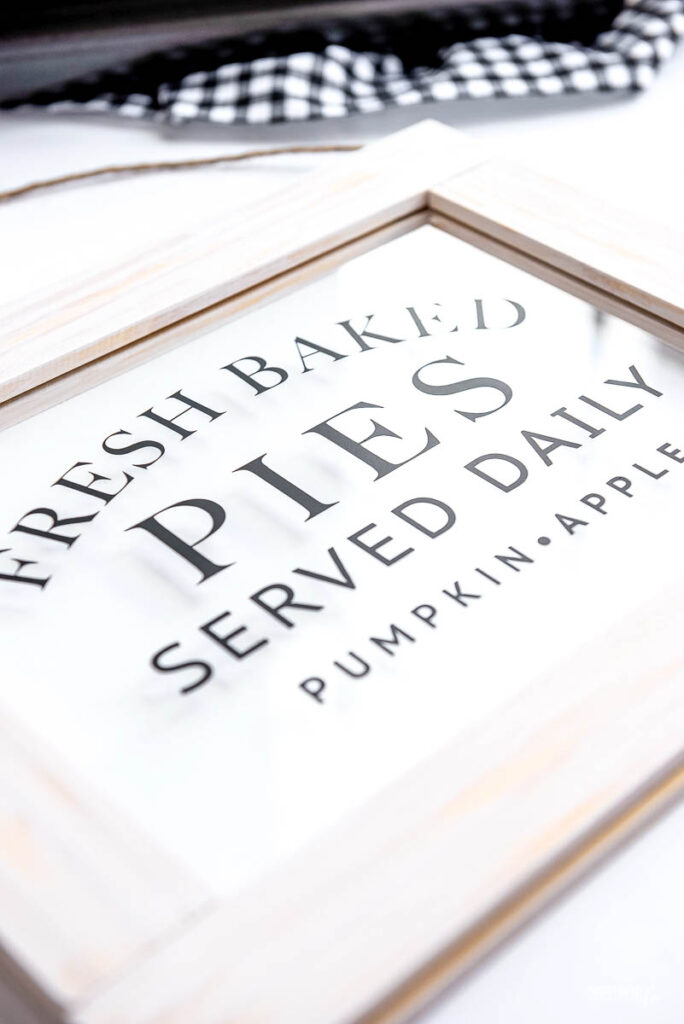
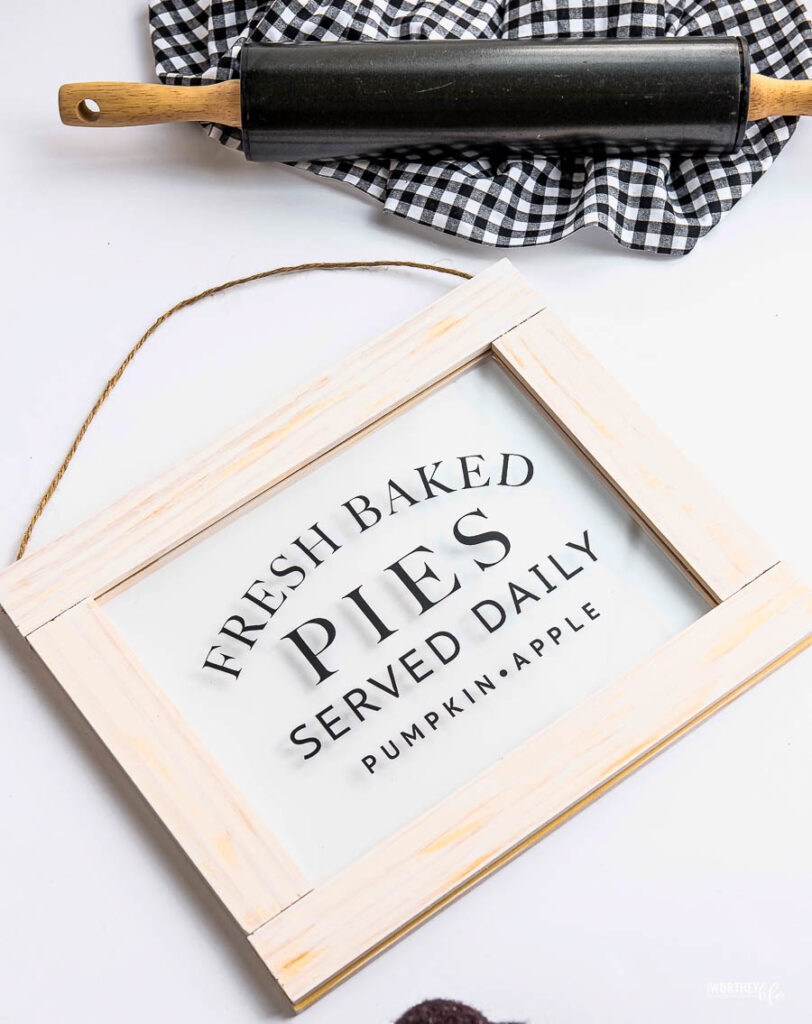
Making up this fresh-baked pies sign is a simple addition to your kitchen that is an absolute must. We’re sharing how to create this pie sign using your Cricut in this step-by-step tutorial down below.
Fresh Baked Pies Sign Using A Cricut
The most important question has yet to be asked…Do you prefer apple pie or pumpkin pie more? I’m a big fan of pies, with sweet potato pie being my first choice, followed by apple pie.
Why not share your love of pies with others by making up this fun pie sign? It’s not only super simple, but it’s a great decor idea for your home as well.
Be certain to check out our Pie Bar Idea | Holiday Dessert Essentials to have the best pie ideas ever!
This is one of the easiest projects that you can make at home with little effort on your part using your Cricut.
What you need to make this Fresh Baked Pies Sign
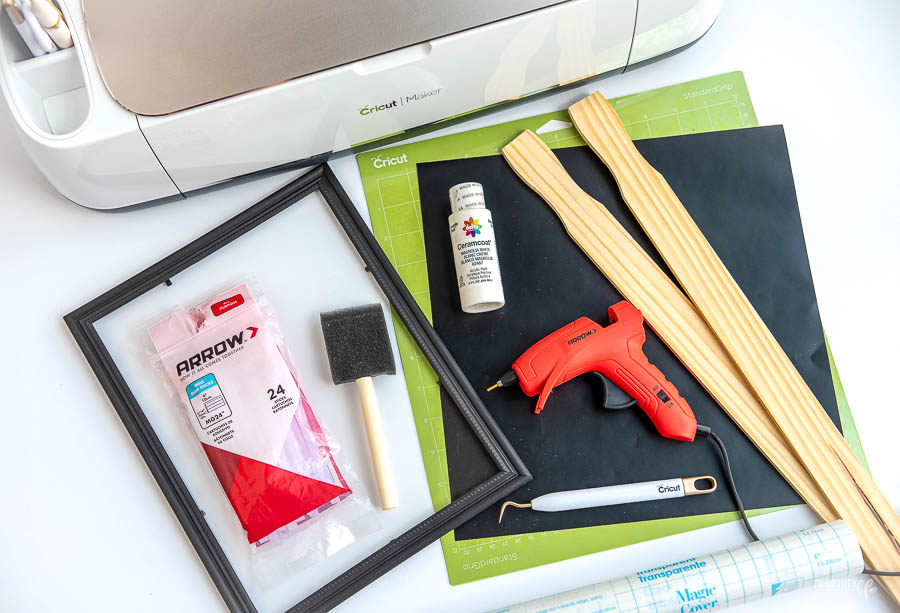
Just gather up the list of simple supplies below to get started.
- Cricut or another cutting machine
- Cricut blue light or green standard grip mat
- Oracle 651 vinyl or permanent vinyl of your choice
- Transfer tape
- High temp hot glue gun and industrial-strength glue sticks (must be a high temp hot glue gun and stronghold glue sticks like an arrow, gorilla gun, etc. that works with wood). Or E6000 glue.
- White matte paint
- Paintbrush
- Dollar tree frame
- Cricut Weeding tool
- Cricut scraper tool or old credit card
- 2 packs of paint sticks
- Fresh Baked Pies Sign SVG (Download here)
How to Make Fresh Baked Pies Sign
Step 1: Begin by cutting down your paint sticks to size (this will depend on the size of the frame used). You will need two longer sides and two shorter sides to create the front of the frame. Repeat for the back of the frame. Use the photo demonstration for reference on how to cute for later assembly.
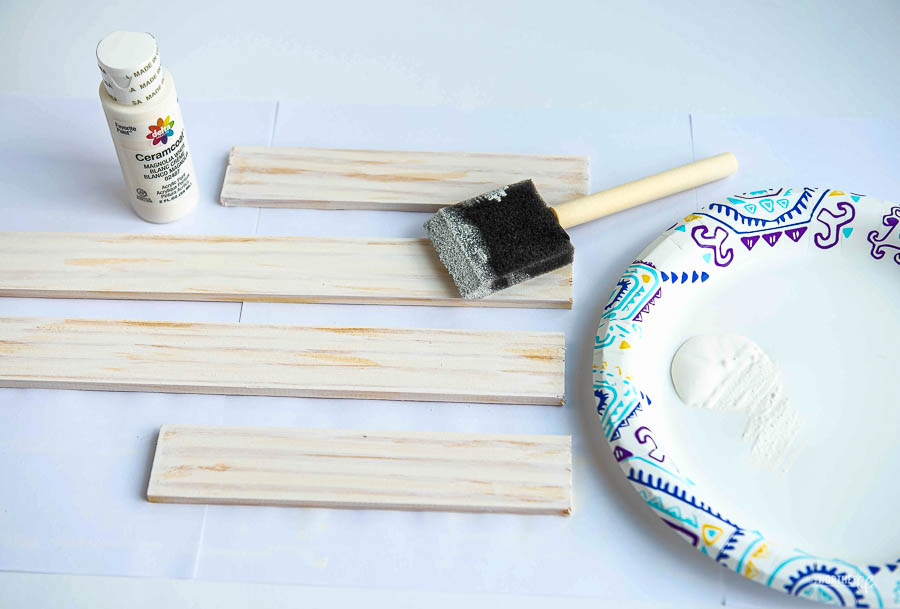
Step 2: Dry brush the cut paint sticks to your liking. Dry brushing it, allowing the wood raw, gives it more of a rustic, farmhouse style.
NOTE: be sure to paint the side that will be exposed, not the side with the ruler markings.
Step 3: Once dry, start to assemble the front of the frame. Lay out the pieces and add hot glue using a high temp hot glue gun and industrial-strength glue sticks (this is important to use).
Otherwise, use E6000 for assembly. Add glue to the top and bottom edges of the shortest sides of the shortest sticks and attach the top and bottom of the longest sticks.
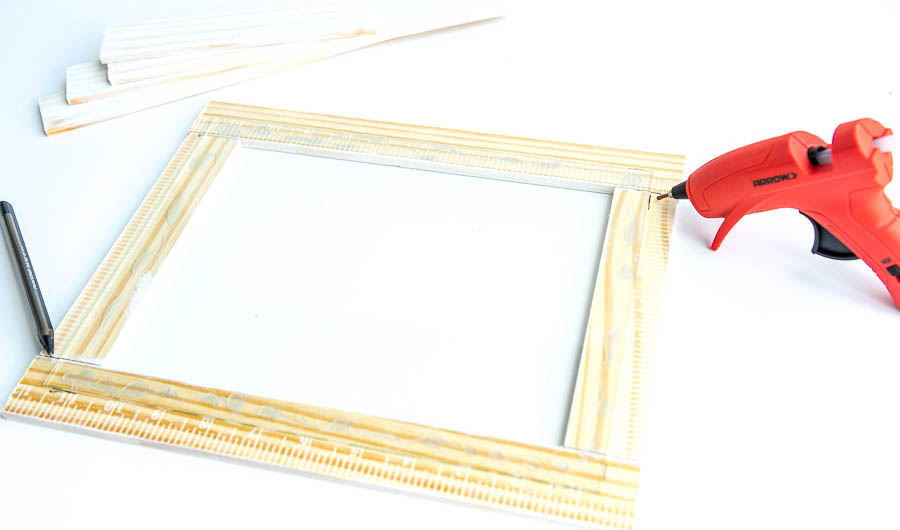
Step 4: Now that the front of the frame is assembled, remove the glass for the cheap frame, and discard the actual frame. Lay the glass onto the wood frame and align the glass’s edge in the center of each woodside. Use a pen to mark the corners for the gluing step.
Step 5: Using the markings as a guide, add glue to the frame’s innermost part. Add the glass and use pressure till completely dry.
NOTE: you may need to work quickly to ensure the best hold.
Step 6: Enclose the glass by creating the back of the frame. Add hot glue again to the innermost portion of the glass (similar location in step 5) and add each side of the paint sticks one by one to create the frame backing.
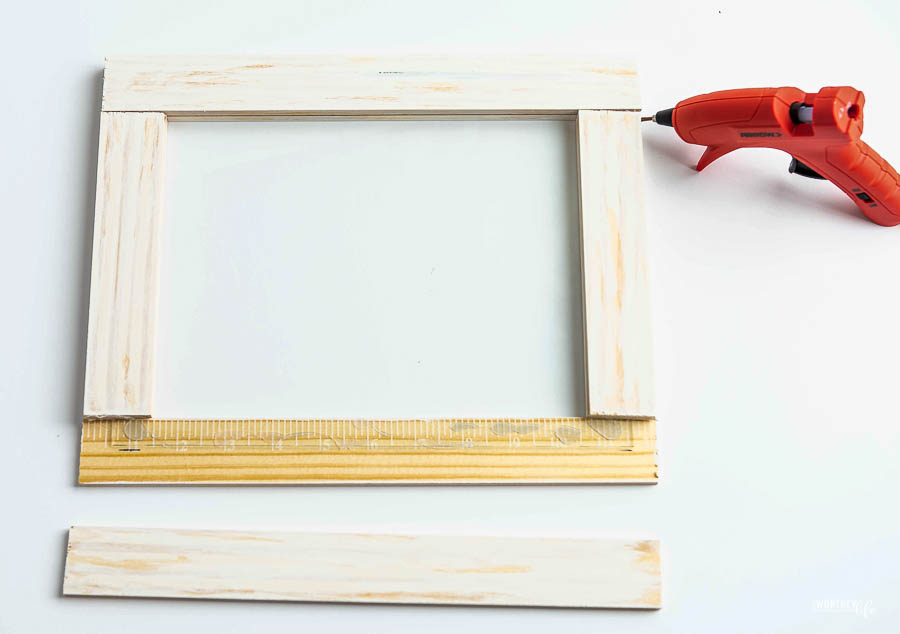
Step 7: Allow the glue to cool and dry and begin working on the vinyl. Import and upload the SVG file to your machine’s design program. Adjust the size of the SVG to fit the size of your sign.
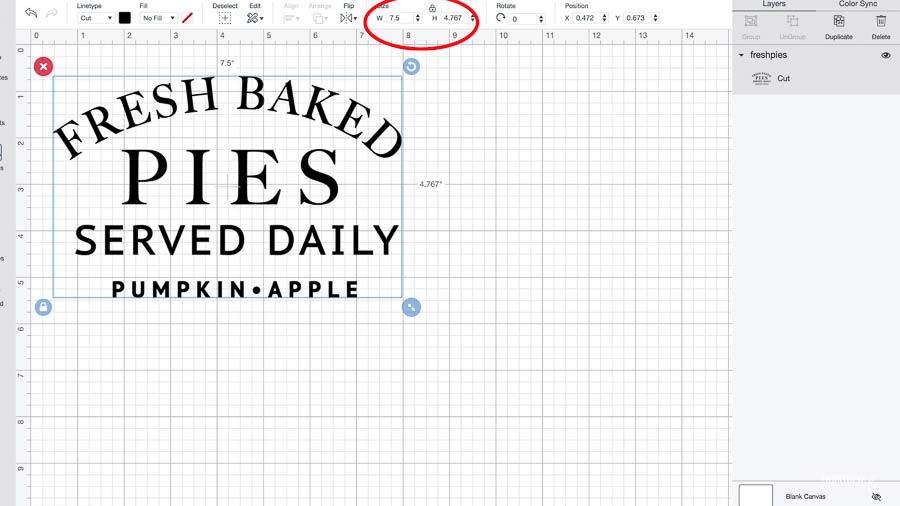
Step 8: Once sized accordingly, adjust the machine’s setting or material dial to vinyl. Load the oracle 651 (this is permanent vinyl) to your machine on the blue light grip mat and hit “go.”
Step 9:After the cut is complete, begin to pull the negative vinyl off and away from the letters using your weeding tool. This process is called weeding, and you will weed around the outside of the letters and small parts inside any enclosed (ex. a,e,o ).
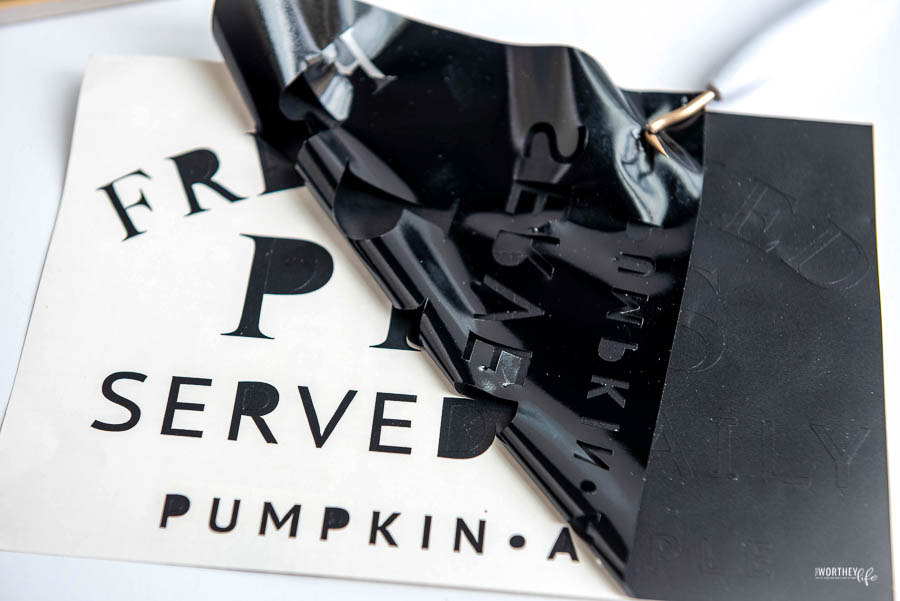
Step 10: Now that the weeding is complete, cut off a piece of transfer paper, the size of the cut vinyl, and apply it to the vinyl using pressure with the scrapper tool. This will be done to help get your vinyl off the vinyl’s backing and onto your project’s surface.
Step 11: Next, turn the entire design facing downwards and gently pull the vinyl plastic backing off and away from the transfer paper.
Step 12: Find the middle of your sign, measuring the glass area. Lay the transfer with vinyl lightly on top of the glass. Once 100% happy with the design’s location, apply pressure and smooth over the design using the scraper tool.
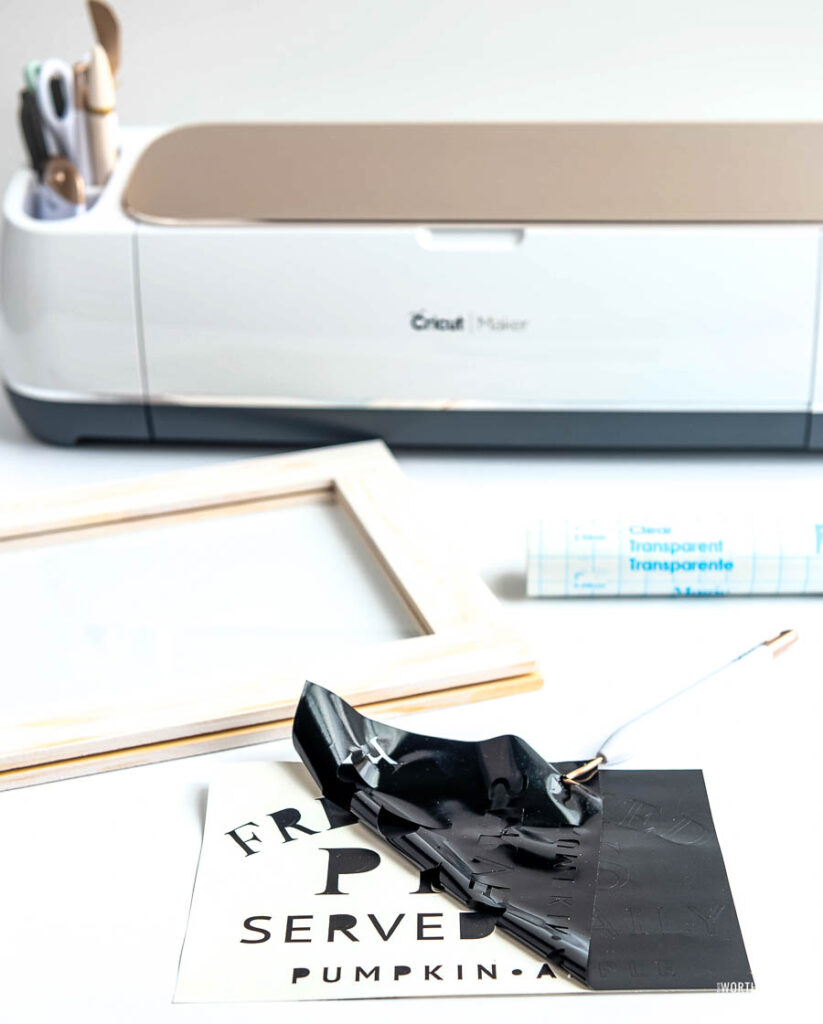
Step 13: Once enough pressure had been applied slowly, remove the transfer paper by starting at a corner and very carefully and slowly rolling it away and off the glass. The vinyl will remain on your project.
Step 14: Optional – add some wire or twine for a hanging option.
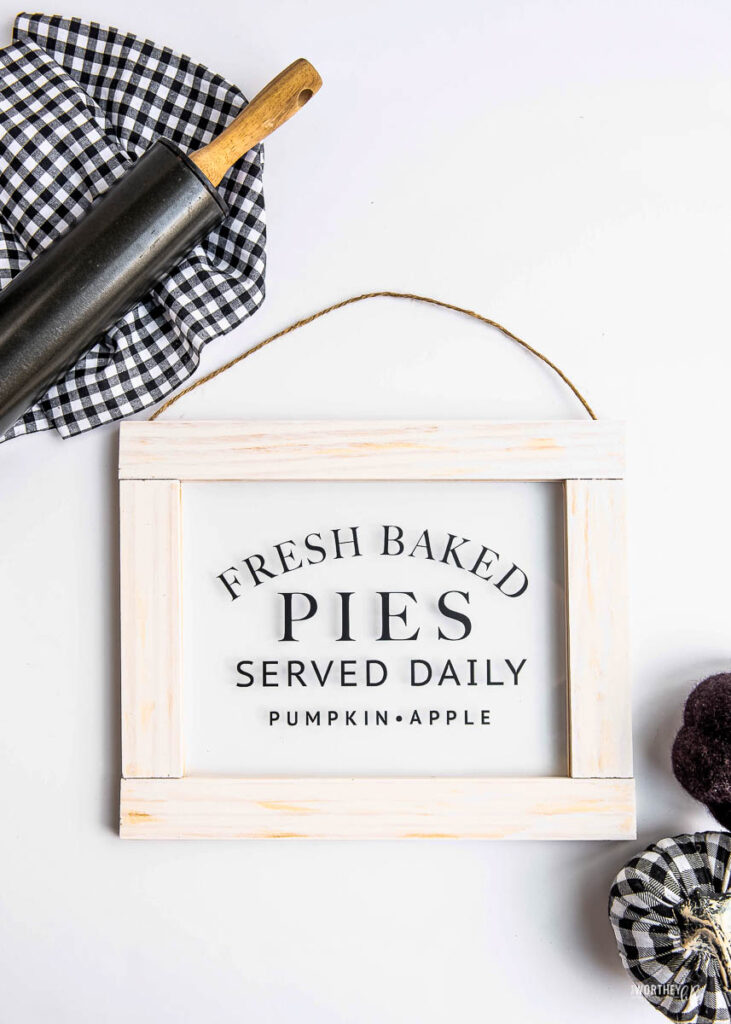
See how simple and easy it is to make this sign? You can make this up and display in your home and also make it up for someone else, too.
These signs make great gifts and are certain to bring a smile to anyone’s face!
More Fun Crafts
Here are more projects you can make with your Cricut:
20 Creative Cricut Halloween Ideas
Iron-On Spider Web Hoop Art with Cricut With FREE SVG
DIY Mini Potted Paper Cactus Using Your Cricut
Coffee Mug Vinyl Ideas | DIY Rae Dunn Inspired Decal Coffee Mugs


Leave a Reply