One of the best parts of the Elf on the Shelf arriving each year is that it truly is like a new part of the family. If you plan to include your elf in day to day shenanigans, then making this DIY Hot Cocoa Mug for Your Elf on the Shelf will be a must! This is a truly simple, but awesome addition to your Elf on the Shelf routine each year! Think of all the ways you can include this little craft throughout his or her daily arrival!
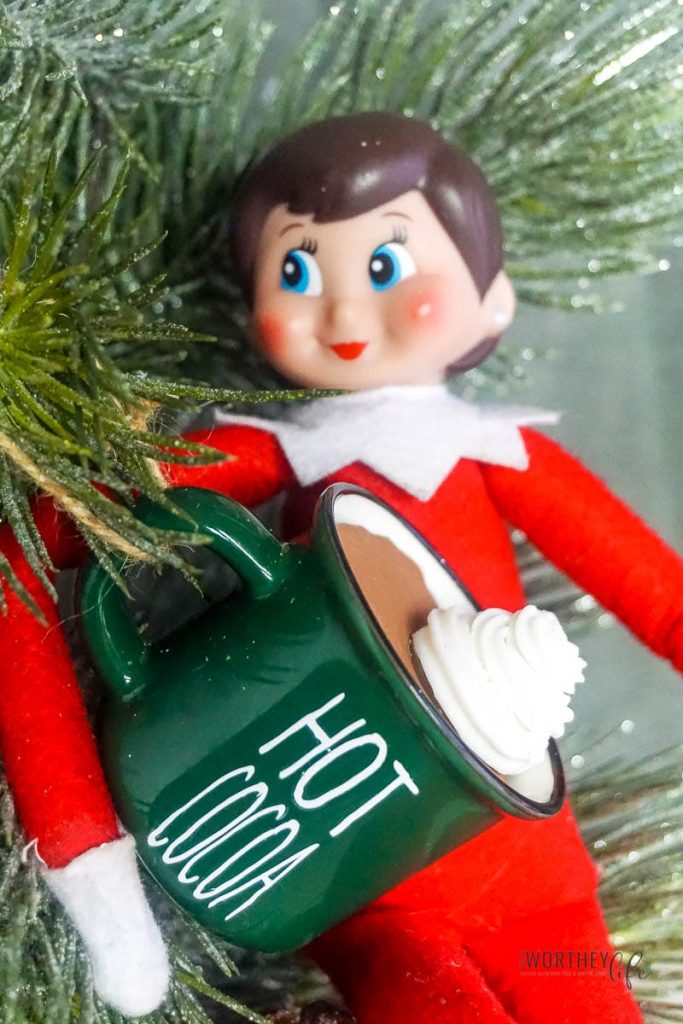
DIY Hot Cocoa Mug For Your Elf on the Shelf
There is nothing I love more than Christmas, so anything fun that I can include in our routine is going to be a hit. Even with teens in the house, our Elf always brings fun antics to the season. We love our hot cocoa during colder months, so why not include a cute accessory for our elf to join us?!
We love cocoa enough to make this great hot chocolate charcuterie board and even a DIY wooden serving tray just for hot cocoa. It’s a favorite family treat and making our elf a part of that tradition was a must.
Supplies You Need:
- Tiny 3-oz Ceramic Mug (I got mine at Hobby Lobby, but you can find them on amazon)
- Brown Craft Paint
- White Polymer Clay
- Twine or Ribbon
- Small Amount of Cardboard
- Small Amount of HTV
- Hot Cocoa SVG
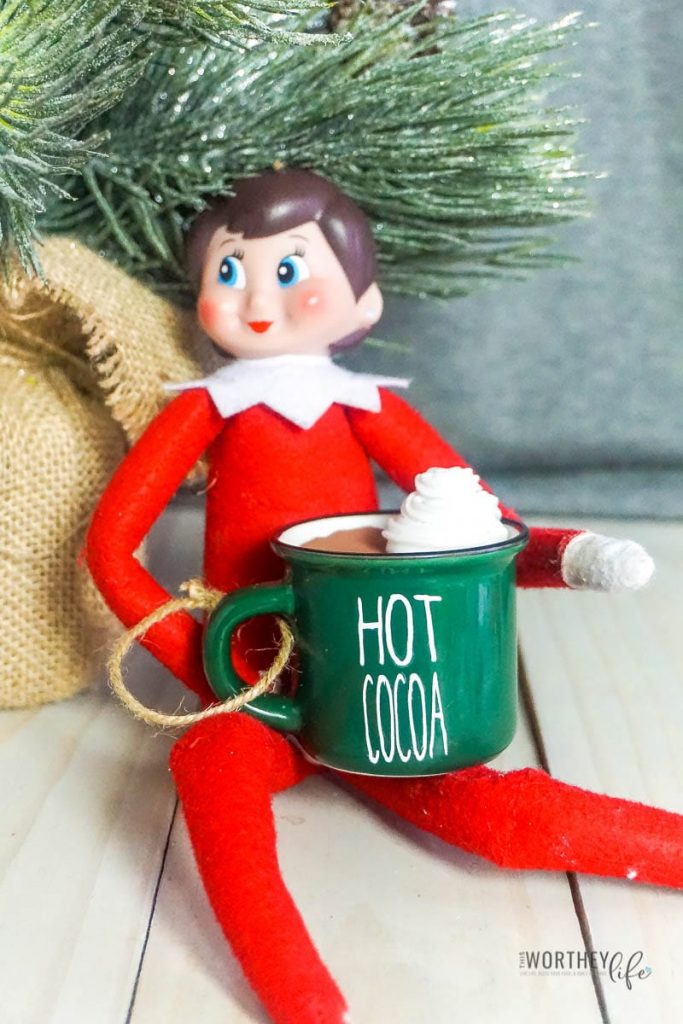
Tools You Need To Make This DIY Hot Cocoa Mug For Your Elf
- Paint Brush
- Scissors
- Hot Glue Gun & Glue
- Tweezers
- Cricut
- Iron or Heat Press
- Star Icing Decorating Tip
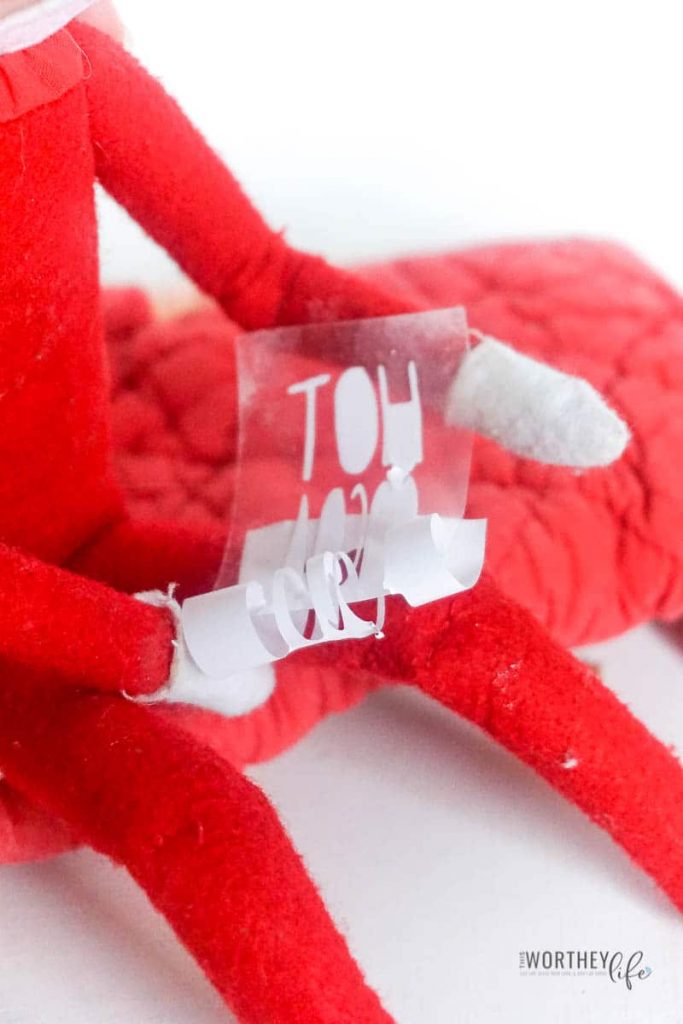
How to Make an Elf on the Shelf Hot Cocoa Mug
- Using the top of the mug as a template, cut out a circle from the cardboard.
- Paint the top of your cardboard circle brown, like hot cocoa color. Allow the paint to dry fully.
- Preheat oven per the polymer clay package’s instructions.
- Make a fat snake of polymer clay and push it through the star icing decorating tip, making a little spiral of it, like whipped cream, that fits on one side of your hot cocoa cardboard circle.
- Place the “whipped cream” into the oven and bake per the polymer clay package instructions. Allow it to cool fully before handling.
- Trim the cardboard circle to fit inside your cup about ½ inch deep. Take care to trim the bottom (unpainted side) a bit more than the top side, this will help it fit into the cup better.
- Hot glue the whipped cream in place to one side of the hot cocoa cardboard circle.
- Cut a 3-4 inch length of twine or ribbon and make a loop, then loop this around the handle of the mug.
- Push the cardboard circle into the top of the cup. Hot glue this in place with the tiniest amount of hot glue, if possible.
- Cut out the cut file, reducing the cut file in size to be less than 2-inches in height. If using HTV, remember to mirror your image.
- Weed vinyl.
- Apply vinyl to the mug.
- Apply heat to the mug.
- Remove backing from the vinyl.
More Elf on the Shelf Ideas
If you are looking for more ideas to make your Elf on the Shelf experience even better this year, make sure to check out all of our amazing content. So many great ways to add your elf into everyday antics that your kids will love!


Leave a Reply