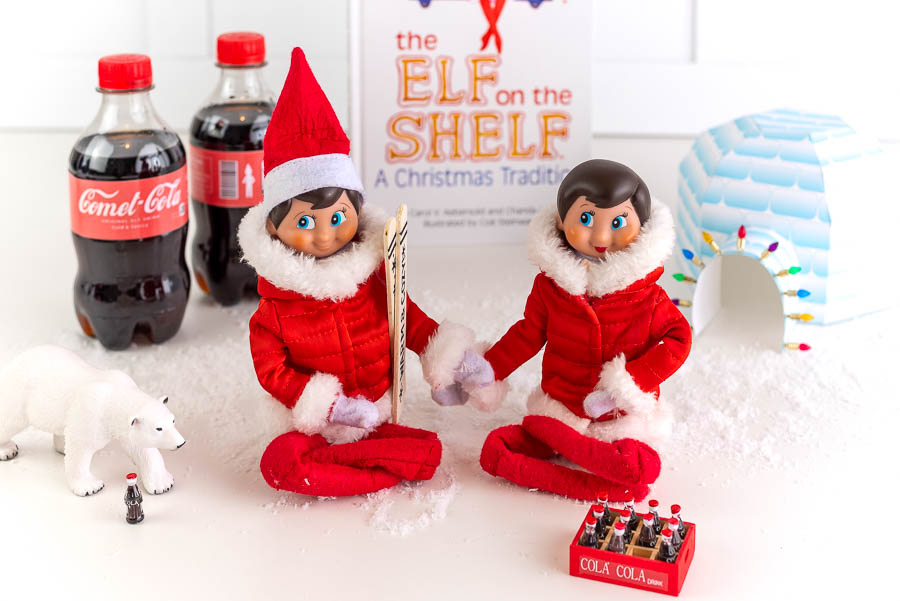
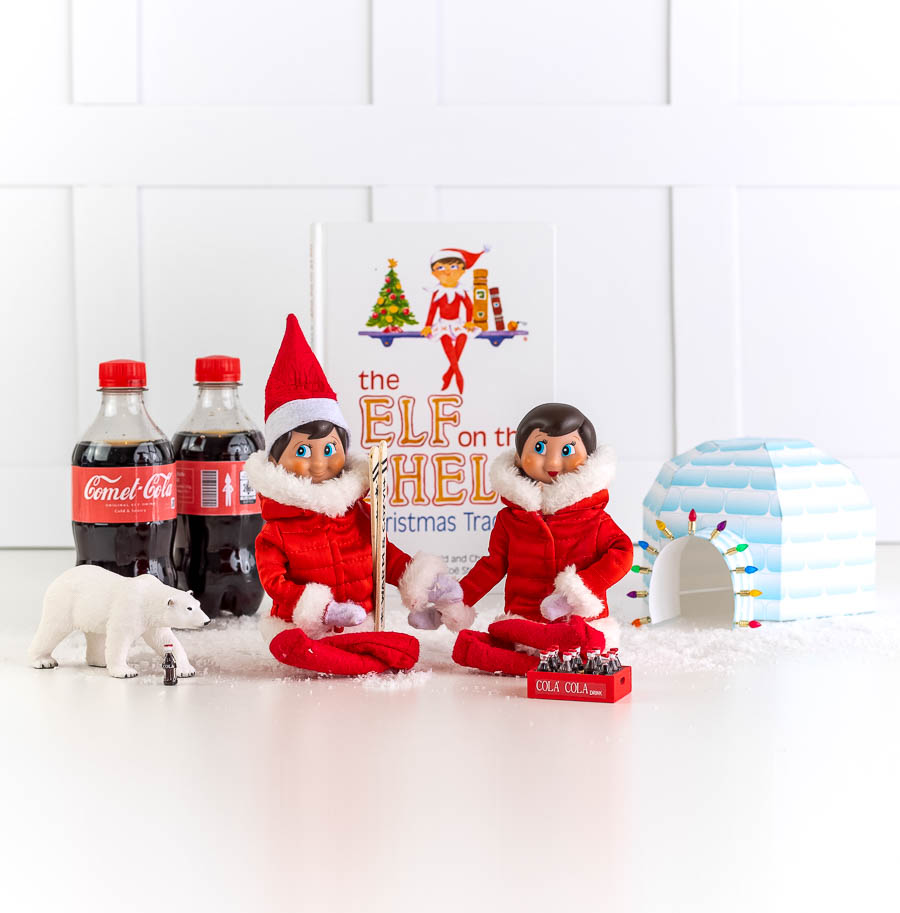
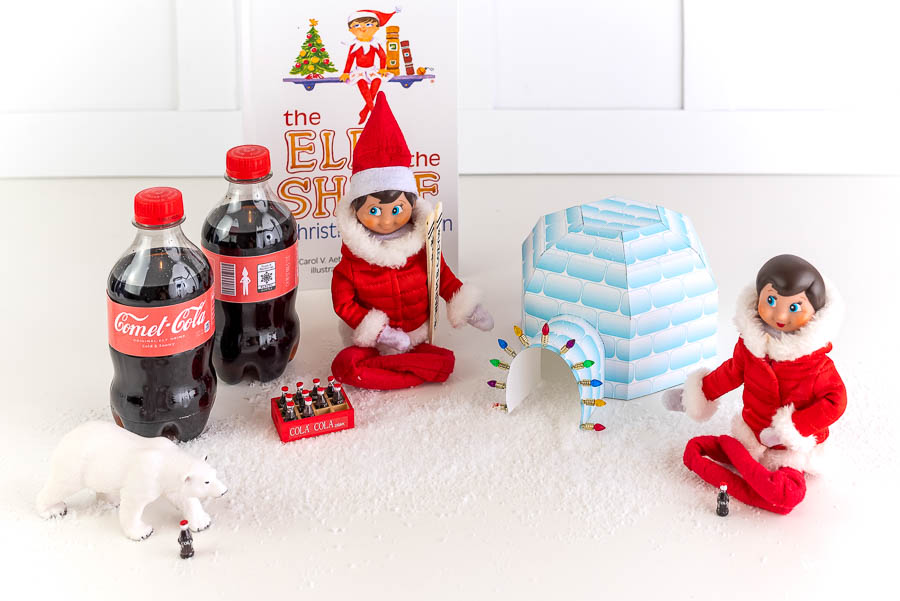
Check out this adorable Elf on the Shelf Coca-Cola Station!
It’s the perfect way to give your elf a cool new hangout – and it’ll be super “cool” for the kids.
Check out my Free Elf on the Shelf Calendar for more fun ideas and activities for your household elf.
There are many ways to have fun this holiday season!
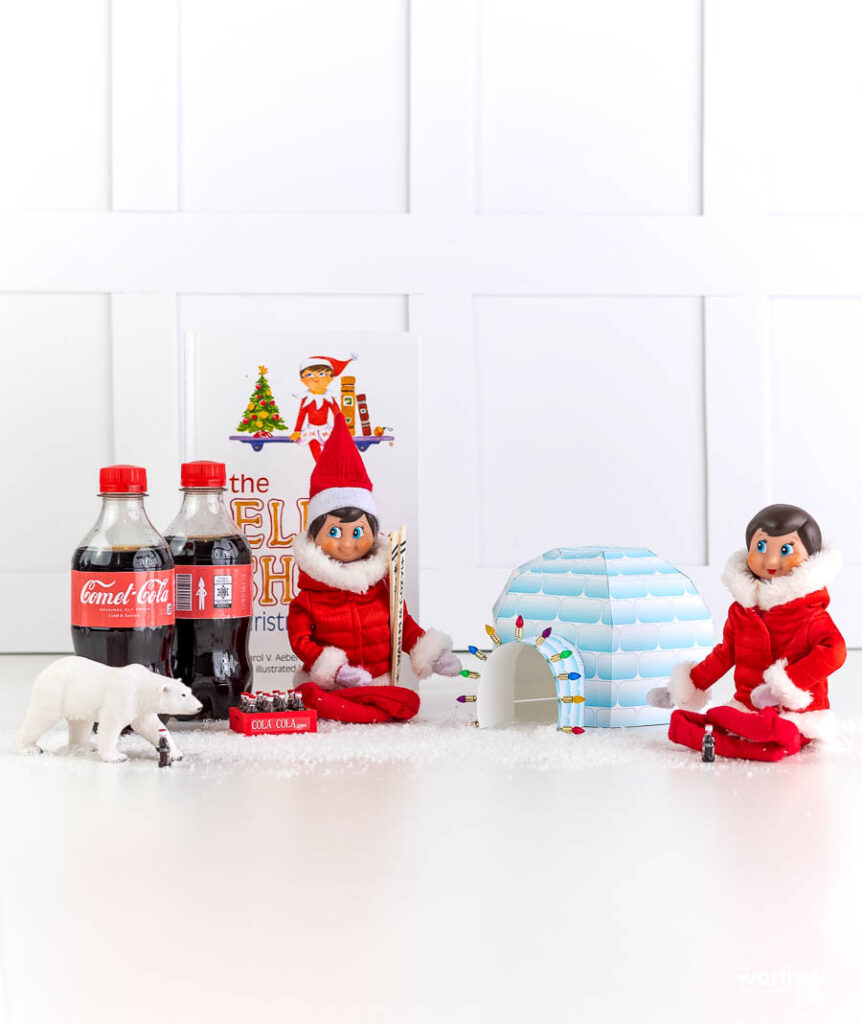
Elf on the Shelf Coca-Cola Station – Free Printable Idea
Those adorable elves are at it again. Not only do they love to come to your house and surprise the kids, but they’re always up for a new adventure or place to hang out.
Since they’re pretty thirsty after a night of hiding and playing, printing and making this adorable coca-cola station is just what they need.
The kids will love waking up and seeing them quenching their thirst around an igloo and hanging out with the polar bears.
It’s a unique way to set up an elf scene.
Find other scenes to try:
Elf on the Shelf DIY For A Cupid-Fil-A Setup Free Printable
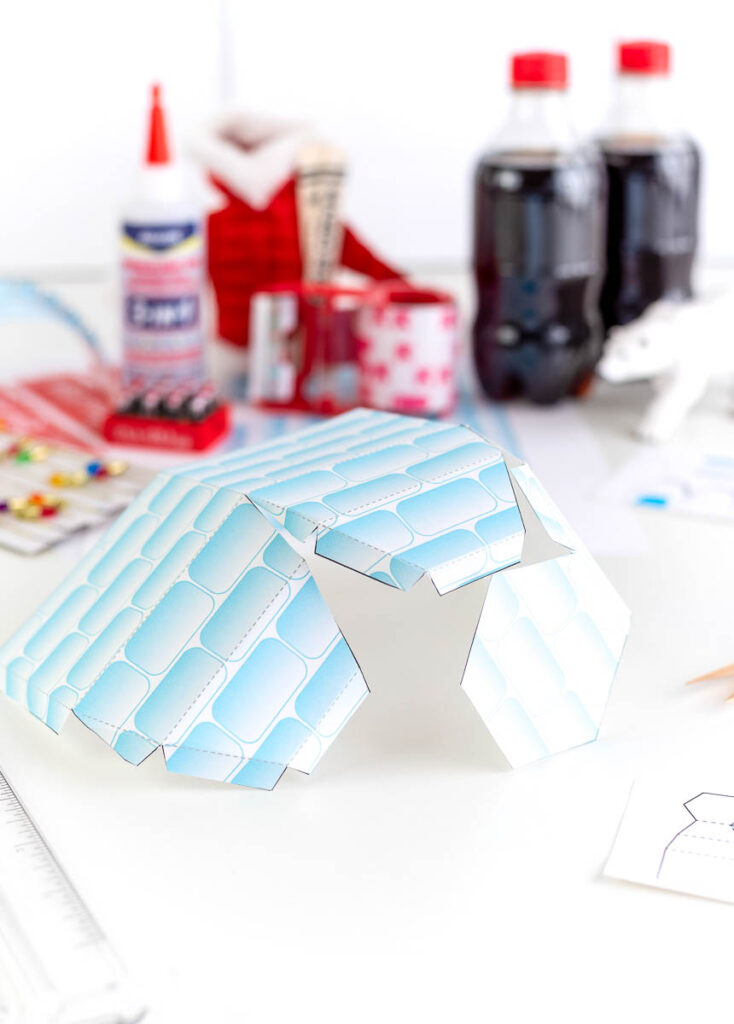
Supplies You Will Need
Here are all the supplies you’ll need to make this fun DIY elf-on-the-shelf activity.
Be sure to scroll to the bottom to get the free printable for this activity!
- 8.5 x 11″ – 65 lb white card stock (3 sheets) •8.5 x 11″ printer paper (for the label)
- Printer (printer not pictured)
- Scissors
- Paper glue (beacon works great)
- Packing tape (optional) or regular gift tape
- Polar bear figurine
- Dollhouse cola bottles (you can also find them at the craft store)
- Elf coat (ornament)
- Ruler or straight edge to help with folding •Optional mini Christmas lights
- Pair of tweezers to help get arms through the coat
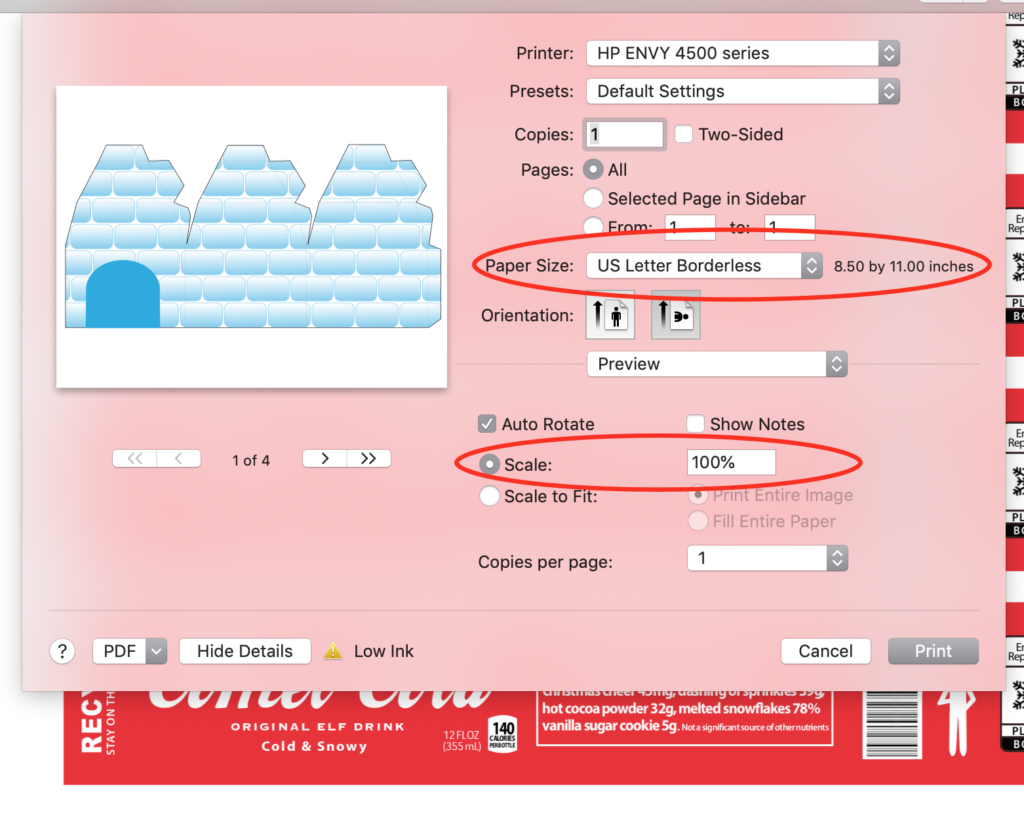
Step 1: Adjust the printer
Print your free Cola-Cola Station template.
Adjust the printer setting under “printer properties” or properties box when prompted to print.
Under paper size, find US letter and change to US letter borderless based on your printer settings.
Then, select the scale ratio and input 100% if not already entered.
* This is important to ensure PDF prints edge to edge and maintains the correct sizing.
Step 2: Cutting
Cut out all printables. Keep the folding and gluing guides set to the side with the files. Cut out the blue door shape to give it an open arch.
*If needing additional help, see the video and folding guides.
Step 3: Fold
Use the folding guide to follow where lines need to be “scored” and folded.
It is easier to fold ink side up first until lines are made, then fold back to create mountain folds. Use points and corners to help lead lines.
*Notes: To get a consistent fold, use a ruler to help with the folding and a second straight-edged tool to help lift the paper from the surface.
Step 4: Igloo door
For the igloo door, once cut gently, create a loose roll in the paper to give it a curve for ease of assembly. Once curved, fold back the small tabs.
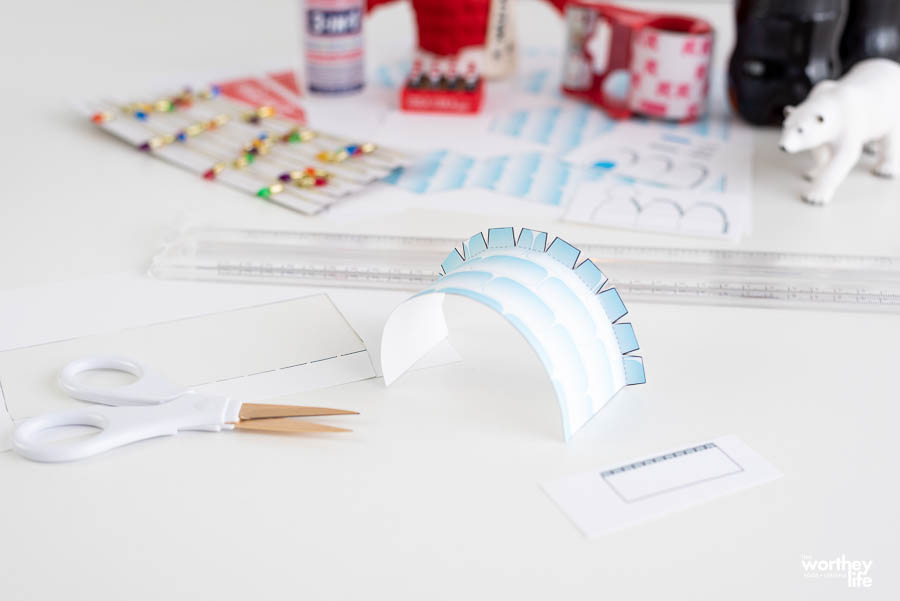
Step 5: Gluing & attaching door
Next, begin to glue. Glue tabs are indicated as a filled-in gray color. Use the guide to follow what tabs need to be attached.

For the igloo, attach both pieces using the end tab on the piece with the door (arch) to create one long continuous piece.
After, attach the door. Slide the door tabs under the archway and connect each small tab one by one. Start left, middle, and right, pushing the door right up to the edge of the doorway as you go so there is no gap.
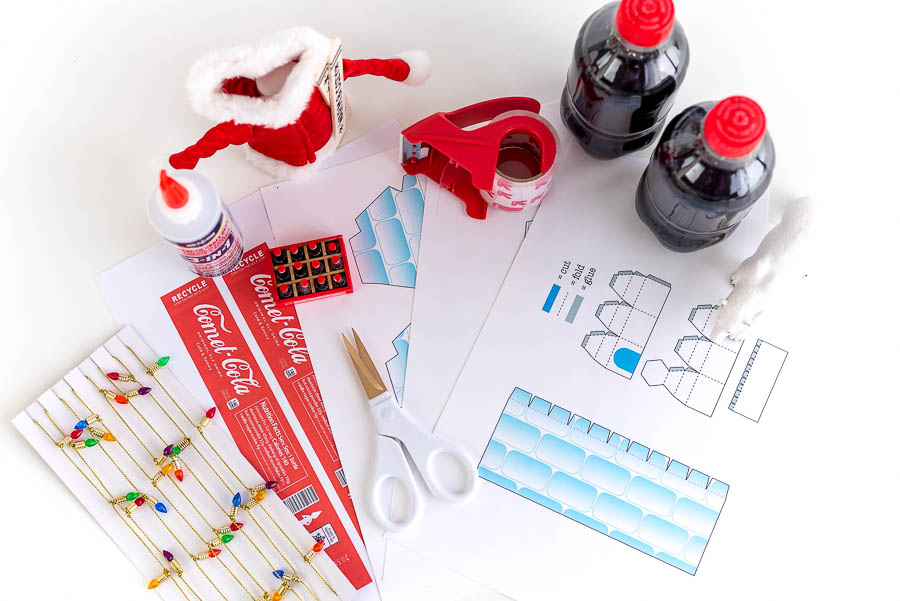
Then glue each wall together, starting with the triangular tabs, then the top trapezoid roof tabs.
Once halfway through, begin to close up the igloo starting with the roof tabs that match up with the corresponding side of the hexagon.
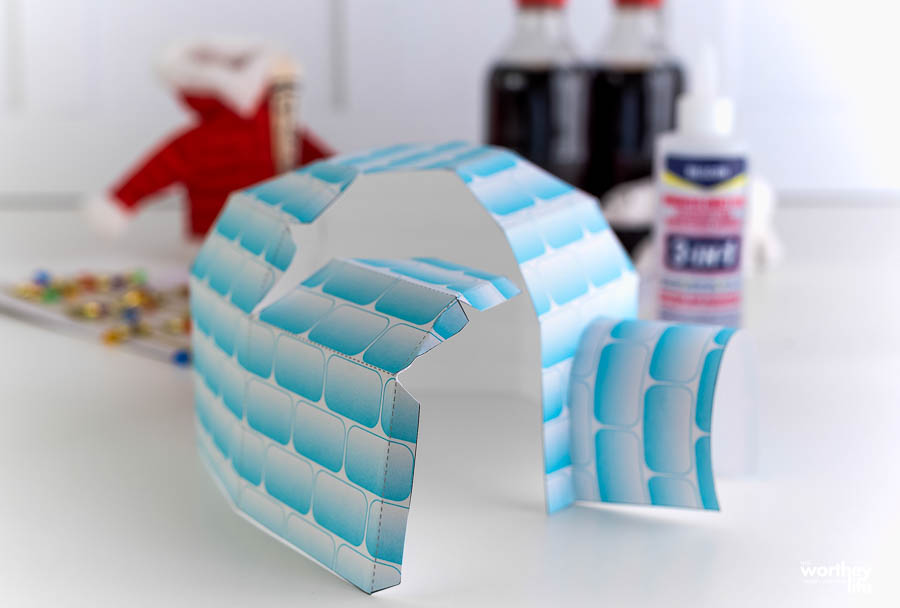
Repeat until the igloo is completely unclosed.
Optional: Glue mini lights around the door
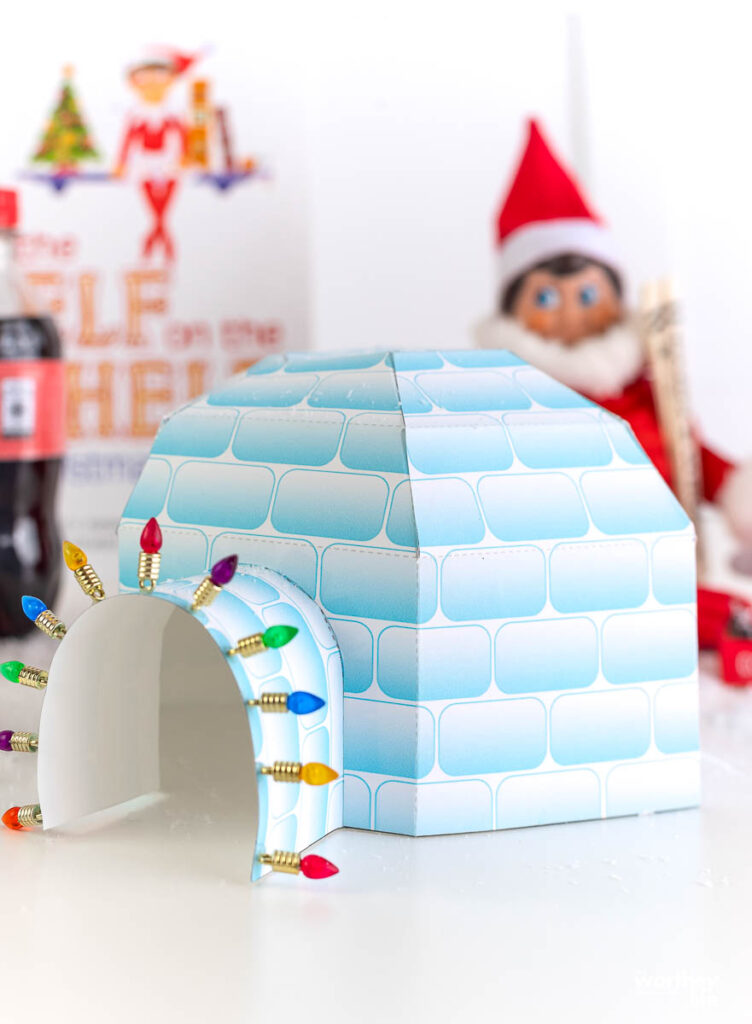
Step 6: Create the cola label
Cut out each cola label. Using packing tape, create a seal on the label to make it shiny and sweatproof (this is optional but makes it look more realistic).
Cut and tear off any extra packing tape surrounding the label. Leave a small amount on both ends to attach to the mini coal bottle.
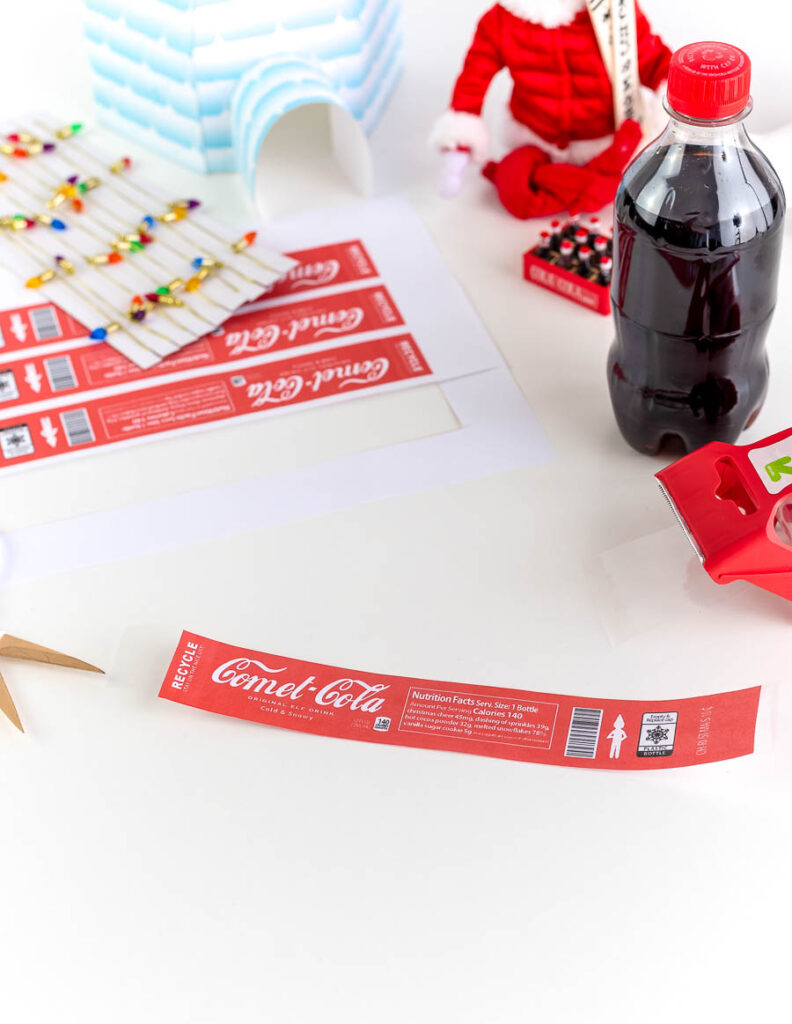
Step 7: Attach the cola label
Starting at the back, tape down the label. Make sure the label is straight, then gently pull and rotate the bottle to the front to secure it with the other end of the tape.
Step 8: Dress the doll
Begin to dress the elf in the coat. This coat is an ornament but works perfectly for the elf with some patience and wiggling.
Feed the elf through the top of the coat, feet first and down through. Pull the coat up to belly length and use a pair of tweezers to help stretch the arm openings. Then feed the arm through the sleeves and, if needed, reach through with tweezers.
Step 9: Set up the scene
Set up the comet cola scene just like the nostalgic polar bear cola scenes from the 90s with the elves and polar bear enjoying their cola by the ice!
Get your Elf on the Shelf Coca-Cola Printables
*Thank you, Morgan, for this craft idea!

More Elf on the Shelf Activities and Ideas
This post may contain affiliate links, meaning I may receive a commission if you purchase using these links.
As an Amazon Associate, I earn from qualifying purchases.


Leave a Reply