This Elf on the Shelf DIY Cupid-fil-a scene is a creative craft idea! If your kids are fans of this chicken restaurant, they will love this idea.
Everything you need to pull off this epic Elf surprise is listed below – and trust me on this one…it’s worth it to do!
Check out my Elf on the Shelf Pizza Scene for another fun idea.
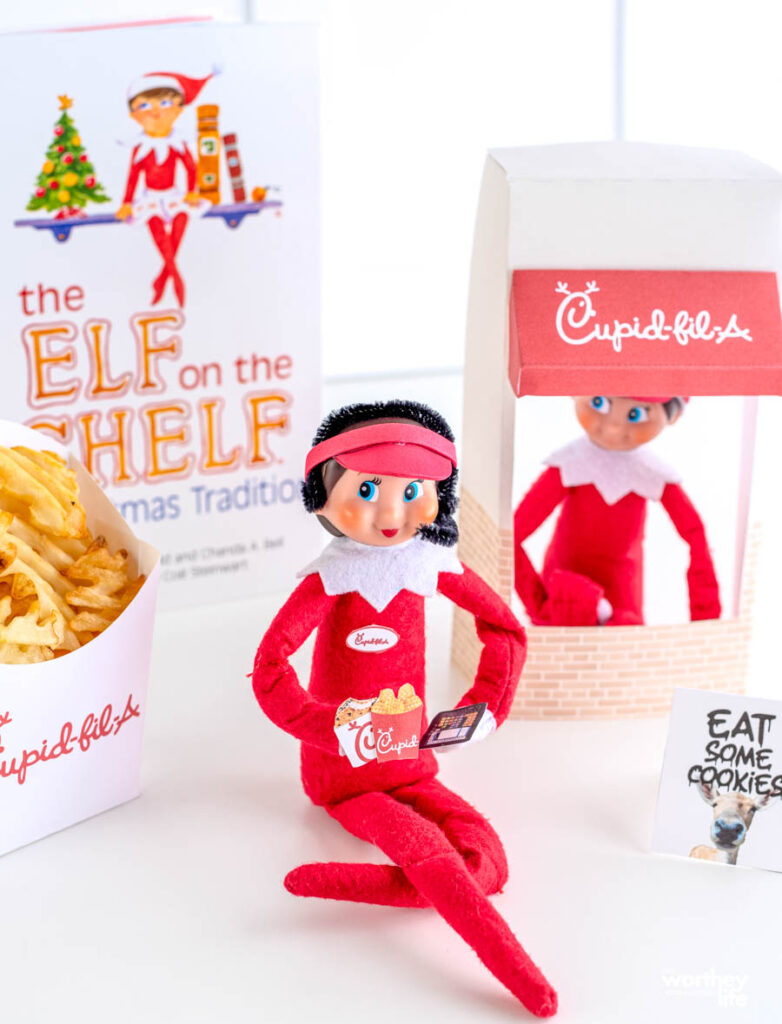
Elf on the Shelf DIY For A Cupid-Fil-A Setup Free Printable
We’re right in the middle of all things Elf on the Shelf. If you’ve run out of creative ideas, we have a new idea for you to do!
If you have fans of the Elf in the house or are looking for a fun Elf on the Shelf surprise, you can’t go wrong with this idea.
The kids are going to love it, especially if they love going to get chicken from this popular restaurant.
A little creativity goes a long way in showcasing just how talented the Elf truly is!
Who knew the Elf on the Shelf also had a soft spot for fast food?
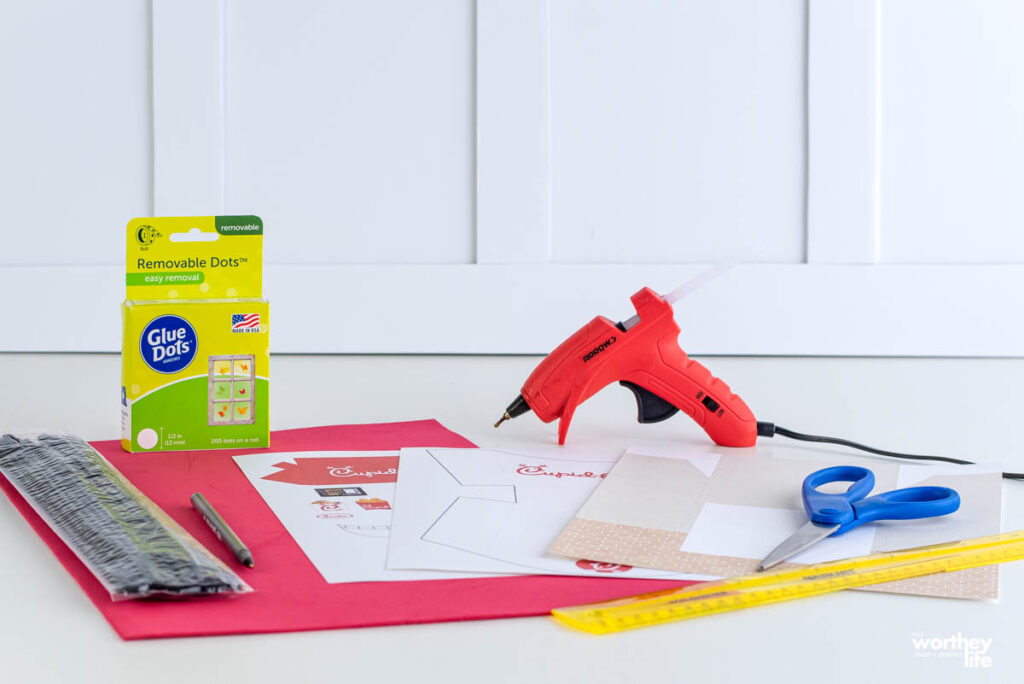
Supplies you will need for this Elf on the Shelf DIY idea:
- 8.5 x 11” – 65 lb white card stock (3 sheets)
- Printer (printer not pictured)
- Hot glue gun
- Craft foam (1 sheet or less)
- Pipe cleaners
- Pen
- Scissors
- Ruler or straight edge to help with folding
- Use dots or double-sided tape (to attach props to Elf)
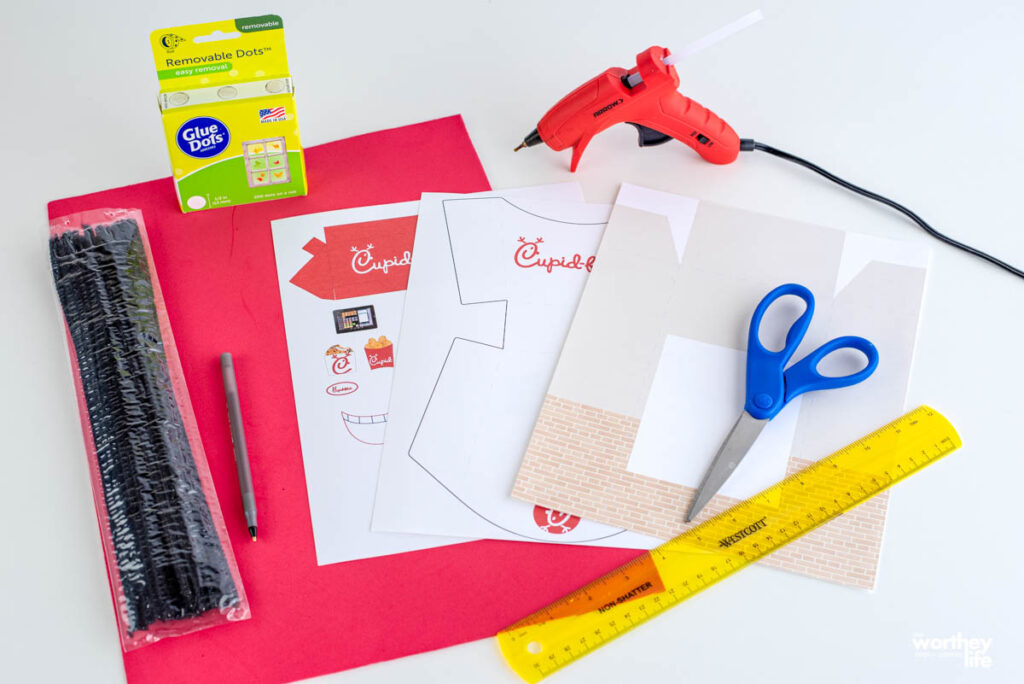
How to Create this Fun Elf on the Shelf Scene
Step 1: Print the template
Adjust the printer setting under “printer properties” or properties box when prompted to print.
Under paper size, find US letter and change to US letter borderless based on your printer settings.
Then, select the scale ratio and input 100% if not already entered.
* This is important to ensure PDF prints edge to edge and maintains the correct sizing.
Step 2: Cut out the printables
Cut out all printables, including visor pattern and props. Keep the folding and gluing guides, then set them to the side with the files.
*If needing additional help, see the video and folding guides.
*Note: Be sure to cut slits at the bottom of the awning (indicated as scissors on the fold/glue guide)
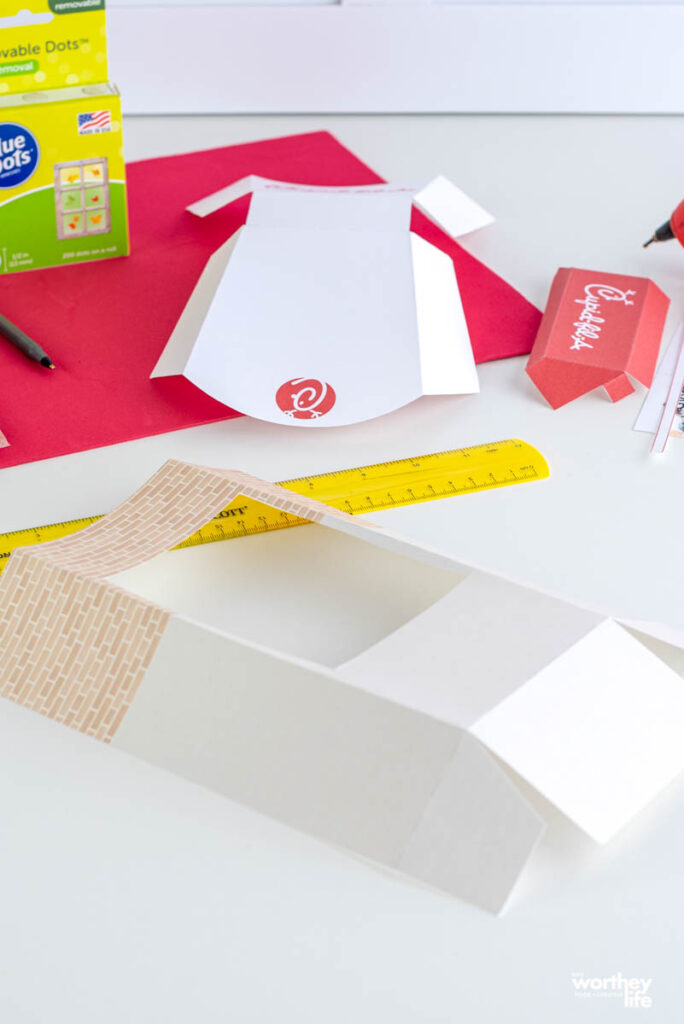
Step 3: Fold the printables
Use the folding guide to follow where lines need “scored” and folded. To get a consistent fold, use a ruler to help with the folding and a second straight-edged tool to help lift the paper from the surface.
It is easier to fold ink side up first until lines are made, then fold back to create mountain folds. Use points and corners to help lead lines.
* Red dotted lines on folding guide = scoring/fold lines
Step 4: Glue
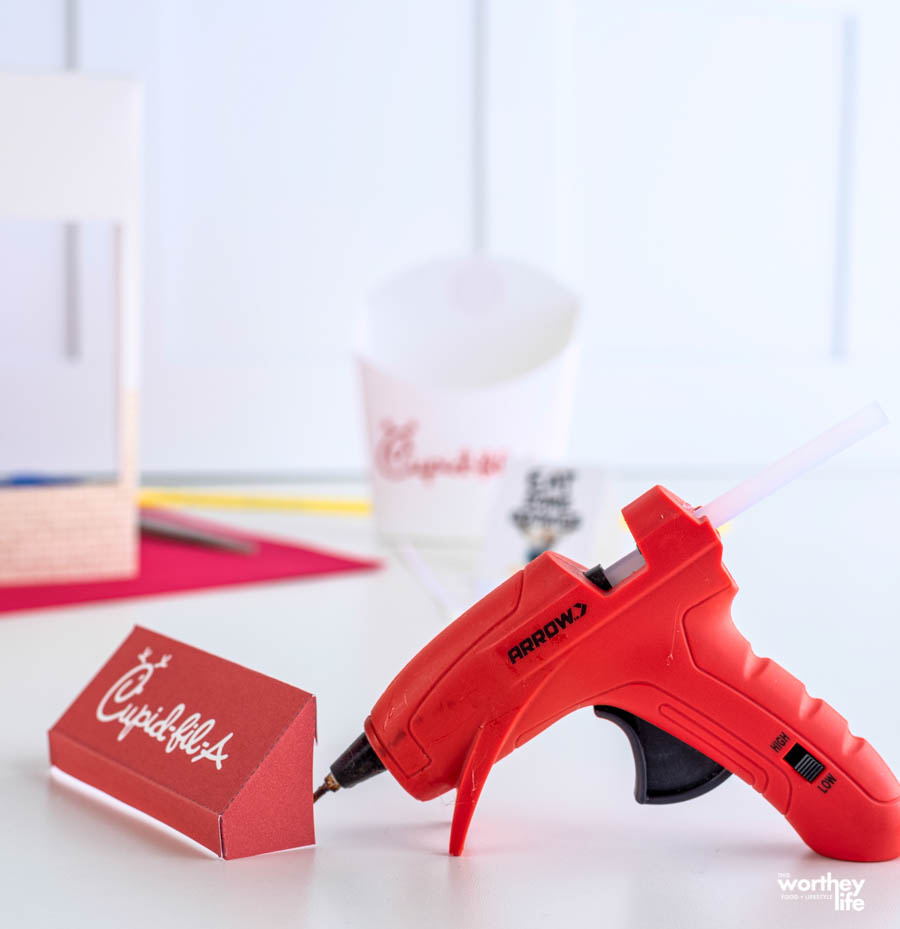
Next, begin to glue.
Use the guide to follow what tabs need to be attached. Glue tabs are indicated as a filled-in gray color.
To create the awning, glue the small triangle tabs attached to the front overhang and the larger triangle tabs on the side.
After, attach the squares towards the back of the long tab that later will be used as an anchor to the building.
Once complete, attach the awning to the drive-thru building once both have been glued together.
Construct the french fry carton by attaching the tabs on the front of the carton to the tabs on the back of the carton.
To line up correctly, the bottoms of the tabs will create a straight line.
Step 5: Trace and construct
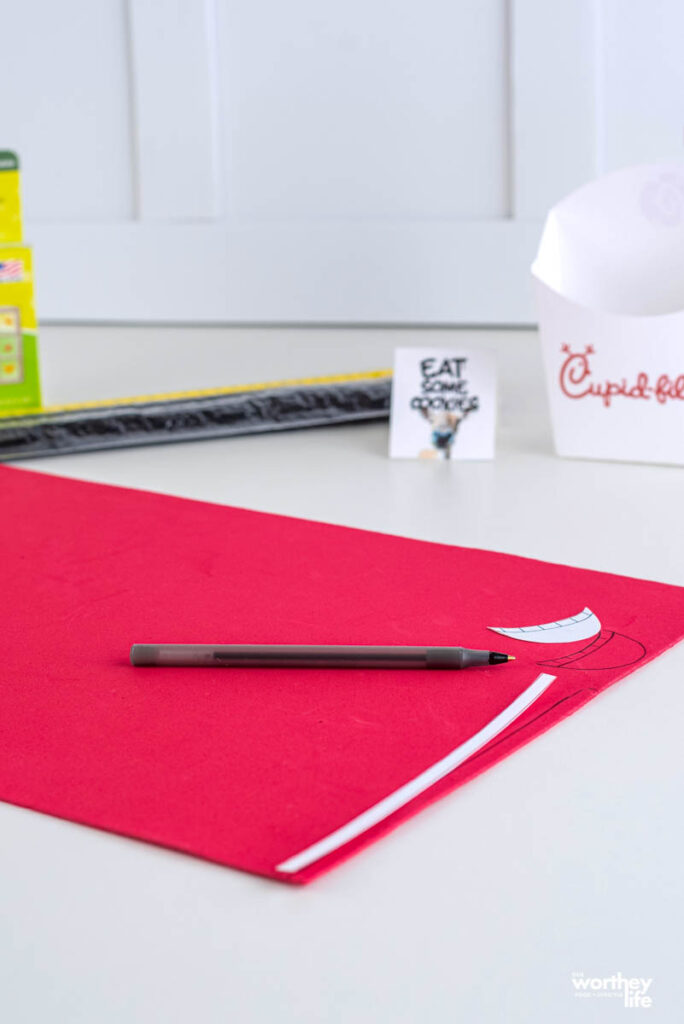
Trace and cut the visor pattern (brim and band) onto the craft foam sheet using a pen.
The front of the visor will contain a horizontal curved line with smaller vertical lines used to create slices for the bend in the brim and attach to the band.
Step 6: Measure and attach
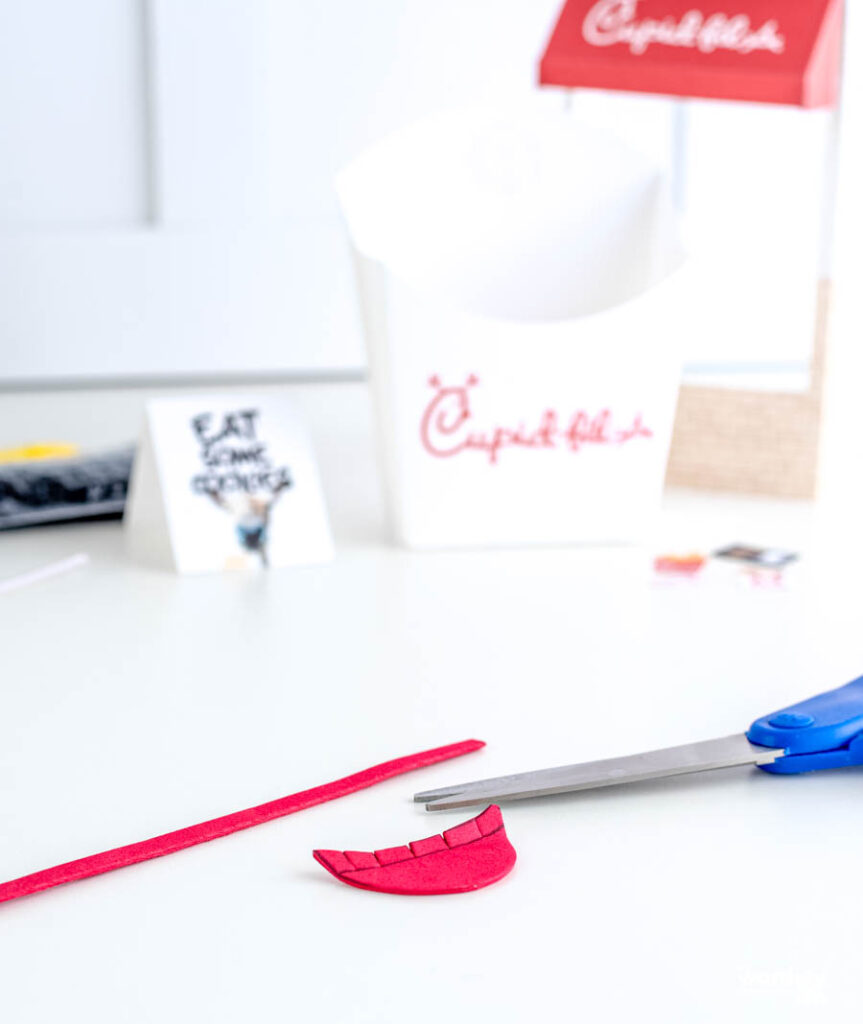
Using a hot glue gun, secure the slits made on the brim to the back of the visor band.
To close up the visor, use the Elf’s head to measure the circumference before measuring.
*Leave enough slack to loosely slide on and off the elf’s head. You will also want enough room to fit over the “earpiece” in the next step.
Step 7: Add the hat
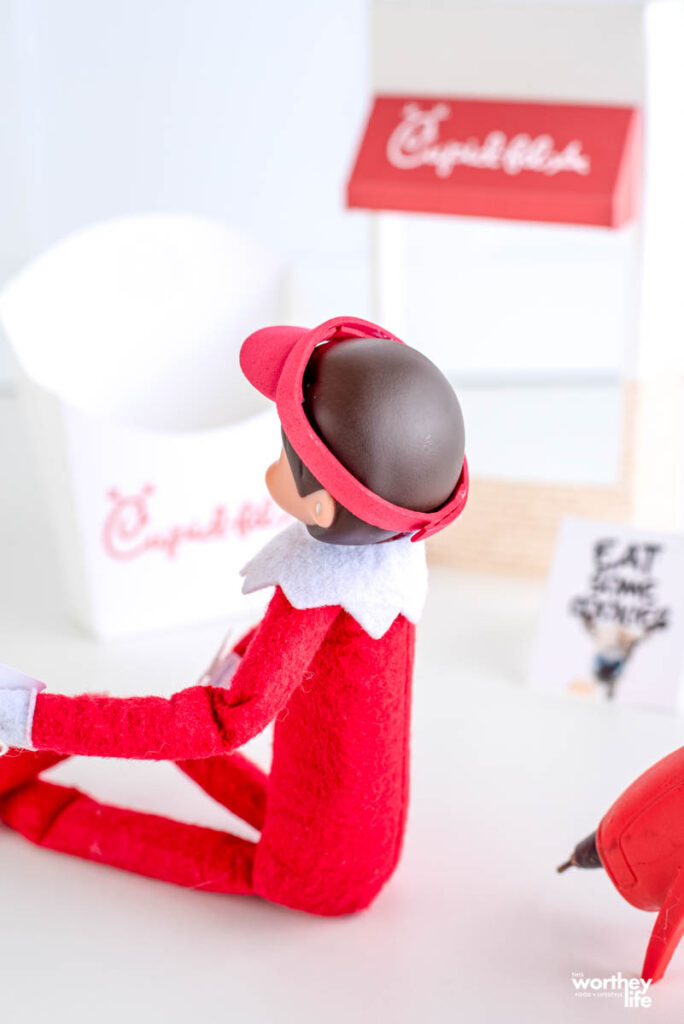
Fold a pipe cleaner from ear to ear over the top of the elf’s head, creating an earpiece, and inward, toward the mouth to create the mouthpiece.
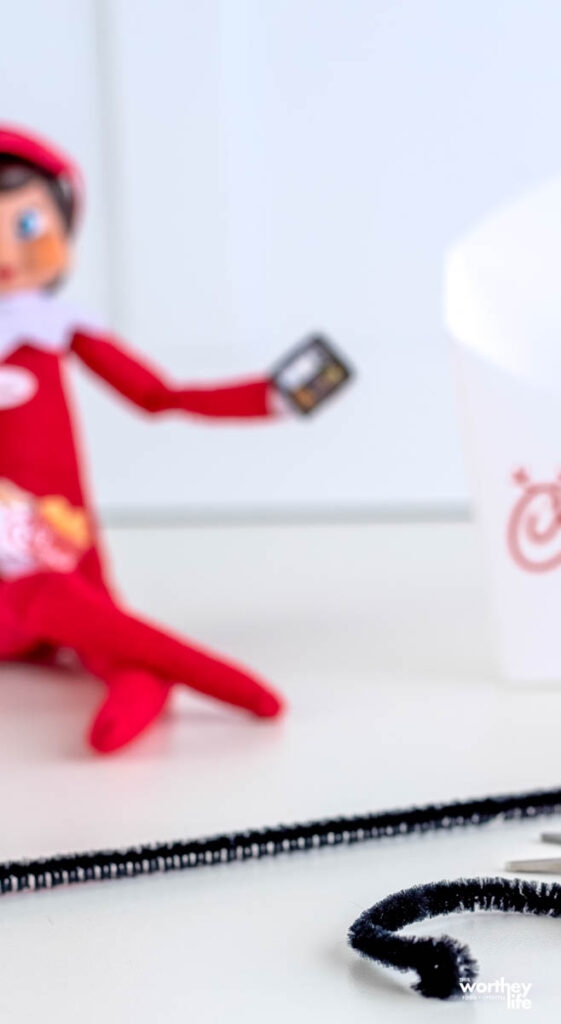
Step 8: Add in the props
Attach props (mini fry carton, name tag, etc.) to the elf using glue dots or double-sided tape.

How to use this Elf on the Shelf Scene
You can use this DIY printable scene any way you like! It also spurs kids’ creativity and gives us something fun to talk about!
We can also use this as a scene to place our orders and have fun imagining Elfie whipping our food orders fast – and we might then hop in the car and hit up the real drive-thru right after!
Get the kids in on this DIY Elf on the Shelf idea
Have fun creating this scene for the kids – or have them join in on the fun and make it.
If you want to have the kids be a part of the creation, you can spin it in a way to say that you’re building it to see if the Elf will come and use it.
When they wake up and see the Elf there, ready and waiting, they’ll love seeing their hard work in action!
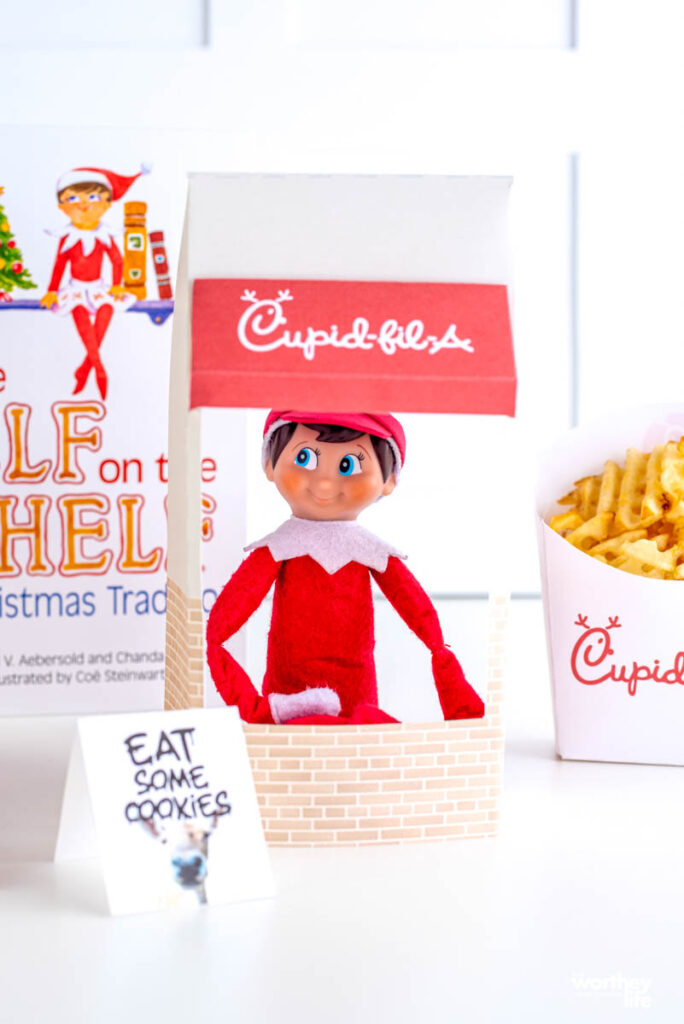
Print the free template for this idea here!
*Thank you, Morgan, for this craft idea!


Rachel says
I can’t find a link anywhere for the printable. Can you direct me to it? It’s SO cute!
T Worthey says
Hi Rachel- here ya go- https://www.awortheyread.com/wp-content/uploads/2021/12/EOTScupidfilaPDF-1.pdf
jennie says
Hi, Love all the creative stuff so thank you for that but do you have a printable of the building instructions for
the Cupid-fil-A. Thank you
T Worthey says
Hi Jennie- thanks for stopping by. Yes, it’s listed in Step 1. https://www.awortheyread.com/wp-content/uploads/2021/12/EOTScupidfilaPDF-1.pdf