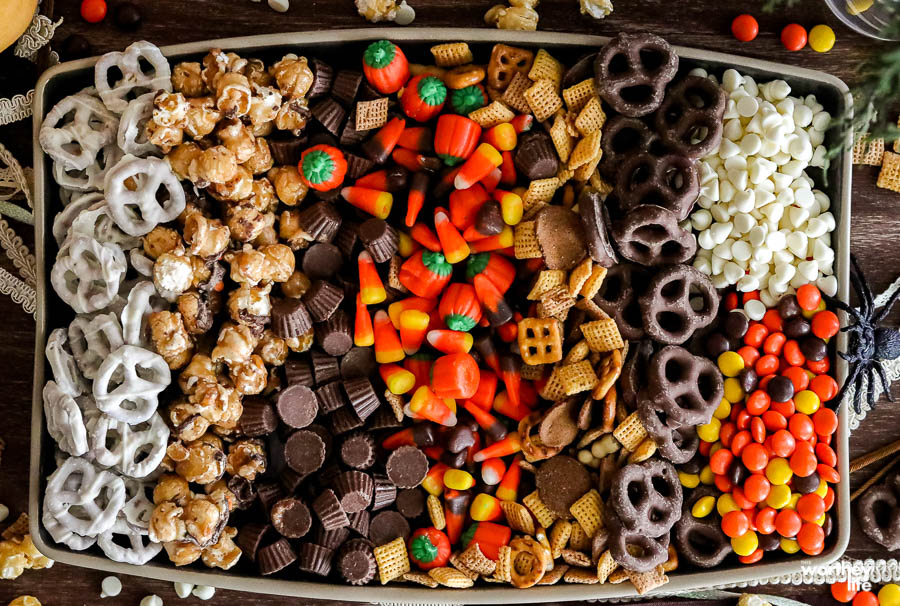
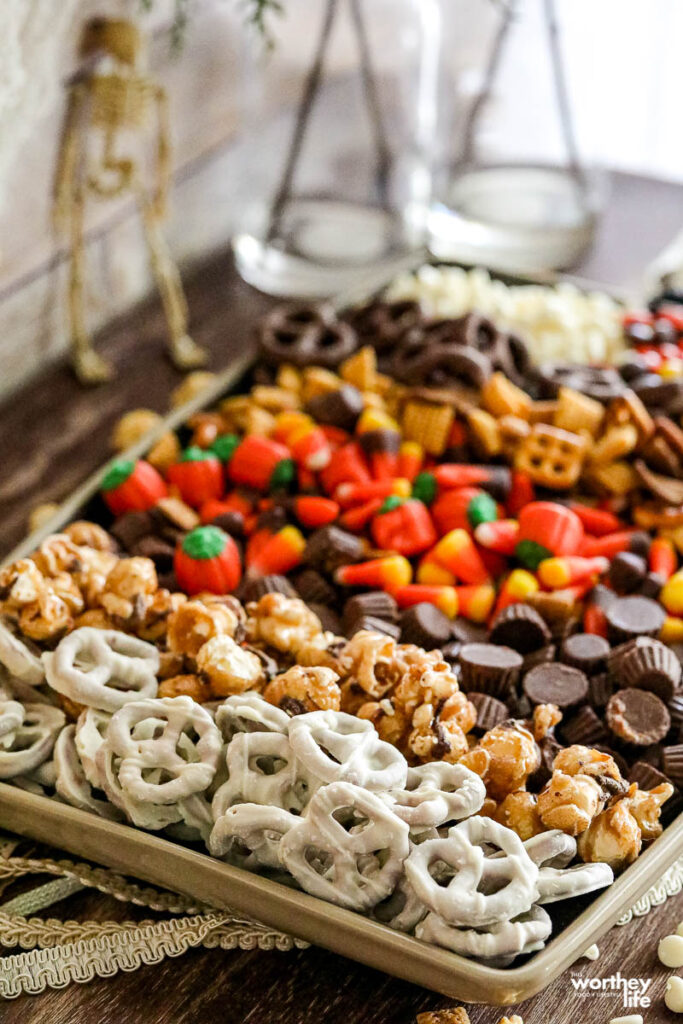
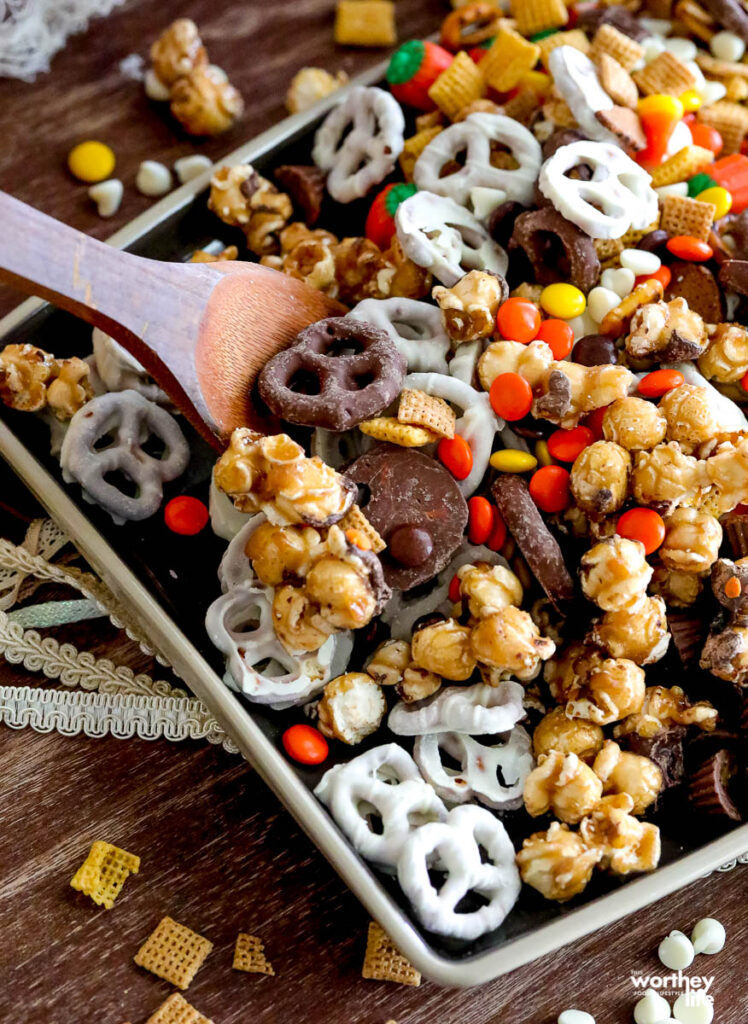
Check out this quick and easy Halloween Snack Mix. A simple and easy no-bake snack mix that is loaded with sweet and salty flavor in each bite. It is loaded with caramel corn, candy corn mix, Chex cereal, covered pretzels, Reese’s Pieces, and more. We’re also sharing how to make Halloween Hot Chocolate bombs with many of the same ingredients.
This is a party snack mix that is a crazy simple snack mix. You can essentially add whatever you would like to this party mix. I love doing a combination of sweet and salty, so you get tons of flavor in each bite. This snack mix idea can work as a Thanksgiving treat as well.
What You Need For Halloween Snack Mix or Thanksgiving Snack Mix
Chex Mix. Buy traditional Chex mix and use it for this snack mix. Or if you want it to be extra sweet, you can swap with the Muddy Buddies Check Mix or something along that lines.
Reese’s Pieces. Here is a great one that adds the fun fall and Halloween color. You could also swap with M&M’s if you prefer.
Mini Peanut Butter Cups. The sweet and salty components of the peanut butter cups add a lot of flavor to the mixture. You could dice up full-size peanut butter cups if you need.
Autumn Mix. There is something about those candy pumpkins that are so fun but also delicious! This candy corn mix is incredible. If you don’t like candy corn, then skip it.
Covered Pretzels. I bought covered pretzels ,but you can also make your own if you prefer. Then add in some white chocolate chips as well to compliment the white chocolate pretzels.
Crunch and Munch. This caramel popcorn adds a lot of texture and flavor to the mix. You could also use classic caramel corn, cheese popcorn, etc. Feel free to use what you enjoy.
Variations To Recipe
Honestly, you have so many ways you can change up the snack mix to alter the flavor and colors of the mix. Feel free to get creative when making this snack mix.
- Mix in some Bugles.
- Swap Reese’s Pieces with Sixlet candies. You can find Halloween and fall colors at most grocery stores.
- Leave out the popcorn and swap with peanuts or even more cereal mixture.
- Instead of covered pretzels, you can leave them out or swap with classic plain pretzels.
- If you don’t like candy corn, leave it out. Swap with fun-shaped marshmallows or mini marshmallows.
- Instead of white chocolate chips, use peanut butter chips, butterscotch, etc.
- Etc.
How to Store This Halloween Snack Mix
Store your mixture in an airtight container on the counter or in a sealable bag. The mixture will store for 1-2 weeks. Just toss it out when it begins to get a bit stale.
Can I Use Homemade Chex Mix?
If you are a fan of making homemade Chex mix? Go right ahead and use homemade instead of the store-bought Chex. I find that either works, and for me, I wanted a quick blend, so I reached for a store-bought snack mix.
Ways to serve up this snack mix?
Grab some Cellophane snack bags and place some of the Halloween snack mix inside. Then tie with a Halloween ribbon and is so fun for gifting loved ones. Or you can grab containers or even sealable jars that you can place snack mix in and tie with a ribbon or attach a note for friends, family, etc.
Halloween Snack Mix
Ingredients
- Chex Mix
- Mini Reese’s Peanut Butter Cups Brach’s Autumn Mix
- Reese’s Pieces
- Chocolate covered pretzels
- White chocolate covered pretzels White chocolate chips
- Crunch & Munch caramel popcorn
Directions
Mix all ingredients and serve in your favorite bowl. Enjoy!
Ingredients
- Chex Mix
- Mini Reese's Peanut Butter Cups Brach's Autumn Mix
- Reese's Pieces
- Chocolate covered pretzels
- White chocolate covered pretzels White chocolate chips
- Crunch & Munch caramel popcorn
Instructions
- Mix all ingredients and serve in your favorite bowl. Enjoy!
Use the Halloween Snack Mix to make Halloween Hot Chocolate Bombs
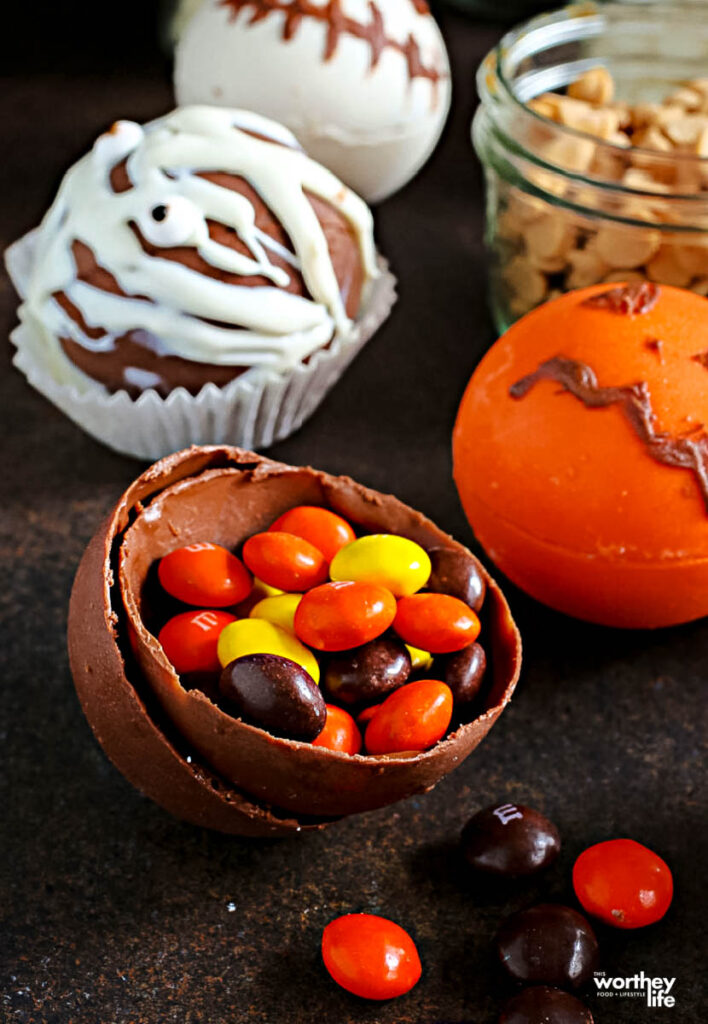
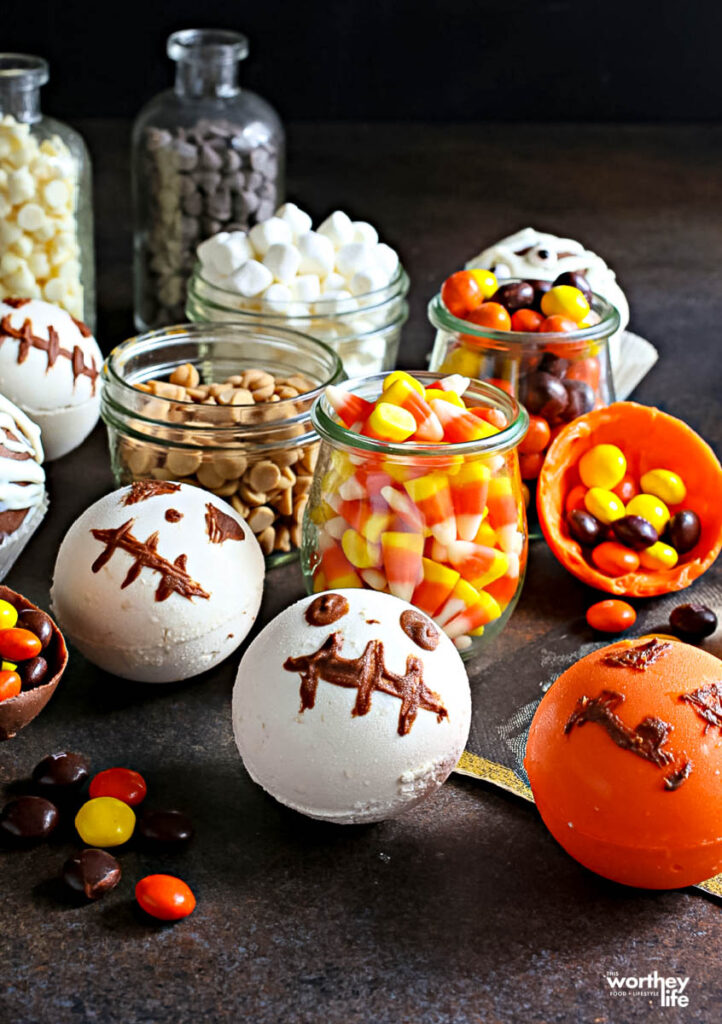
Another way to use this Halloween snack mix is for Halloween hot cocoa bombs. They are hardened chocolate, and then inside is filled with candies for you to try out. A fun Halloween treat for kids and adults. Pumpkin balls, skeletons, and mummy balls are all perfect for the Halloween season, along with a cup of hot chocolate or enjoy as Halloween treat balls.
These candy balls are so fun as you will bite into or break open the chocolate Halloween balls to find treats hidden inside. Marshmallows, Reese’s Pieces, etc.
Ingredients You Need
Milk Chocolate Chips and White Chocolate Chips. Quality chocolate is key as it is going to be a stand-out flavor. You can use semi-sweet chocolate or even milk chocolate.
Food Coloring. I love gel food coloring for this, but you are welcome to use any food coloring brand you would like.
Candy Google Eyes. You can find these candy eyes in the baking aisle of your store by the sprinkles. These come in a little bag or container with a handful in the bag.
Halloween Candies. M&M’s, Reese’s Pieces, Candy Corn, Mini Marshmallows, etc. Any candy that is small and will fit inside these chocolate balls.
Supplies To Use For The Molds
Silicone Mold. You can use a silicone sphere mold for this recipe. This will give you a round shape, but you are welcome to use other shaped silicone molds.
Brush. You can use a brush to help move the melted chocolate to where you want it to stand. You can find kitchen brushes that work great.
Plate. Having a heat-proof plate is critical as you are going to heat it a bit. You want it to hold heat but not burn yourself if you touch the plate. This is going to make sure that you can melt the edges of the chocolate. This is going to act as the glue to seal both sides of the circles.
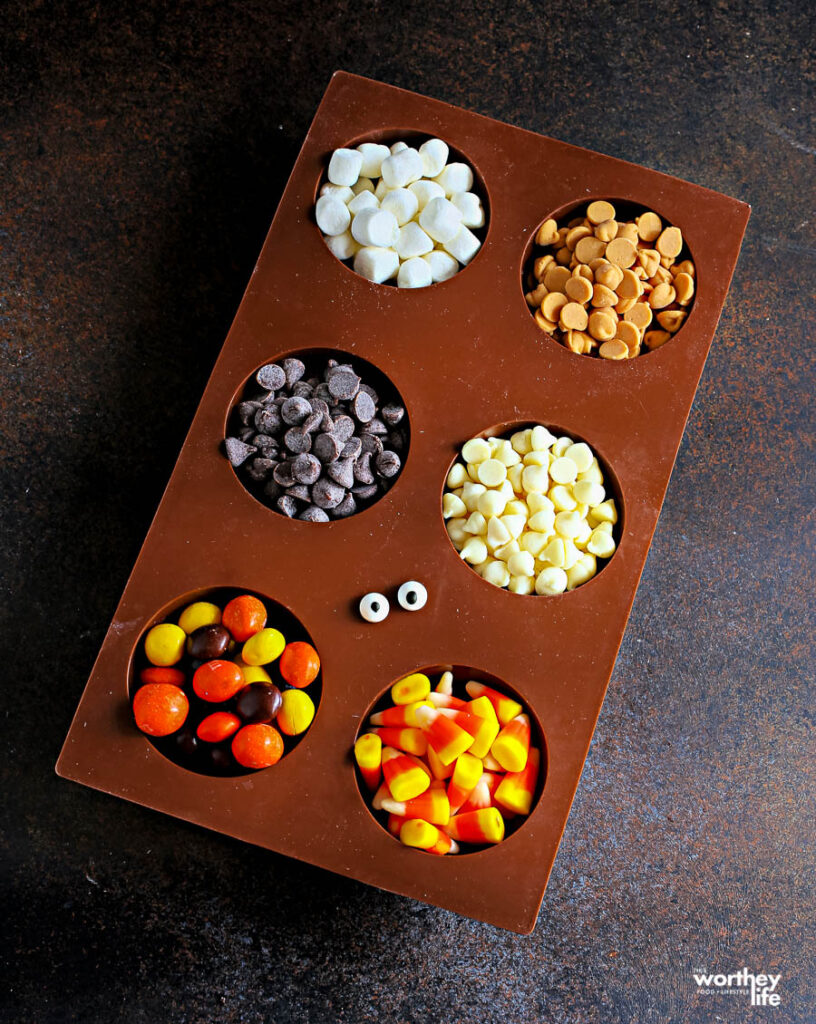
How to make Halloween Treat Balls
Prep Time: 25 Minutes
Servings: 9
Ingredients
- 1 cup milk chocolate chips
- 2 cups white chocolate chips, divided *
- Orange food color
- Candy googly eyes
- Small Halloween candy such as M&M’s, candy corn, and mini marshmallows
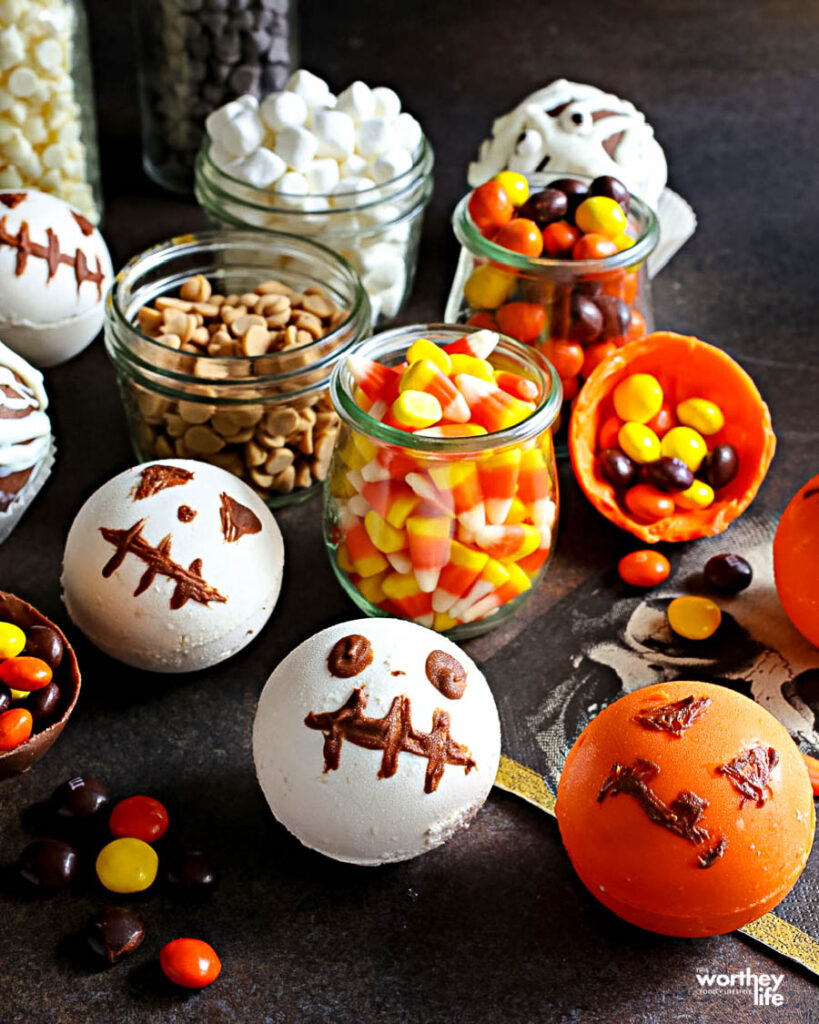
To Make the Pumpkin Balls:
- Melt one cup of white chocolate chips in a bowl set over a pot of boiling water. Gently stir until the chips have melted. You can also do this in the microwave. Heat the chips in intervals of about 15 seconds, stir and continue to heat as needed. Add orange food coloring, a drop at a time, until you have the color you like.
- Add a tablespoon of the melted chocolate into each of the cavities in your chocolate mold. Smooth it up the sides with the back of the spoon, and be careful to get it fully up the sides to the top of the mold.
- Refrigerate for a few minutes to set the chocolate.
- Add an additional tablespoon of melted chocolate into each of the cavities and repeat the process to ensure that the walls of the chocolate ball will be thick enough. Return to the refrigerator for a few minutes to set.
- Gently remove the half balls of the silicone molds. They should come out easily.
- Place a plate over the pot of boiling water and let it heat up. Press the rims of half the ball rounds to the plate for a few seconds to even out the edges.
- Fill each of those halves with candy such as M&M’s, gummies, mini marshmallows, and candy corn.
- Place the rims of the remaining ball halves onto the hot plate to slightly melt the edge. Then press the warm chocolate over the rim of the filled half to seal.
- Melt some milk chocolate and use a toothpick to make a jack-o-lantern face on the orange ball.
To Make the Skeleton Balls:
- Melt one cup of white chocolate chips in a bowl set over a pot of boiling water. Gently stir until the chips have melted. You can also do this in the microwave. Heat the chips in intervals of about 15 seconds, stir and continue to heat as needed.
- Add a tablespoon of the melted chocolate into each of the cavities in your chocolate mold. Smooth it up the sides with the back of the spoon, and be careful to get it fully up the sides to the top of the mold.
- Refrigerate for a few minutes to set the chocolate.
- Add an additional tablespoon of melted chocolate into each of the cavities and repeat the process to ensure that the walls of the chocolate ball will be thick enough. Return to the refrigerator for a few minutes to set.
- Gently remove the half balls of the silicone molds. They should come out easily.
- Place a plate over the pot of boiling water and let it heat up. Press the rims of half the ball rounds to the plate for a few seconds to even out the edges.
- Fill each of those halves with candy such as M&M’s, gummies, mini marshmallows, and candy corn.
- Place the rims of the remaining ball halves onto the hot plate to slightly melt the edge. Then press the warm chocolate over the rim of the filled half to seal.
- Melt some milk chocolate and use a toothpick to make a skeleton face on the orange ball. You can use a Q-tip to make large circular eyes as well.
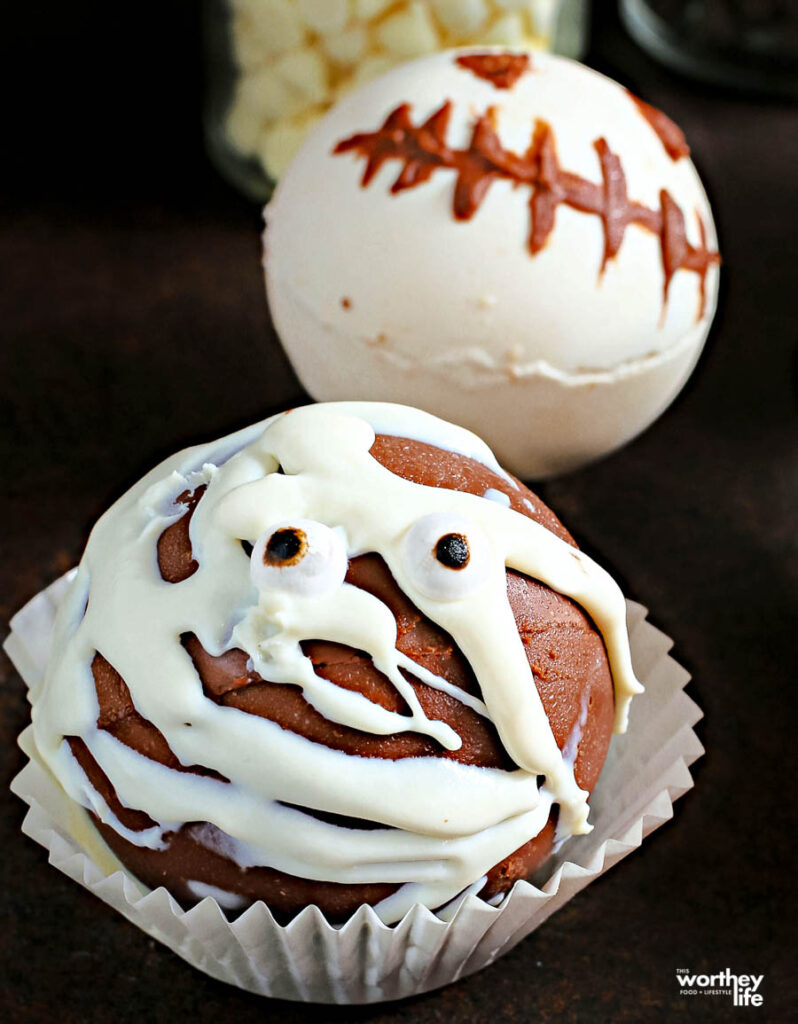
To Make the Mummy Balls:
- Melt one cup of milk chocolate chips in a bowl set over a pot of boiling water. Gently stir until the chips have melted. You can also do this in the microwave. Heat the chips in intervals of about 15 seconds, stir and continue to heat as needed.
- Add a tablespoon of the melted chocolate into each of the cavities in your chocolate mold. Smooth it up the sides with the back of the spoon, and be careful to get it fully up the sides to the top of the mold.
- Refrigerate for a few minutes to set the chocolate.
- Add an additional tablespoon of melted chocolate into each of the cavities and repeat the process to ensure that the walls of the chocolate ball will be thick enough. Return to the refrigerator for a few minutes to set.
- Gently remove the half balls of the silicone molds. They should come out easily.
- Place a plate over the pot of boiling water and let it heat up. Press the rims of half the ball rounds to the plate for a few seconds to even out the edges.
- Fill each of those halves with candy such as M&M’s, gummies, mini marshmallows, and candy corn.
- Place the rims of the remaining ball halves onto the hot plate to slightly melt the edge. Then press the warm chocolate over the rim of the filled half to seal.
- Melt some white chocolate and pour it into a plastic baggie. Snip off the end and make white chocolate lines on the milk chocolate ball. Add candy googly eyes for a Halloween effect.
* You can use orange Candy Melts instead of white chocolate and orange food coloring to make the pumpkin balls.
Can I use candy melts instead of chocolate chips?
Candy melts are used a lot as the candy hardens up in minutes. If you want, go right ahead and do the candy melts. Then you can choose any color of chocolate mixture you want. Orange, purple, green, etc. Have fun and buy and use whatever color you want.
How to hide the seal around the edge?
If you find that the melted chocolate you use to seal the edges looks a bit messy, go ahead and add sprinkles to the edge. This will help to hide the seal.
Or use a paper towel or a flat spatula or knife to run along the edge carefully to wipe off the excess melted chocolate.
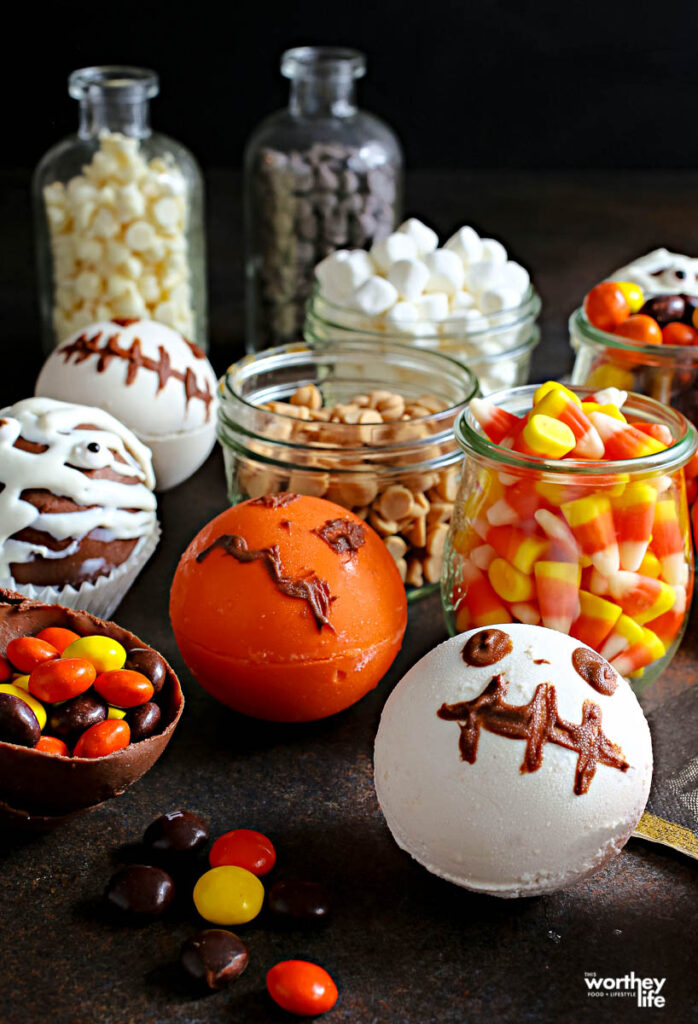
How to store Halloween treat balls?
Store these Halloween treat balls in an airtight container in your fridge or at room temperature on the counter. Just make sure your home is not too hot to melt or soften the chocolate if left out.
Can I freeze the treat balls?
Go right ahead and freeze the treat balls you don’t plan to eat right away. Just toss in the freezer in a single layer. Then freeze for 2-3 months. Thaw on the counter at room temperature when you are ready to enjoy!
More Halloween Ideas + free printables
Halloween Charades Free Printable
Rae Dunn Inspired Halloween Party Idea
Cookie Pizza Oreos Recipe with Halloween theme
Ingredients
- 1 cup milk chocolate chips
- 2 cups white chocolate chips divided *
- Orange food color
- Candy googly eyes
- Small Halloween candy such as M&M’s candy corn, and mini marshmallows
Instructions
To Make the Pumpkin Balls:
- Melt one cup of white chocolate chips in a bowl set over a pot of boiling water. Gently stir until the chips have melted. You can also do this in the microwave. Heat the chips in intervals of about 15 seconds, stir and continue to heat as needed. Add orange food coloring, a drop at a time, until you have the color you like.
- Add a tablespoon of the melted chocolate into each of the cavities in your chocolate mold. Smooth it up the sides with the back of the spoon, and be careful to get it fully up the sides to the top of the mold.
- Refrigerate for a few minutes to set the chocolate.
- Add an additional tablespoon of melted chocolate into each of the cavities and repeat the process to ensure that the walls of the chocolate ball will be thick enough. Return to the refrigerator for a few minutes to set.
- Gently remove the half balls of the silicone molds. They should come out easily.
- Place a plate over the pot of boiling water and let it heat up. Press the rims of half the ball rounds to the plate for a few seconds to even out the edges.
- Fill each of those halves with candy such as M&M’s, gummies, mini marshmallows, and candy corn.
- Place the rims of the remaining ball halves onto the hot plate to slightly melt the edge. Then press the warm chocolate over the rim of the filled half to seal.
- Melt some milk chocolate and use a toothpick to make a jack-o-lantern face on the orange ball.
To Make the Skeleton Balls:
- Melt one cup of white chocolate chips in a bowl set over a pot of boiling water. Gently stir until the chips have melted. You can also do this in the microwave. Heat the chips in intervals of about 15 seconds, stir and continue to heat as needed.
- Add a tablespoon of the melted chocolate into each of the cavities in your chocolate mold. Smooth it up the sides with the back of the spoon, and be careful to get it fully up the sides to the top of the mold.
- Refrigerate for a few minutes to set the chocolate.
- Add an additional tablespoon of melted chocolate into each of the cavities and repeat the process to ensure that the walls of the chocolate ball will be thick enough. Return to the refrigerator for a few minutes to set.
- Gently remove the half balls of the silicone molds. They should come out easily.
- Place a plate over the pot of boiling water and let it heat up. Press the rims of half the ball rounds to the plate for a few seconds to even out the edges.
- Fill each of those halves with candy such as M&M’s, gummies, mini marshmallows, and candy corn.
- Place the rims of the remaining ball halves onto the hot plate to slightly melt the edge. Then press the warm chocolate over the rim of the filled half to seal.
- Melt some milk chocolate and use a toothpick to make a skeleton face on the orange ball. You can use a Q-tip to make large circular eyes as well.
To Make the Mummy Balls:
- Melt one cup of milk chocolate chips in a bowl set over a pot of boiling water. Gently stir until the chips have melted. You can also do this in the microwave. Heat the chips in intervals of about 15 seconds, stir and continue to heat as needed.
- Add a tablespoon of the melted chocolate into each of the cavities in your chocolate mold. Smooth it up the sides with the back of the spoon, and be careful to get it fully up the sides to the top of the mold.
- Refrigerate for a few minutes to set the chocolate.
- Add an additional tablespoon of melted chocolate into each of the cavities and repeat the process to ensure that the walls of the chocolate ball will be thick enough. Return to the refrigerator for a few minutes to set.
- Gently remove the half balls of the silicone molds. They should come out easily.
- Place a plate over the pot of boiling water and let it heat up. Press the rims of half the ball rounds to the plate for a few seconds to even out the edges.
- Fill each of those halves with candy such as M&M’s, gummies, mini marshmallows, and candy corn.
- Place the rims of the remaining ball halves onto the hot plate to slightly melt the edge. Then press the warm chocolate over the rim of the filled half to seal.
- Melt some white chocolate and pour it into a plastic baggie. Snip off the end and make white chocolate lines on the milk chocolate ball. Add candy googly eyes for a Halloween effect.


Leave a Reply