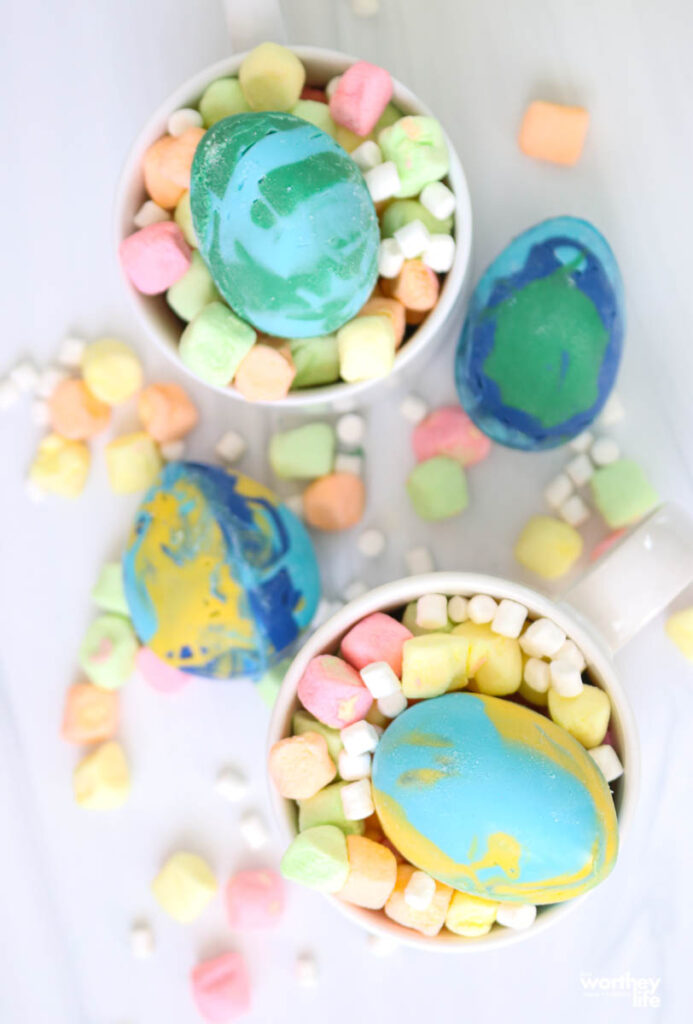
Check out these colorful and fun Easter Egg hot chocolate bombs! These are a great item to stuff into Easter Baskets, serve up for breakfast Easter morning as a tasty drink, and more. Egg-shaped hot chocolate bombs that are bursting with sweetness in each sip.

Easter Egg Hot Chocolate Bombs
Hot chocolate bombs are popular, and these egg-shaped cocoa bombs are just as popular. Yellow, blue, and green colored eggs filled with mini marshmallows, white chocolate, and waiting for you to break open.
How do you use hot chocolate bombs?
Place your Easter-themed hot chocolate bomb in a glass, then heat some warm milk. Pour the milk over the hot chocolate bomb, and watch the chocolate melt and the cocoa powder and marshmallows appear. Stir and serve up one rich and decadent cup of hot chocolate.

Expert Tips and Tricks For Easter Egg Shaped Cocoa Bombs
- Make sure that you seal the edges well with melted chocolate. If you happen to struggle with a clean seam, add some festive sprinkles to hide the melted chocolate.
- Chocolate melts are great as they set up nice and hard. If you use chocolate chips, you have to temper the chocolate, or it will not work.
- Feel free to add in different cocoa if you prefer.
- Add in some sprinkles, fun-shaped marshmallows, etc.
- If the chocolate cracks when you are handling it, that means your chocolate layer is too thin.
- Pipe on a letter to stand for each child for a fun Easter-themed gift.
- Wear gloves if you want to prevent fingerprints into your eggs. If they are just for your family, you might not mind. But gifting or selling, you might not want fingerprints.

What is The Texture of a Hot Chocolate Bomb
The chocolate adds extra sweetness to the cocoa mix. That is why I only use a little cocoa mix in each egg, as the chocolate helps elevate the sweetness flavor.
If you want less sweet, add less cocoa mix into the center of the eggs. This recipe truly allows you to control what you use and how much for each Easter hot chocolate bomb.

Can I Use Water Instead of Milk?
Go right ahead and reach for water to replace the milk you pour-over. Just ensure you use warm water, as that is needed to help melt away the chocolate shell on the eggs.
Are these Easter Egg Cocoa Bombs Gluten Free?
These Easter egg cocoa bombs are gluten-free naturally, as well as vegetarian. This truly makes a safe and fun treat for loved ones who need to be gluten-free or prefer living a vegetarian lifestyle.

How to Store Hot Cocoa Bombs
These bombs can be stored in bags or airtight containers on the counter for around two weeks. You can place them in single-serve bags for a fun presentation or in a sealable container. Then use as you would.
If your home is hot, and you worry about them melting, place them in the fridge. Then let the eggs warm up on the counter a bit before you pour milk over them.
Easter Egg Hot Chocolate Bomb Recipe
Makes: Approximately eight whole eggs. 16 egg halves
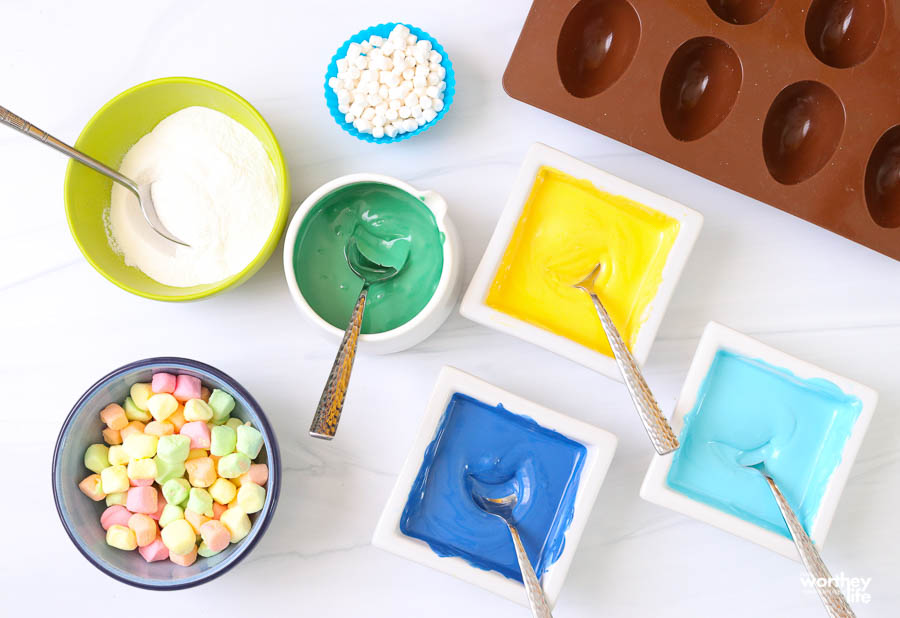
Ingredients + items you need to make this Easter Egg Hot Chocolate Bomb
- Silicone Egg Mold
- Chocolate melts
- Royal Blue-Turquoise
- Yellow
- Green
- Bowls/dishes for melting chocolate in
- Spoons for each chocolate dish
- Toothpicks
- White cocoa
- Mini dehydrated marshmallows
- Multi-colored marshmallows
- A couple of pieces of parchment paper
- A small-to-medium microwave-safe plate, preferably ceramic.
Directions:
- Separate the chocolates into different bowls that you want to melt them in. I used 1 cup of each color. You will be working in 20-30 second increments in your microwave or double boiler. I suggest using a microwave. It’s much easier to control the heat and to make sure that you don’t make your melted chocolates too hot.
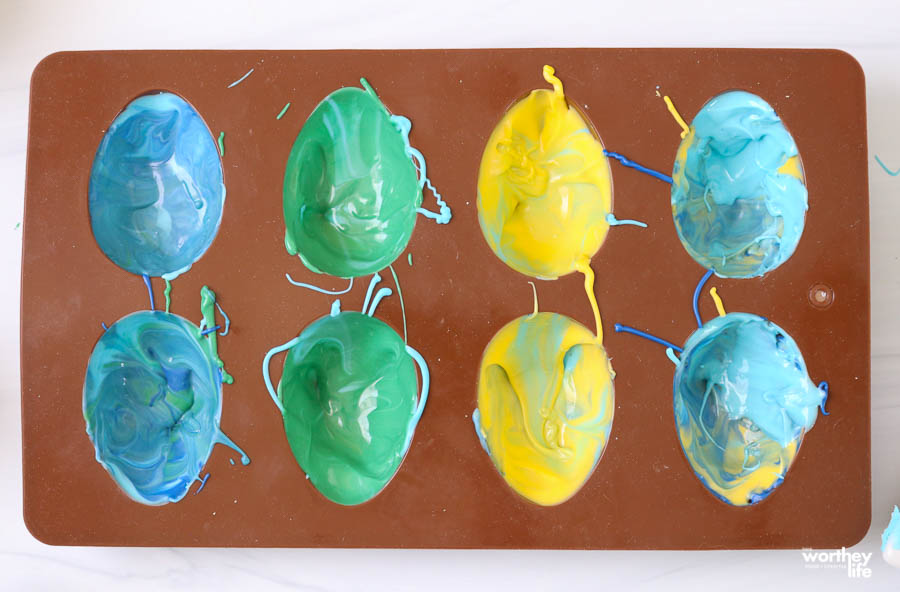
- Ensure that your silicone mold is dry and free of debris. For each egg half, you will need approximately 2ish teaspoons of different colored chocolates. Scoop a teaspoon full of your base color that you want to highlight the most and place it in the mold. Then add in additional colors (see photos)
- With the back of a spoon, coat the inside of the silicone egg molds. You want to get a nice coating of chocolate up to the very brim of the egg top. Using a toothpick, swirl the colors inside of the silicone shells. This will also help prevent any air pockets or bubbles from setting in.
- Place egg molds into the freezer for approximately 5-7 minutes. Remove from the freezer and slowly push & peel your chocolate halves out of the mold. Once you get one end of your egg out, it’s effortless to pull the rest out. You can even push the opposite side of the mold to help remove eggshell once you started peeling (refer to photos).
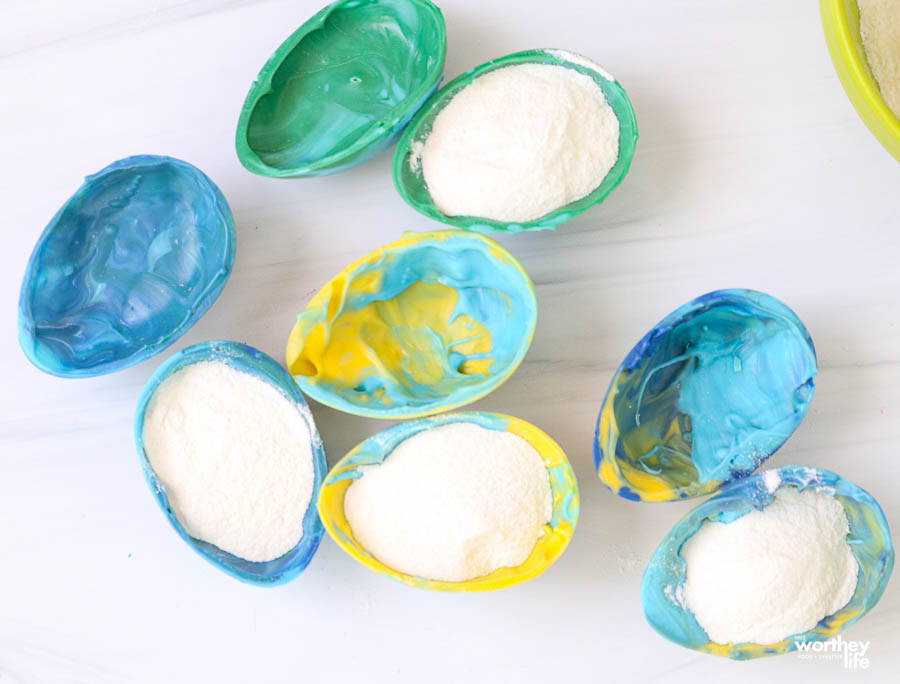
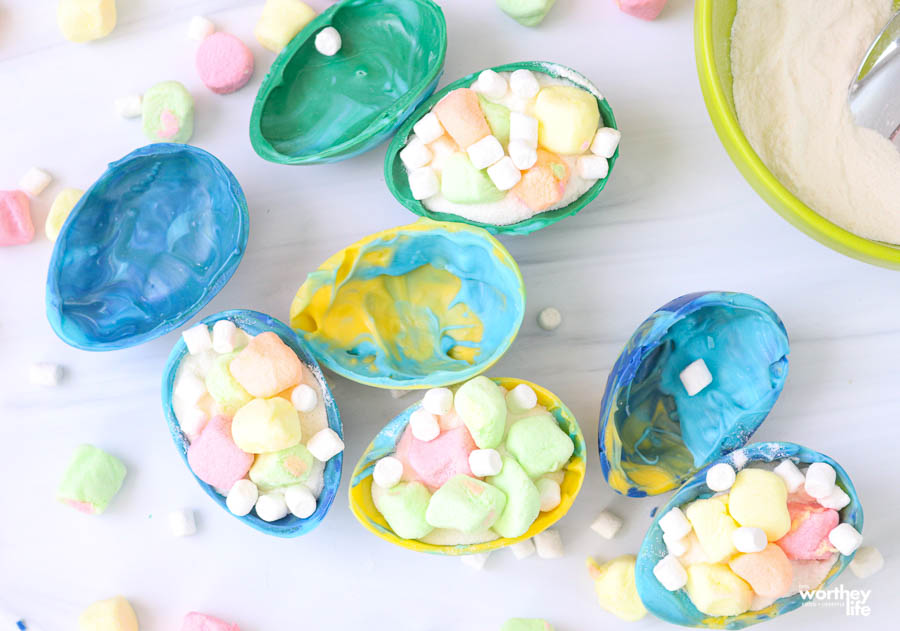
- Fill one side of the eggs with a spoonful of white-hot cocoa mix. Place 5-7 colorful marshmallows on top and sprinkle some mini dehydrated marshmallows around.
- Warm plate in the microwave for approximately 1 minute. Place a piece of parchment paper on top of the plate. Take the opposite sides of the eggs, one by one, and place them on a plate. This will help smooth out rough edges and will melt the chocolate a bit. Once the chocolate edges are melted and loose, place quickly onto the egg half-filled with cocoa and marshmallows. Hold for about 15-20 seconds and allow to cool. You can run your finger along the edge of melted chocolate to smoothen out the edges.
Additional tips on making this Easter hot chocolate recipe:
- If you make your chocolate melts too hot, it will make them a very runny consistency and will be hard to handle. The dish you’re using in the microwave will retain a lot of heat and prevent your chocolates from setting too fast. However, you can always pop them back in the microwave to re-melt.
- When coating your silicone egg molds with chocolate using your spoon, make sure that you’re not leaving empty pockets of air from using different colors.
- If you don’t use enough chocolate in your molds, your eggshells will be very thin in areas and might crack along the edges.
- If you find yourself with a small gap along the edges of your eggs and not completely sealed, you can always take a little bit of melted chocolate to close the egg.
- We use parchment paper over a plate to make the clean-up easier. Replace the parchment paper when you need to if your previous one becomes overwhelmed with too much-melted chocolate.
Check out these Easter egg activity ideas down below:
Easter Egg Printable Activities Sheet

Ingredients
- Silicone Egg Mold
- Royal Blue-Turquoise Chocolate Melts
- Yellow Chocolate Melts
- Green Chocolate Melts
- Bowls/dishes for melting chocolate in
- Spoons for each chocolate dish
- Toothpicks
- White cocoa
- Mini dehydrated marshmallows
- Multi-colored marshmallows
- A couple of pieces of parchment paper
- A small-to-medium microwave-safe plate preferably ceramic.
Instructions
- Separate the chocolates into different bowls that you want to melt them in. I used 1 cup of each color. You will be working in 20-30 second increments in your microwave or double boiler. I suggest using a microwave. It’s much easier to control the heat and to make sure that you don’t make your melted chocolates too hot. Ensure that your silicone mold is dry and free of debris. For each egg half, you will need approximately 2ish teaspoons of different colored chocolates. Scoop a teaspoon full of your base color that you want to highlight the most and place it in the mold. Then add in additional colors (see photos)
- With the back of a spoon, coat the inside of the silicone egg molds. You want to get a nice coating of chocolate up to the very brim of the egg top. Using a toothpick, swirl the colors inside of the silicone shells. This will also help prevent any air pockets or bubbles from setting in.
- Place egg molds into the freezer for approximately 5-7 minutes. Remove from the freezer and slowly push & peel your chocolate halves out of the mold.
- Once you get one end of your egg out, it’s effortless to pull the rest out. You can even push the opposite side of the mold to help remove eggshell once you started peeling (refer to photos).
- Fill one side of the eggs with a spoonful of white-hot cocoa mix. Place 5-7 colorful marshmallows on top and sprinkle some mini dehydrated marshmallows around.
- Warm plate in the microwave for approximately 1 minute. Place a piece of parchment paper on top of the plate. Take the opposite sides of the eggs, one by one, and place them on a plate. This will help smooth out rough edges and will melt the chocolate a bit. Once the chocolate edges are melted and loose, place quickly onto the egg half-filled with cocoa and marshmallows. Hold for about 15-20 seconds and allow to cool. You can run your finger along the edge of melted chocolate to smoothen out the edges.


Leave a Reply