Grilling season is here, and it’s time for the Grill Master to fire up the grill to do their thing. Make the perfect DIY apron using your Cricut and this free SVG file to create a DIY Grill Master Apron. Get the step-by-step instructions down below!
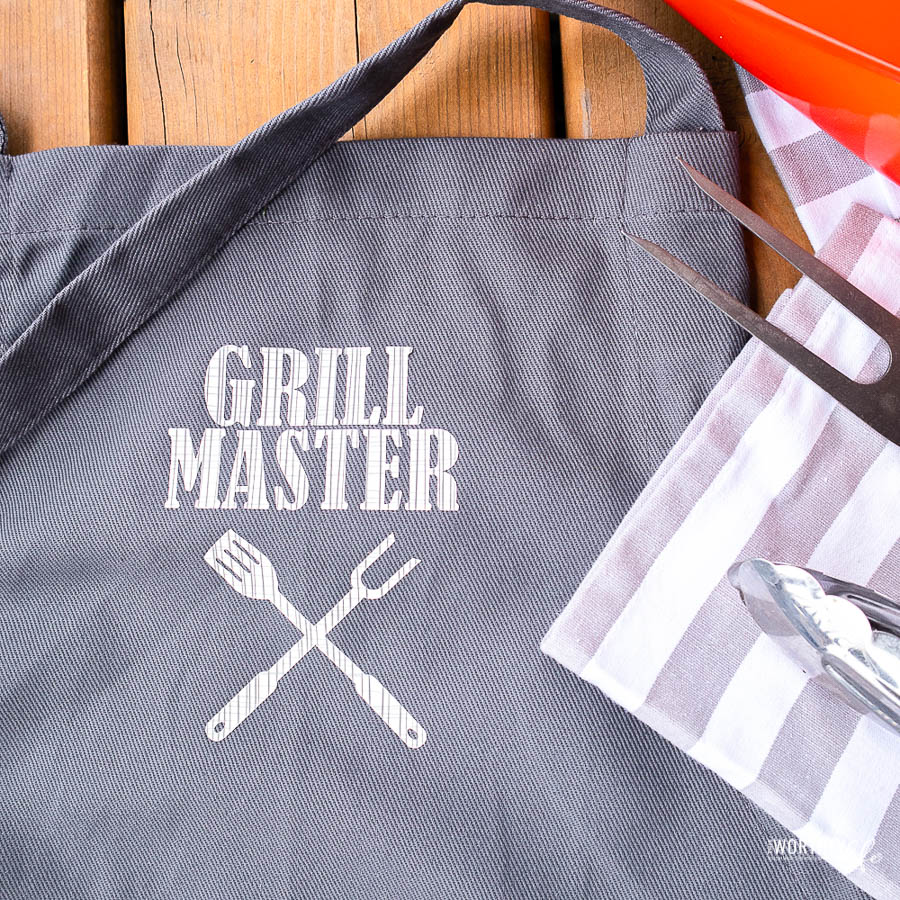
Grill Master DIY Apron | Cricut EasyPress (with SVG)
We love to grill, enjoying grilled steaks, turkey burgers, and grilled lamb chops all year long. With Father’s Day around the corner, if your dad or significant other is the Grill Master in your family, then make them a Grill Master apron. They’re already going to show off their skills on the grill, so have them wear this apron with pride.
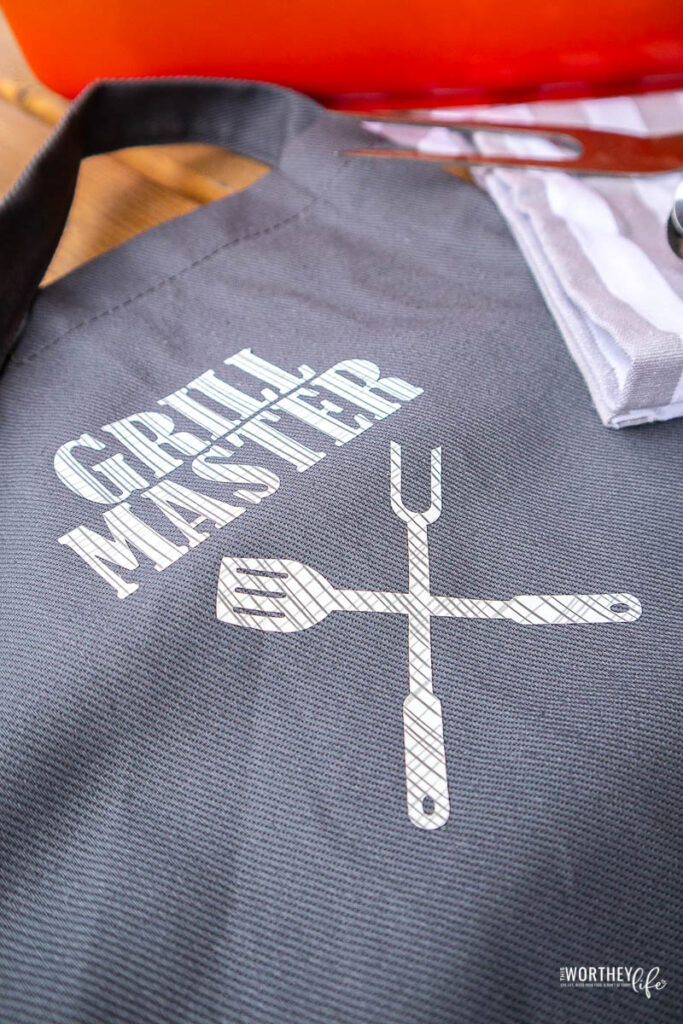
The Perfect Gift: DIY Apron for the Grill Master
The grill doesn’t care if you’re a man or a woman; it just cares that you can master the task at hand. If you know someone who is a master at grilling, then it’s time to create this for them. This is also a great way to keep the grease off your clothes by protesting it with a heavy-duty apron.
This Cricut EasyPress Mini Grill Master Apron is the practical gift that keeps on giving. Now, while grilling, they can wear this fantastic apron and stay as clean as possible.
Find more Cricut projects to try:
- DIY Mini Potted Paper Cactus Using Your Cricut
- DIY Happy New Year Headband Made With A Cricut
- DIY Coffee Mug With Vinyl Statement Using A Cricut
- Scrabble Letter Tiles & A DIY Cricut Project
If you’re wanting to make your own Grill Master DIY Apron on the Cricut or if you’re looking to make a gift for someone, this is the perfect project. Have fun with it! I’m going to walk you through HOW to create this project, and in no time you can be making it for yourself or someone else you know.
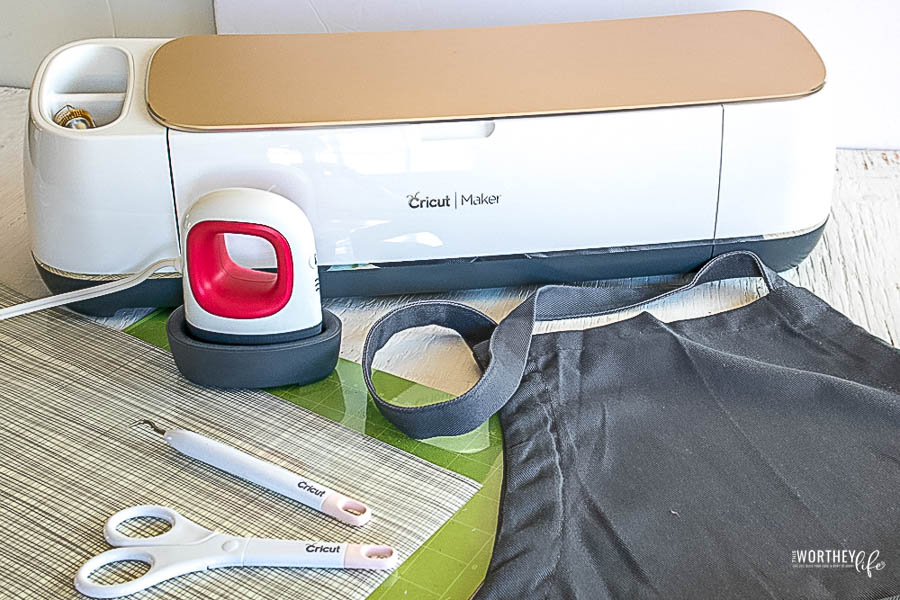
How to DIY Grill Master Apron Using A Cricut EasyPress With FREE SVG
Materials Needed:
- Grill Master SVG file {Download the file}
- Apron
- Cricut Maker with Fine Point Blade
- Patterned Iron-On Vinyl, Rustic Lodge Lumberjack Sampler
- Cricut Standard Grip Mat
- Weeding Tool
- EasyPress Mini
- EasyPress Mat or Towel
Step-by-step instructions:
Pre-Work:
- Prewash and dry the apron. Iron out all wrinkles and creases.
Preparing the Image:
- Open Cricut Design Space.
- Click on the “+” sign to start a new project, opening up a blank canvas.
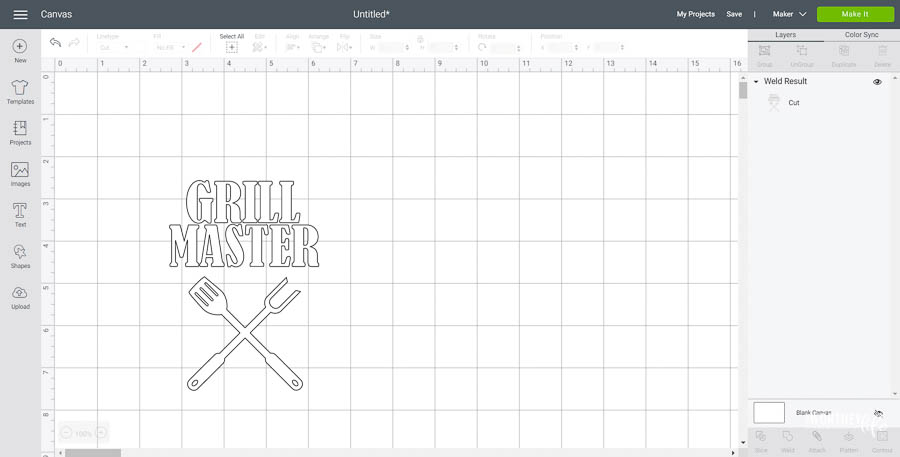
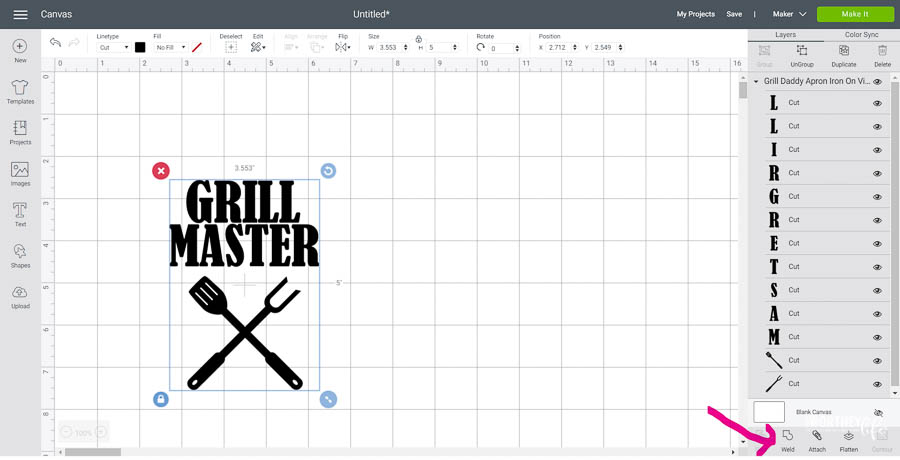
- Click on the “Upload” button from the toolbar and browse your downloaded files to insert the “Grill Master” SVG file. The “Grill Master” image will appear on the canvas.
- Highlight the image and then click on the “Weld” button to secure all parts of the image together for cutting.
- Maintain the size (5″ high x 3.5″ wide) or adjust to fit your apron. To adjust the size, highlight the image, and click on the size box in the top toolbar. Change the measurement to suit your project accordingly.
Cutting the Iron-On Vinyl:
- Select “Make It” in the upper right corner to proceed with cutting.
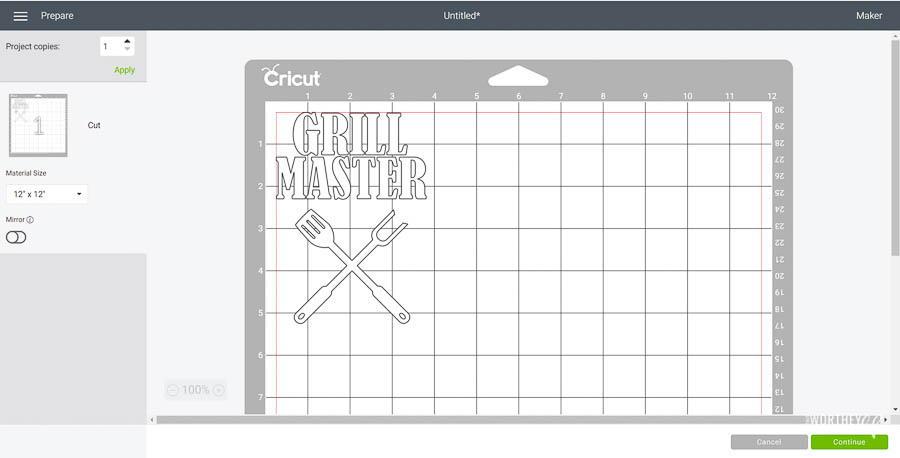
- Click the “Mirror” toggle button to on. This is necessary for ALL iron-on vinyl cuts.
- Change the material size or maintain it as 12″ x12″.
- Choose Patterned Iron-On Vinyl from the list of options in the drop-down menu.
- Place the Iron-On vinyl directly onto the standard grip Cricut mat with the SHINY SIDE DOWN.
- Following the instructions prompted on the screen, cut out the vinyl.
Preparing the Cut Image:
- Remove the Patterned Iron-On Vinyl from the mat.
- Cut around the image and put aside the leftover vinyl for another project.
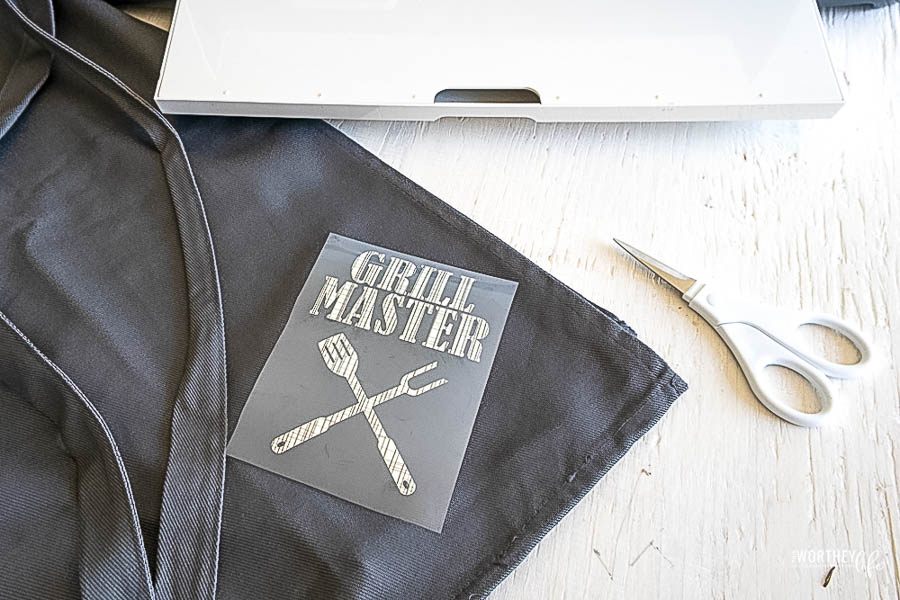
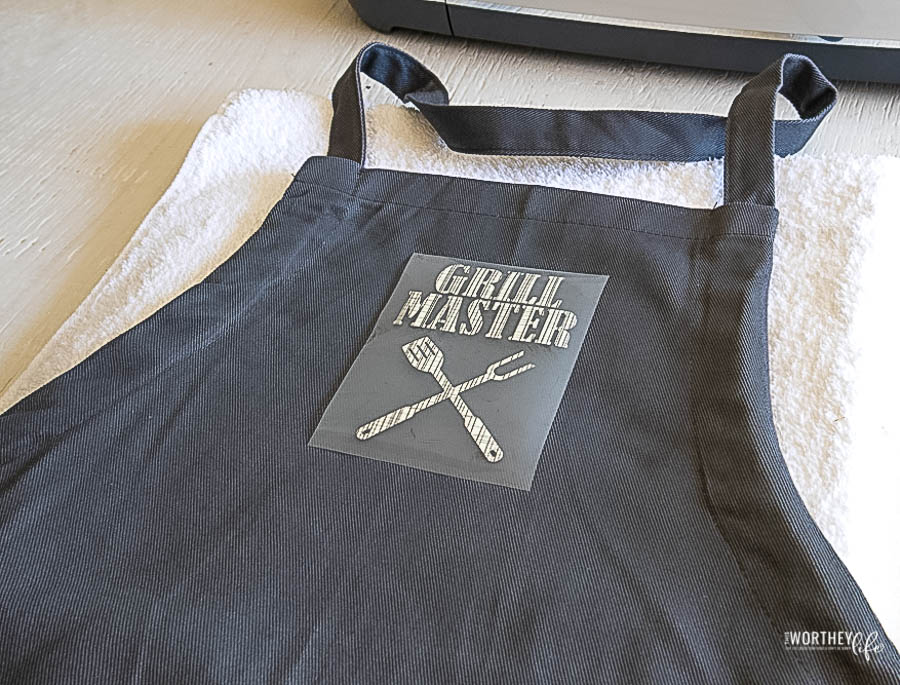
- Using a weeding tool, peel away the excess vinyl leaving only the “Grill Master” image.
Applying the Image with the Cricut EasyPress Mini:
- Position the mat or a towel on a flat surface.
- Set the temperature and time on the machine following the chart for the type of vinyl and material being used or use this EasyPress Interactive Quick Reference Guide (https://home.cricut.com/easypress-heat-settings-guide).
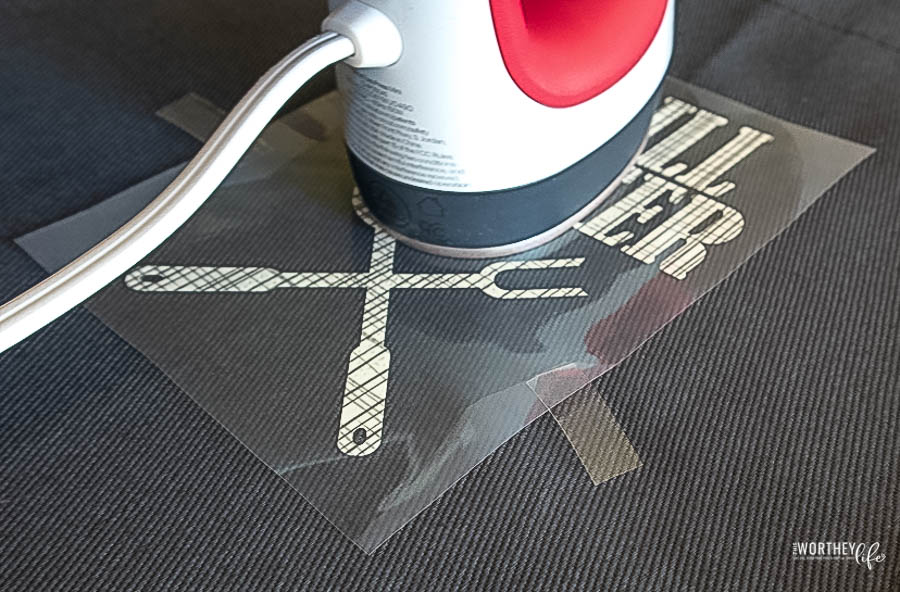
- For a 100% Cotton apron and Patterned Iron-On Vinyl, set the EasyPress Mini to medium heat.
- Determine where you will be placing the image and preheat the apron in that spot for 5 seconds. This will prep the fabric for the vinyl, removing all excess moisture as well as help to remove any creases and wrinkles from the fabric.
- Place the cut image on to the apron with the shiny side up.
- Temporarily hold the cut image in place with heat transfer tape.
- Press the image on to the apron for 25 seconds, continually moving EasyPress Mini as you press.
- Turn the apron upside down and apply heat for another 15 seconds.
- After the vinyl cools, peel the plastic part of the vinyl off carefully and discard it.
Make sure you do not place an iron or the EasyPress Mini directly over the vinyl without the protective plastic cover.
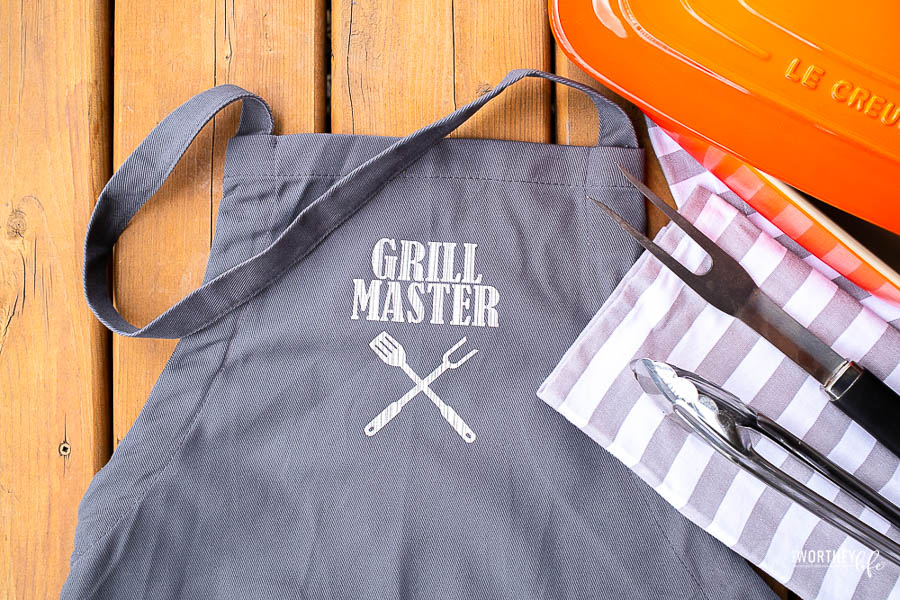
Now that you’ve got your apron made, be sure to check out these grilling recipes!
Grilling Recipes You Should Try
Grilled Jalapeno Pineapple Spareribs
Garlic & Mint Grilled Aussie Lamb Chops


Leave a Reply