Plan a fun Toy Story-themed party with a Toy Story Balloon garland.
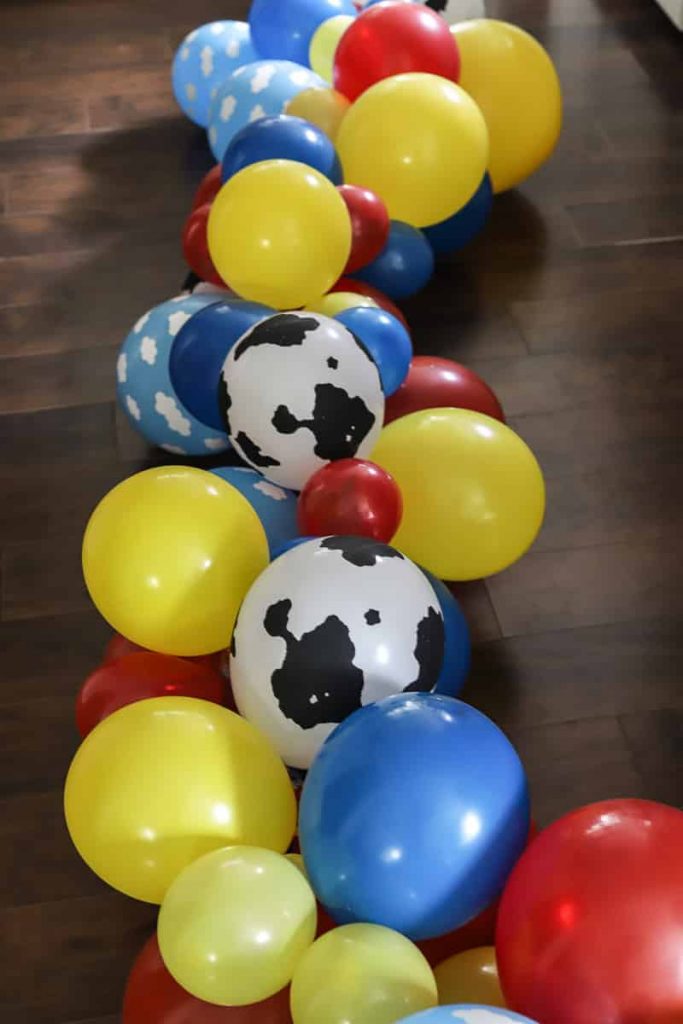
I’m sharing how to create a balloon garland with a Toy Story theme. It’s the perfect pop for any themed party.
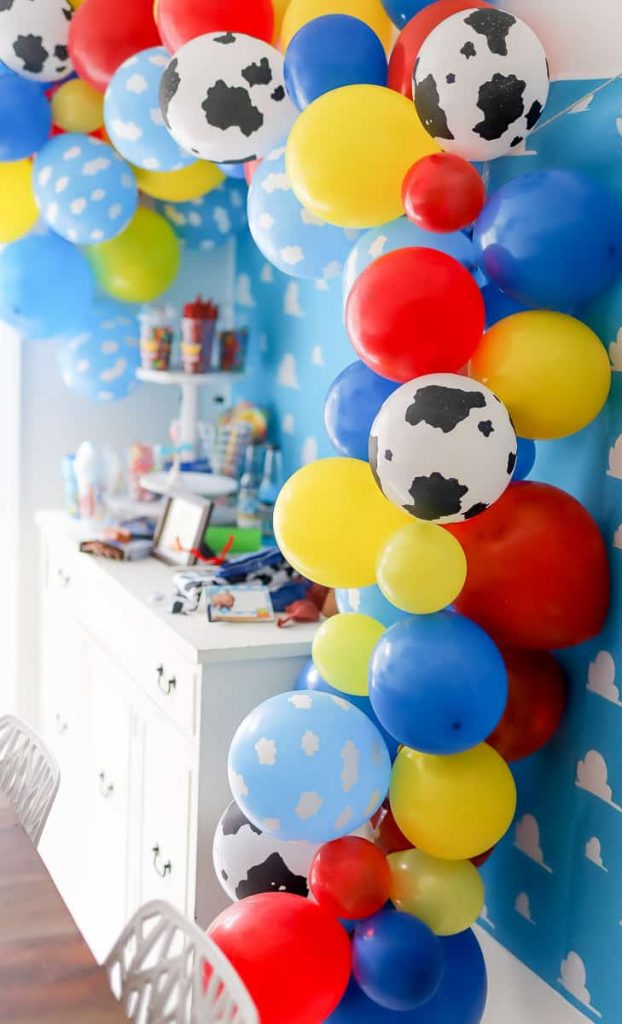
DIY Idea | How To Make A Toy Story Balloon Garland
I recently shared our Toy Story-themed party idea, which is perfect to plan around the release of Toy Story 4, out in theaters this weekend.
One of the things I wanted to do for this party idea was a balloon garland.
I’ve seen them across the internet and at parties, and I love the pizzazz they add to any decor space.
Balloon garlands are great for many occasions, such as a bridal showers, birthday parties, wedding decorations, and more!
Be sure to check out these party ideas:
Celebrate 4th of July Party Idea
Orange and Black Halloween Party Idea
St. Patrick’s Day Party + Candy Board
Host A 4th of July Party This Year
Initially, I thought about buying one, but a balloon garland purchased at a store can easily cost $100 or more. And I was up for figuring out if I could create my garland for the best price.
Thankfully, I was able to find a Toy Story-themed balloon kit online.
It had everything I needed to create my balloon garland for a Toy Story birthday party and a fraction of what I would have paid at the store.
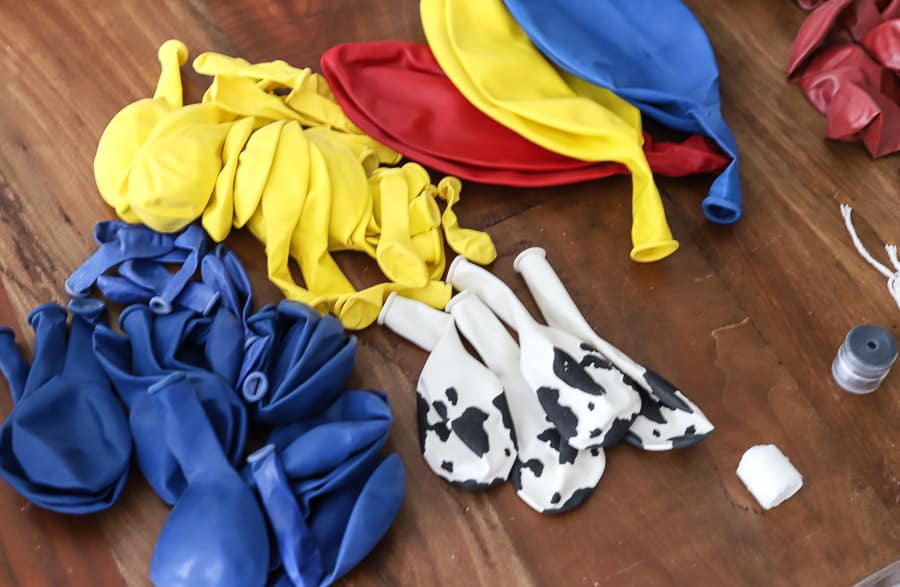
When the Toy Story balloon garland kit arrived, I pulled everything out and read the instructions.
Since this was my first time creating a balloon garland, it took a little longer than the average 30-45 minutes.
Here’s what you need for a Balloon Garland Toy Story Theme
- 11″ Balloons in blue, red, yellow, cow spots, and clouds {I recommend having 10-15 on hand}
- 5″ Balloons in blue, red, and yellow { I recommend having at least 15 on hand}
- (3) 24″ Balloons in blue, light blue, red, and yellow {one of each}
- Balloon decorating strip {I used Balloon Decorating Strip}
- 1 Dual action balloon air pump
- 2 Wall Hooks
- Twine
Notes:
- Using durable latex balloons is ideal.
- It’s helpful to use glue dots or some adhesive for pinning the garland to the wall.
- To add a little razzle-dazzle, you could find high-quality latex confetti balloons.
- You will want to make sure you have different sizes of balloons.
- Having a good balloon pump is essential. Balloon Time pumps come highly recommended.
- Having balloon tape is essential.
- Create your own wonderful backdrop with your child’s name on it.
- To change the classic look, you can add different colors to your themed garland.
- The garland can be shaped into an arch, have a straight line, curved, etc.
- Use other Toy Story birthday party supplies in your garland for a little extra pizzaz.
Directions on putting together a Toy Story Balloon Garland
- Lay all your balloons + supplies out on a table or the floor. You will need a lot of space as you assemble your garland.
- Start filling the balloons with helium. I did not go in any particular order. Fill all the balloons first before assembling the garland.
- For the standard 11″/12″ balloons, 14 to 16 pumps should fill the balloons. I left enough room to be able to tie the balloons.
- For the 24″ balloons, 16-18 pumps should do it. Again, make sure you leave enough room to be able to tie the balloons.
- For the 5″, about 3-4 pumps should fill the balloon.
- Once you have filled all your balloons, it’s time to assemble them using the balloon decorating strip.
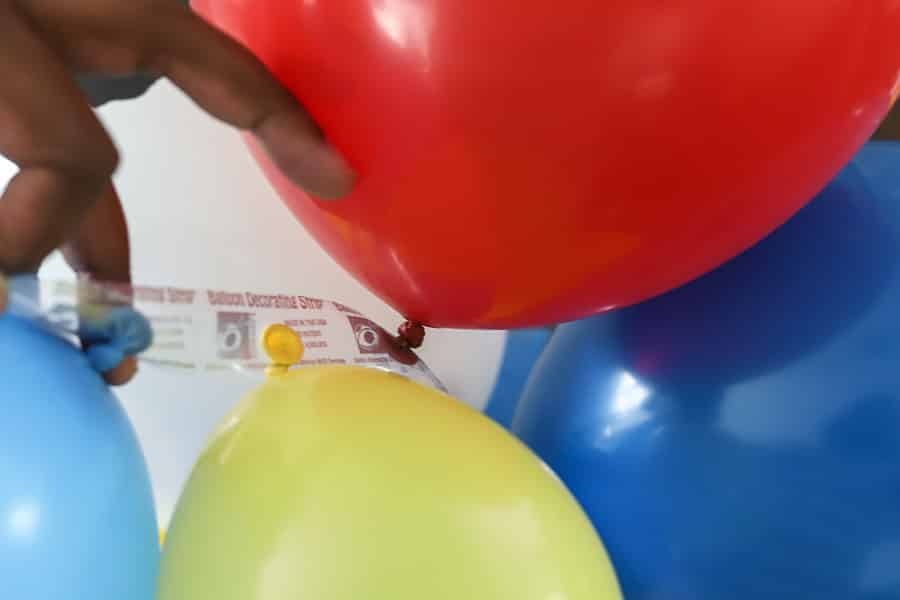
- At one end of the balloon decorating strip, skip one hole and start on the second hole. Thread a balloon into the hole, then alternate and put the next balloon on the other side of the strip (see photos). I also put the balloons in every two holes. I skipped holes to give my balloons enough room. Then once I hung up the garland, I went back through and filled the holes with the 5″ and 11″ balloons.
- It’s important to assemble the balloon in various colors and sizes. You don’t have to stick to a specific pattern since the cow and cloud balloons tie this garland together.
- After you assemble your balloon garland, it’s time to hang it up.
- Once I hung the garland, I moved the balloons around and added additional balloons to give it a fuller look.
- Pro-tip: Depending on your wall surface, you may be able to do this idea. I added additional balloons under the garland using a push pin to stick the balloon to the wall.
My tips on hanging up the balloon garland
Now, this is where it might get tricky. You can use wall hooks like the Command ones, placing them on the wall where your garland will go, or you can use the twine. I decided to go with the twine.
I looped a piece of twine through the garland and tied it to my curtain rod. I took another piece of twine and looped it through the middle of the garland.
Before hanging up my garland, I played around with it to see how I wanted to shape the balloon garland. I tied the other piece of twine to a nail (already on the wall). I would have used a Command hook if I didn’t already have the nail in that spot.
As mentioned above, I rotated by inserting the end of the balloons.
I also skipped every two holes when inserting the balloons to give enough space for each balloon.
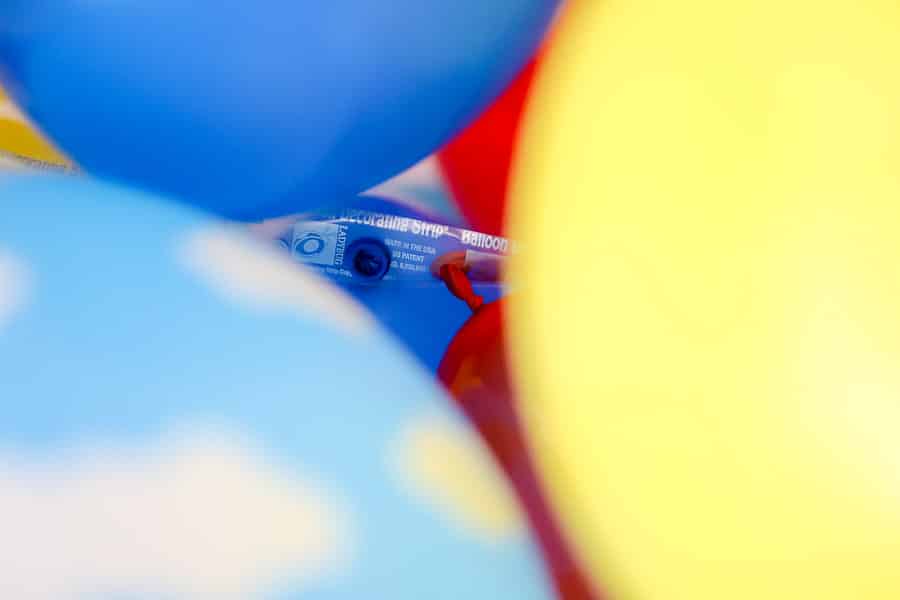
This Balloon Decorating strip is the best thing!
It makes putting together a garland super easy! {order online}
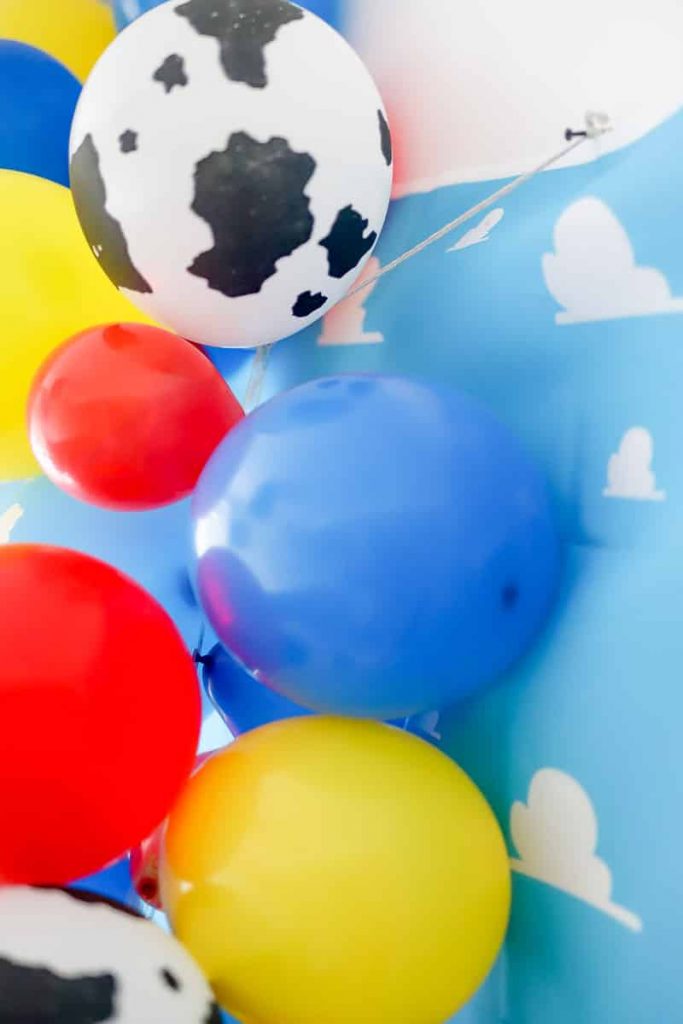
This nail was previously holding a photo.
It was in the perfect location to tie my piece of twine.
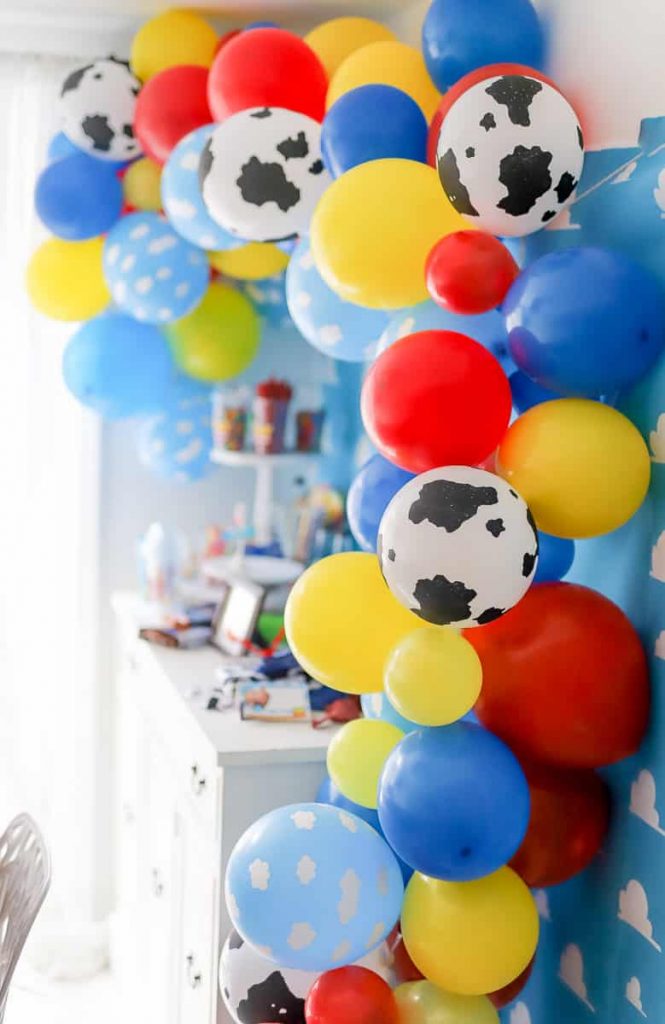
I love how it turned out!
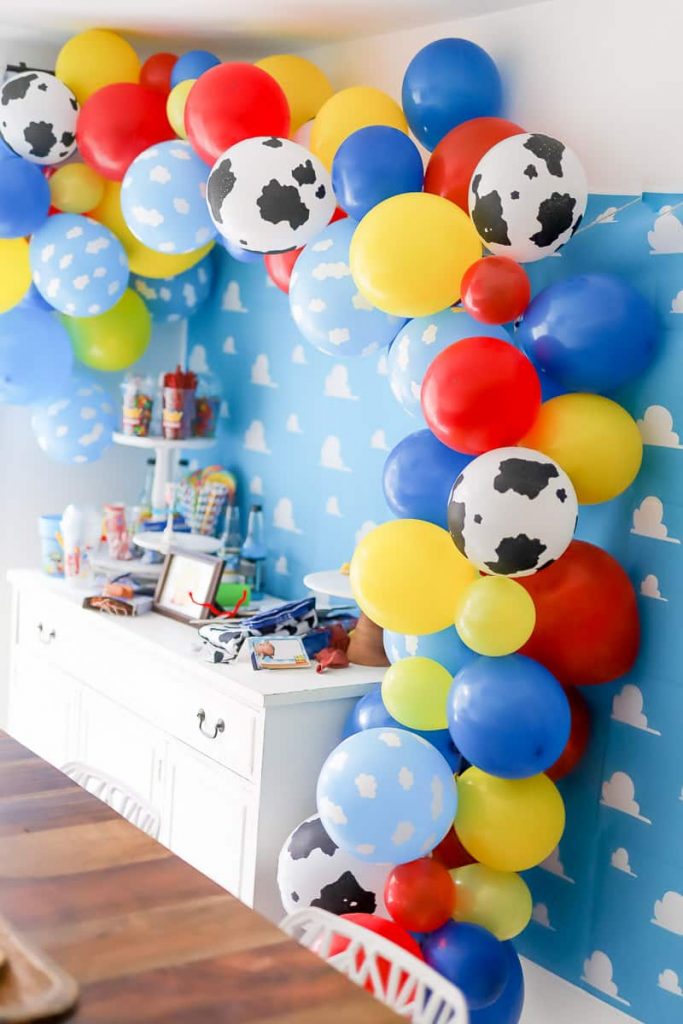
Adding latex theme Toy Story balloons was the burst of color I needed for this Toy Story party idea.
Here are some other Toy Story Balloon Garland Arch Kit ideas to check out:
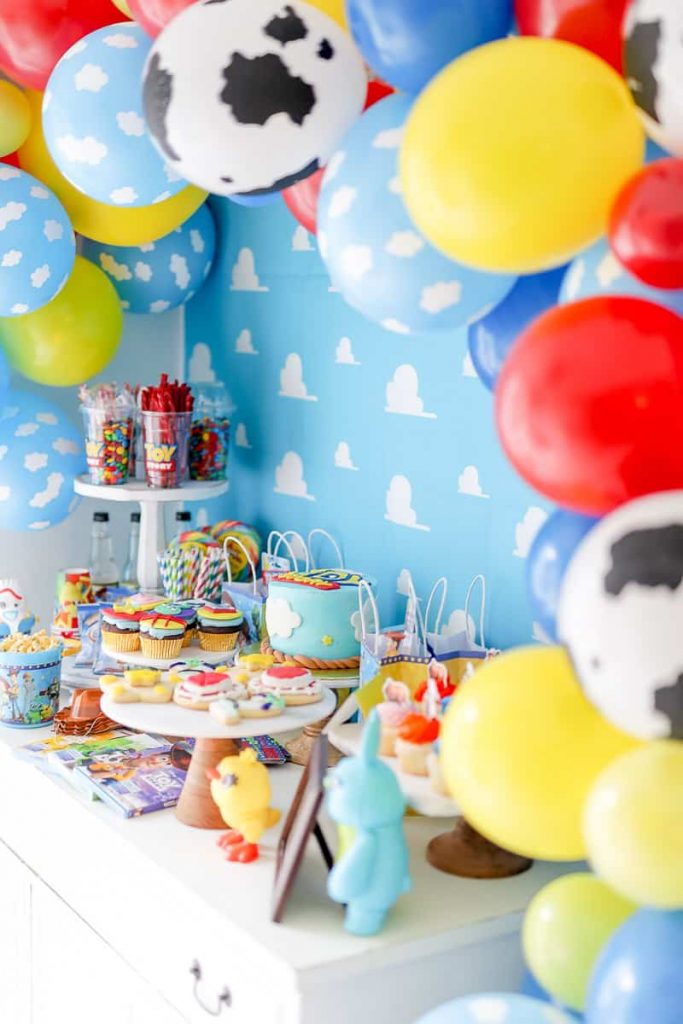
See how this garland works in my Toy Story 4-themed party idea!
You can also find free printables to use for your party, as well as how to make your own Forky.
Toy Story 4 is now playing in a theater near you!
Get more Toy Story 4 scoop below!
Meet The New Characters In Toy Story 4
Toy Story 4 Movie Review | Will Teens Want To See It? #ToyStory4
Things I Learned First Hand From Pixar About Toy Story 4
The Return of Bo Peep in Toy Story 4
My Pixar Adventure | The Making of Forky from Toy Story 4
Guide to Disney’s Hollywood Studios Toy Story Land
This post may contain affiliate links, which means I may receive a commission if you make a purchase using these links. As an Amazon Associate, I earn from qualifying purchases. Check out our privacy policy for more information.
Post created 6/2019 | Updated 7/2022


Leave a Reply